
Sable V6-183 3.0L DOHC VIN S MFI (1997)
1. Remove speed control actuator cable cap from speed control servo by pressing cap locking arm and rotating cap counterclockwise.
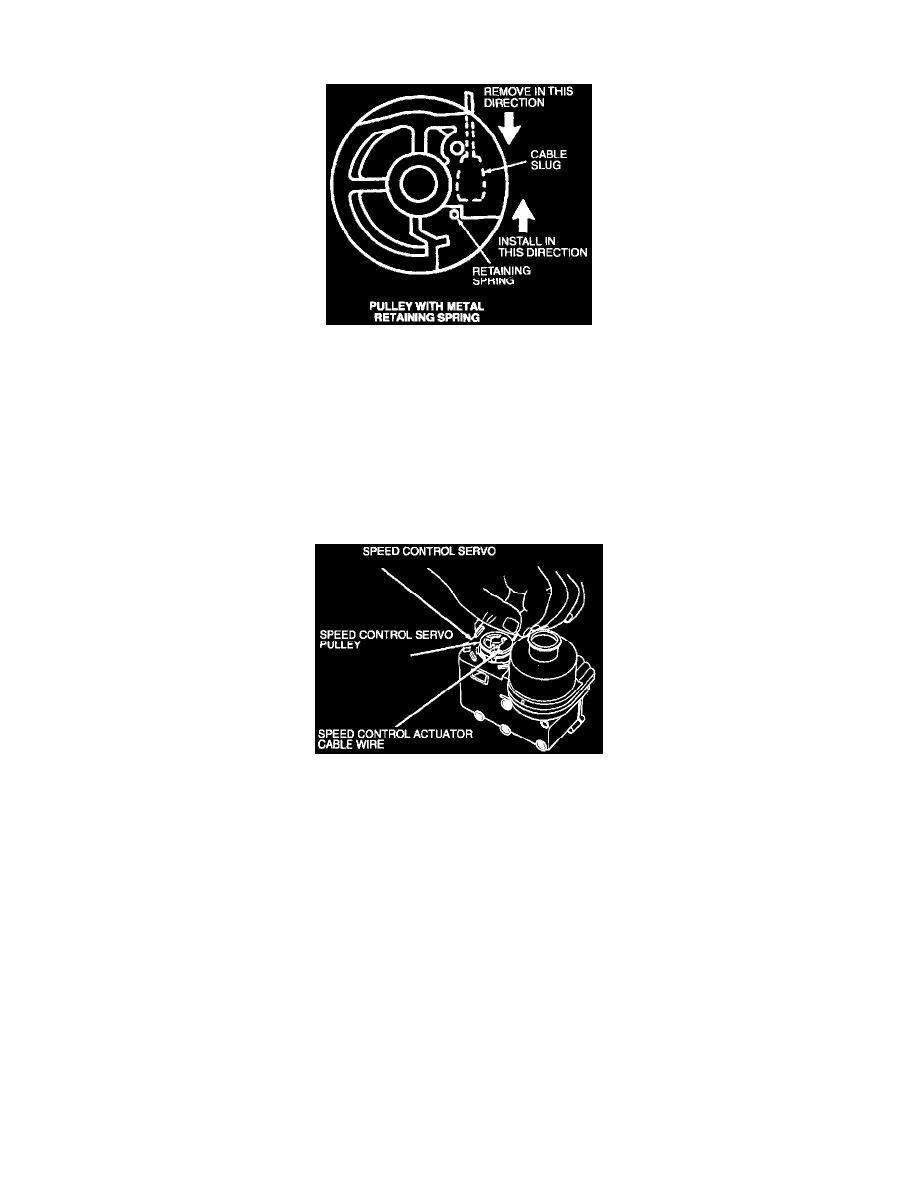
2. Remove speed control actuator cable slug from speed control servo pulley. Gently push actuator cable slug past retaining spring using a small
screwdriver.
3. Disconnect harness connector at speed control servo.
4. Remove two nuts retaining speed control servo to vehicle.
5. Remove speed control servo bracket from the speed control servo. Keep speed control servo bracket and three screws for reinstallation on speed
control servo.
6. Remove speed control servo.
INSTALLATION
1. Attach speed control servo bracket to the speed control servo with three screws. Tighten to 5-7 N.m (45-61 Lb-In).
2. Make sure that rubber seal is fully seated on speed control actuator cable tab.
3. Lock speed control actuator cable end slug into speed control servo pulley slot.
NOTE: Incorrect wrapping of speed control actuator cable core wire around speed control servo pulley may result in a high idle condition. Make
sure that throttle lever is at idle position after speed control actuator cable installation.
4. Pull on throttle body end of speed control actuator cable to draw cable cap on to speed control servo pulley.
5. Insert cable cap locking tabs into speed control servo slots. Rotate cap clockwise until locking arm engages locking tab on speed control servo.
6. Position speed control actuator cable and speed control servo in vehicle. Tighten speed control servo nuts to 17-23 N.m (13-17 Lb-Ft).
7. Attach harness connector to speed control servo.
8. Slide end of speed control actuator cable onto throttle body.
9. Install screw retaining speed control actuator cable to accelerator cable bracket to 3-5 N.m (27-44 Lb-In).