
Sable V6-183 3.0L VIN U FI (1998)
Piston: Testing and Inspection
Cleaning and Inspection
CLEANING
Remove deposits from the piston surfaces. Clean gum or varnish from the piston skirt, piston pins and piston rings with solvent.
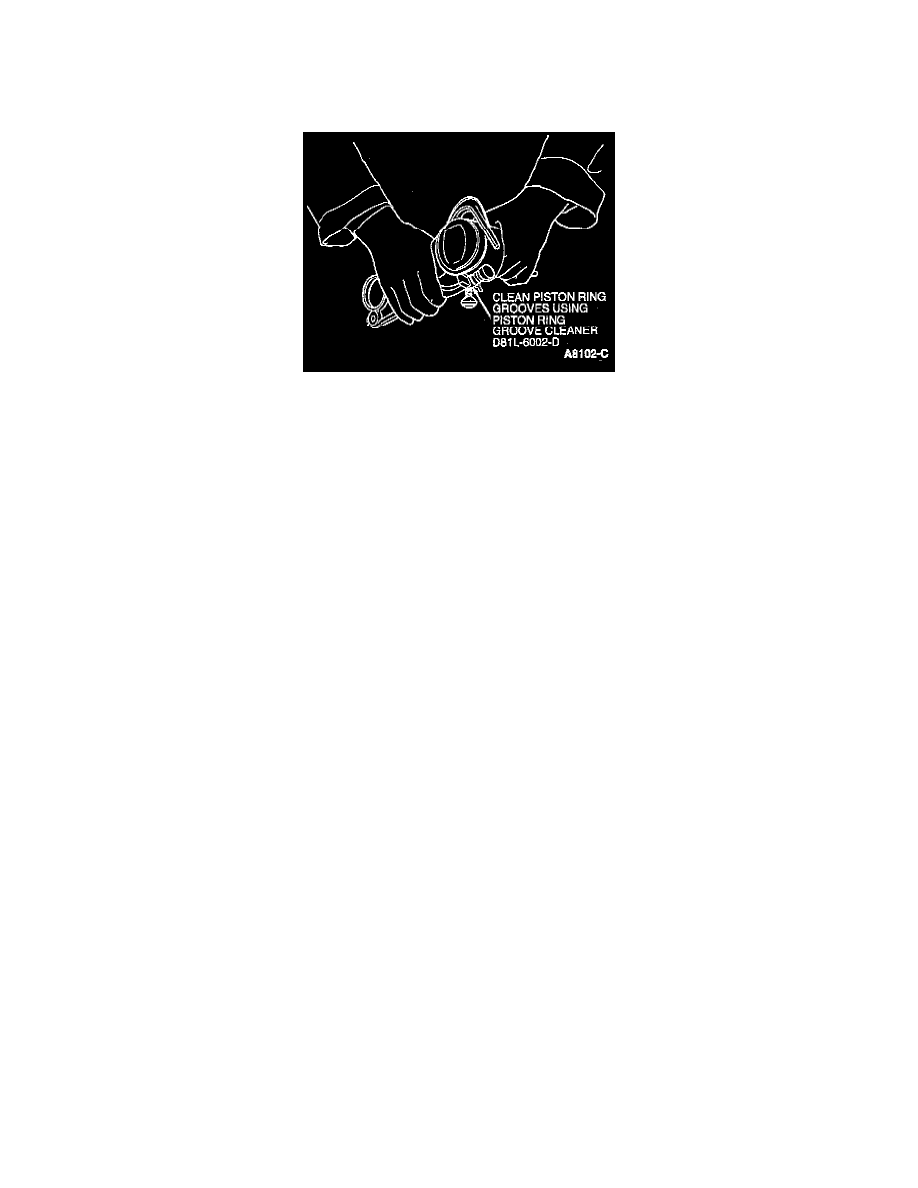
Clean the piston ring grooves with Piston Ring Groove Cleaner 303-D033 (D81L-6002-D) or equivalent. Make sure piston oil ring slots (or holes) are
clean.
CAUTION: Do not use a caustic cleaning solution or a wire brush to clean pistons or possible damage may occur.
INSPECTION
Carefully inspect the pistons for fractures at the ring lands, skirts and pin bosses. Also inspect for scuffed, rough or scored skirts. If the lower inner
portion of the ring grooves has a high step, replace the piston. The step will interfere with ring operation and cause excessive ring-side clearance.
Spongy, eroded areas near the edge of the top of the piston are usually caused by detonation or preignition. A shiny surface on the thrust surface of the
piston, offset from the centerline between the piston pin holes, can be caused by a bent connecting rod. Replace pistons that show signs of excessive
wear, wavy ring lands, fractures or damage from detonation or pre-ignition.
Check the piston-to-cylinder bore clearance by measuring the piston and bore diameters. Measure the Outside Diameter (OD) of the piston and check
the ring side clearance following the procedure under Pistons-Fitting and Piston Rings-Fitting.
Replace any piston showing signs of fracture, etching or wear. Check the piston pin fit in the piston and connecting rod.