
Sable V6-232 3.8L (1988)
Fuel Line Coupler: Service and Repair
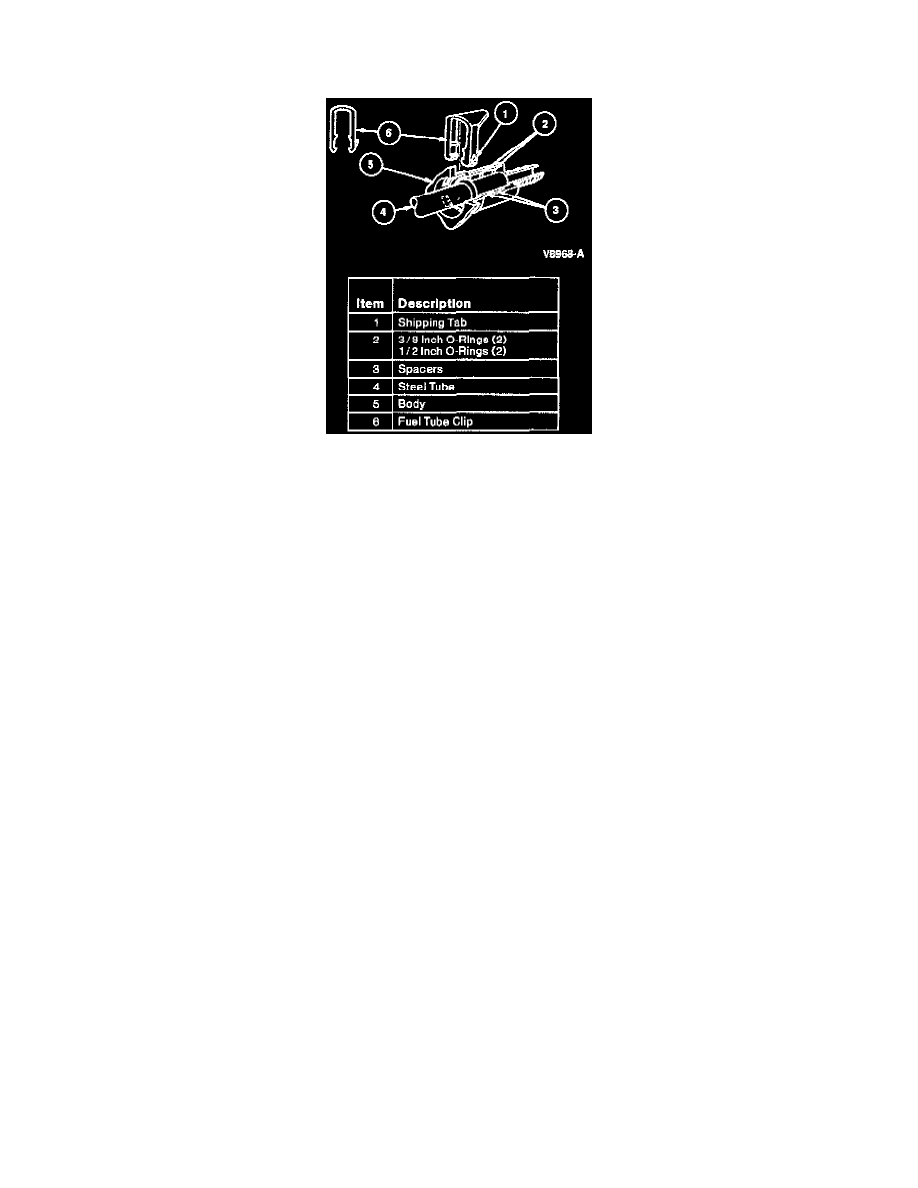
Push Connect Fitting
Push Connect Fitting
REMOVE
CAUTION: Do not use any tools to service these type of connections.
1. If necessary, drain the fuel tank.
2. Inspect the internal portion of the fitting for dirt accumulation. If more than a light coating of dust is present, clean the fitting before disassembly.
3. Remove the hairpin clip from the fitting by first bending the shipping tab downward so that it will clear the body. This is done (using hands only)
by spreading the two clip legs about 3.2mm (1/8 inch) each to disengage body and pushing legs into fitting. Complete removal is accomplished by
lightly pulling from triangular end of the clip and working it clear of the tube and fitting.
CAUTION: On 90 degree elbow connectors, excessive side loading could break the connector body.
4. Grasp the fitting and hose assembly and pull in an axial direction to remove the fitting from the steel tube. Adhesion between the sealing surfaces
may occur. A slight twist of the fitting may be required to break this adhesion for easier removal.
5. When the fitting is removed from the tube end, inspect the clip to ensure it has not been damaged. If damaged, replace the clip. If undamaged,
immediately install the clip to prevent loss or damage. To install the clip, insert the clip into any two adjacent openings with the triangular portion
pointing away from the fitting opening. Install the clip to fully engage the body (legs of hairpin clip locked on outside of body). Piloting with an
index finger is necessary.
NOTE: Nylon push connect fittings are used at the fuel filter (9155) and the fuel tank sending unit and pump (9H307). Supply lines are 7.9mm
(5/16 inch) and return lines are 6.4mm (1/4 inch).
INSTALL
1. Before installing fitting on tube, wipe tube end with a clean cloth. Inspect inside of fitting to ensure it is free of dirt and or obstructions. Apply a
light coat of engine oil to the tube end for ease of assembly.
2. To install fitting onto tube, align fitting and tube axial and push fitting onto tube end. When fitting is engaged, a definite click will be heard. Pull
on fitting to ensure it is fully engaged.