
Sable V6-232 3.8L (1988)
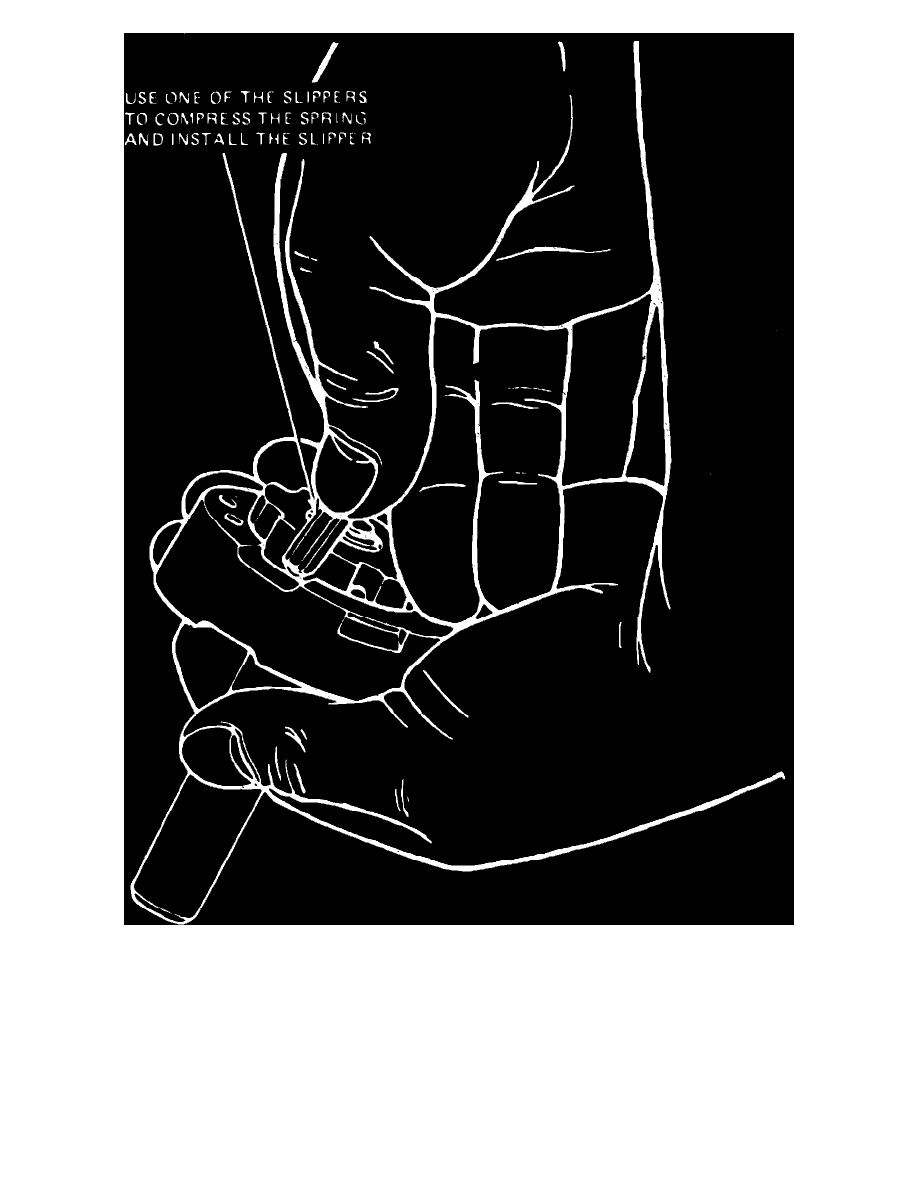
Fig. 5 Installing slippers
1.
Position rotor on rotor shaft splines with triangle detent on rotor counter bore facing upward, Fig. 1.
2.
Install snap ring into groove on end of rotor shaft.
3.
Position insert cam over rotor. Ensure recessed notch on insert cam is facing upward.
4.
With rotor extended upward approximately half out of cam, insert spring into rotor pocket, Fig. 4.
5.
Use a slipper to compress spring, then install slipper with groove facing cam, Fig. 5.
6.
Perform steps 4 and 5 on slipper cavity beneath opposite inlet recess.
7.
While holding cam stationary, index rotor left or right one space and install another spring and slipper until all ten rotor cavities have been filled.
Use care when turning rotor that springs and slippers remain in position.
8.
Apply Loctite No. 242 or 271 adhesive or equivalent to outside diameter of seal and Locquic NF or T primer or equivalent to seal bore in housing.
Install rotor shaft seal using tool No. T78P-3733-A3, or equivalent. Using a plastic mallet, drive seal into bore until properly seated.