
Sable V6-3.0L VIN 2 Flex Fuel (2005)
Evaporative Check Valve: Service and Repair
FUEL VAPOR CONTROL TUBE ASSEMBLY VALVE
REMOVAL
1. WARNING: The evaporative emission system contains fuel vapor and condensed fuel vapor. Although not present in large quantities, it
still presents the danger of explosion or fire. Disconnect the battery ground cable from the battery to minimize the possibility of an
electrical spark occurring, possibly causing a fire or explosion if fuel vapor or fuel liquid is present in the area. Failure to follow these
instructions may result in personal injury.
Remove the fuel tank.
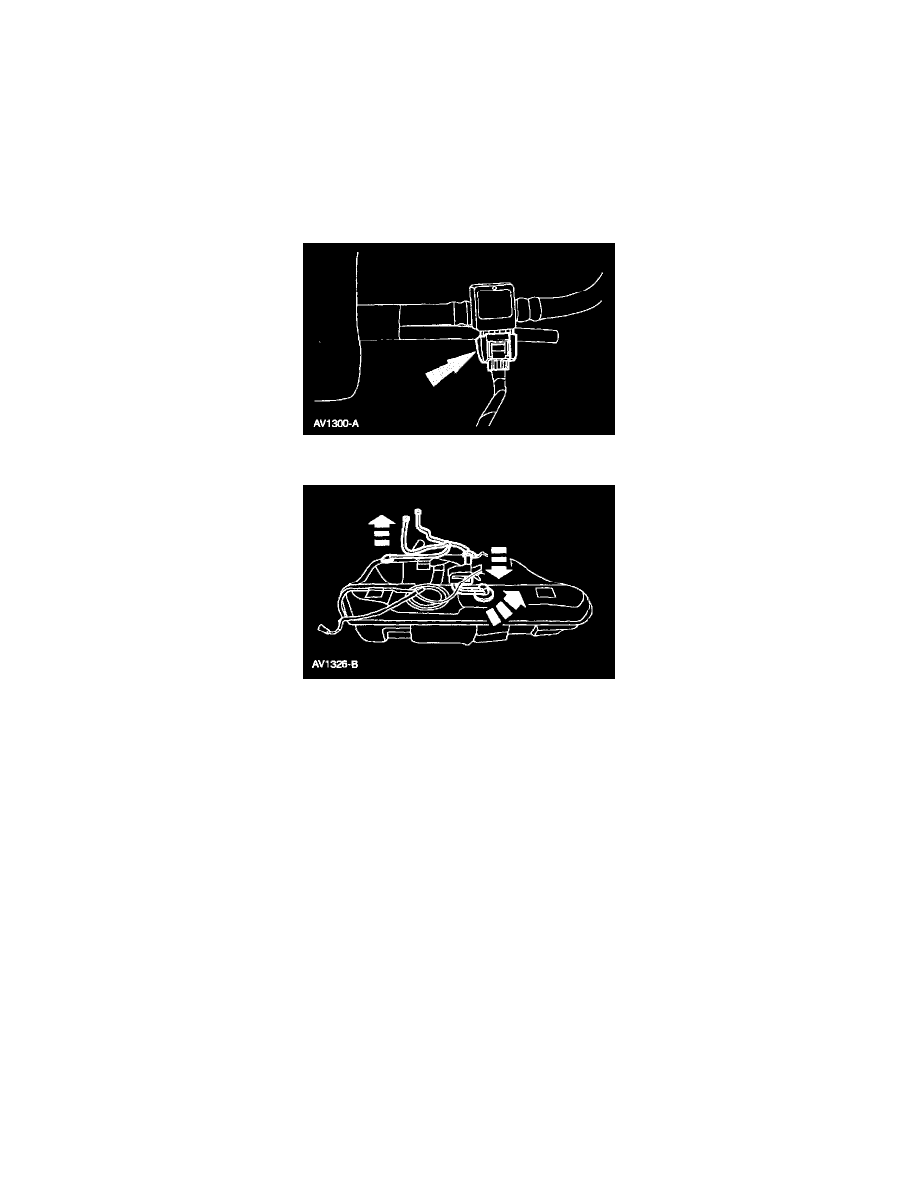
2. Disconnect the fuel tank pressure sensor electrical connector.
3. NOTE: The fuel vapor vent valve inline fuel tank pressure sensor and the fuel vapor valve (fill limiting vent valve) are serviced as an assembly
with the fuel vapor tubes.
Remove the fuel vapor valve tube assembly.
-
Grasp firmly and apply upward pressure to the fuel vapor vent valve and remove.
-
Push down and rotate counterclockwise, then apply upward pressure to the fuel vapor valve (fill limiting vent valve) and remove.
INSTALLATION
1. NOTE: Lubricate all O-ring seals with MERPOL(R) O-Ring seal lubricant meeting Ford specification ESE-M99B144-B or equivalent.
To install, reverse the removal procedure.
-
Leak test the system. See: Testing and Inspection/Component Tests and General Diagnostics/Evaporative Emission System Leak Test
-
Carry out the evaporative emission repair verification drive cycle. See: Testing and Inspection/Component Tests and General
Diagnostics/Evaporative Emission Repair Verification Drive Cycle