
Sable V6-3.0L VIN 2 Flex Fuel (2005)
Rear Strut / Shock Tower: Service and Repair
Disassembly and Assembly
Strut and Spring Assembly
Disassembly
WARNING: The strut and spring assembly is under spring tension. Attempting to disassemble the strut and spring assembly without
compressing the spring can result in personal injury.
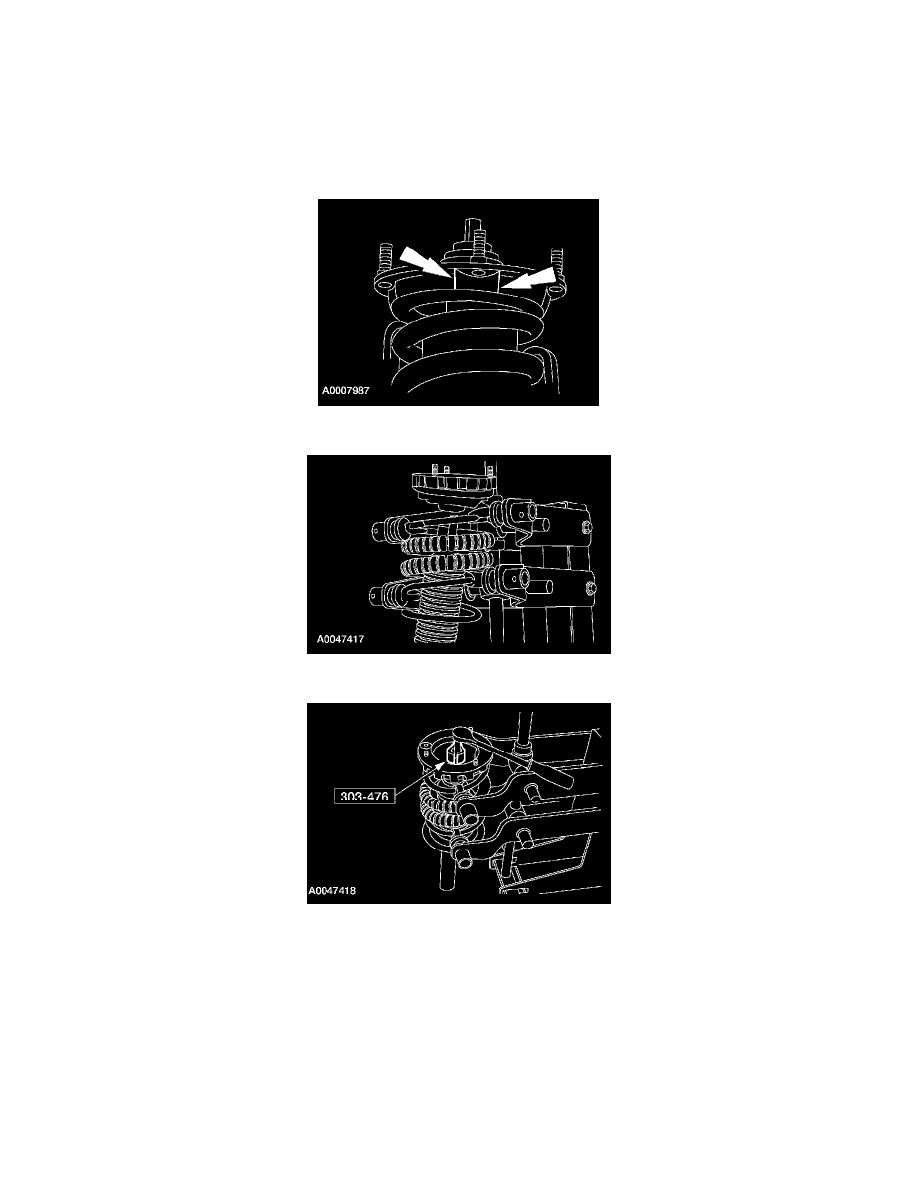
1. Mark the location of the strut to top mount for assembly reference.
2. Using a suitable spring compressor, compress the rear spring and unload the strut mounting bracket.
3. CAUTION: Do not attempt to remove or install the strut rod nut by turning the shock absorber rod and holding the nut. The nut must be turned
and the rod held stationary to avoid the possible fracture of the shock absorber rod at the base of the hex.
CAUTION: Do not use pliers on the strut rod as the finished rod surface can be damaged.
Using a 10 mm (0.39 inch) six point deep well socket, hold the strut rod in place while removing the nut. Using the special tool, remove and
discard the nut.