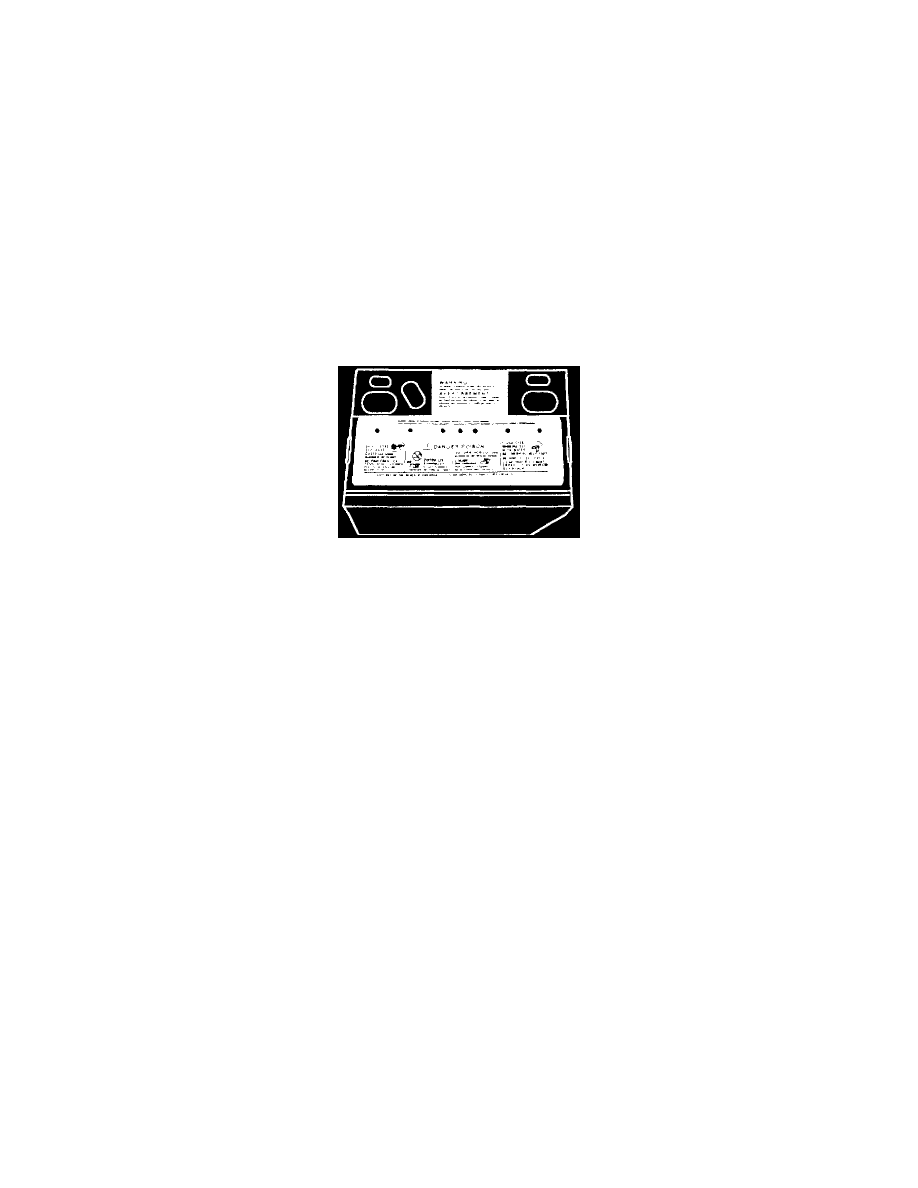
Sable V6-3.0L VIN U (1999)

Battery: Service and Repair
Removal and Installation
Battery
REMOVAL
WARNING: BATTERIES NORMALLY PRODUCE EXPLOSIVE GASES WHICH CAN CAUSE PERSONAL INJURY. THEREFORE, DO
NOT ALLOW FLAMES, SPARKS OR LIGHTED SUBSTANCES TO COME NEAR THE BATTERY. WHEN CHARGING OR WORKING
NEAR A BATTERY, ALWAYS SHIELD YOUR FACE AND PROTECT YOUR EYES. ALWAYS PROVIDE VENTILATION.
NOTE
^
When the battery has been disconnected or reconnected, some abnormal drive symptoms may occur while the Powertrain Control Module (PCM)
relearns its fuel trim. The vehicle may need to be driven 18 km (10 miles) or more to relearn the fuel trim.
^
When the battery has been disconnected or reconnected, volatile memory information will be lost. Systems affected will have to be programmed
by the technician or driver. These systems include radio station presets, clock and customer input keyless entry system codes.
1. Remove battery cables from battery terminals (battery ground cable first).
2. Remove battery heat shield.
3. Remove battery hold down clamp.
4. Remove battery from vehicle.
WARNING: WHEN LIFTING A PLASTIC-CASED BATTERY EXCESSIVE PRESSURE ON THE END WALLS COULD CAUSE
ACID TO SPEW THROUGH THE VENT CAPS, RESULTING IN PERSONAL INJURY. LIFT WITH A BATTERY CARRIER OR
WITH YOUR HANDS ON OPPOSITE CORNERS.
INSTALLATION
1. Clean and neutralize cable terminals, battery tray and battery posts.
2. Neutralize and clean battery tray with a wire brush.
3. Place battery in battery tray with positive and negative terminals in same position as previous battery. Assemble and tighten hold-down hardware
to specification. Do not over-tighten.
WARNING: WHEN LIFTING A PLASTIC-CASED BATTERY, EXCESSIVE PRESSURE ON THE END WALLS COULD CAUSE
ACID TO SPEW THROUGH THE VENT CAPS, RESULTING IN PERSONAL INJURY. LIFT WITH A BATTERY CARRIER OR
WITH YOUR HANDS ON OPPOSITE CORNERS.
NOTE: Batteries on vehicles have unique terminal positions.
4. Reinstall battery heat shield.
5. Secure cables (positive first) to proper terminals. Tighten to 6-10 N.m (54-88 lb-in). Apply a small quantity of Premium Long-Life Grease
XG-1-C or XG-1-K or equivalent meeting Ford specification ESA-M1C75-B to terminals.
Battery Tray
REMOVAL
1. Remove battery from vehicle.
2. Remove retaining bolts, screws and washers from battery tray.
3. Remove battery tray from vehicle.
INSTALLATION
1. Position battery tray to front fender apron in engine compartment.
2. Install retaining bolts, screws and washers. Tighten each to 8-12 N.m (71-106 Lb-In).
3. Install battery.
