Sable V6-3.0L VIN U (1999)

Suspension Strut / Shock Absorber: Service and Repair
Rear Shock Absorber
Special Tool
STATION WAGON
Removal
1. Raise vehicle on a hoist.
2. Remove tire and wheel assembly.
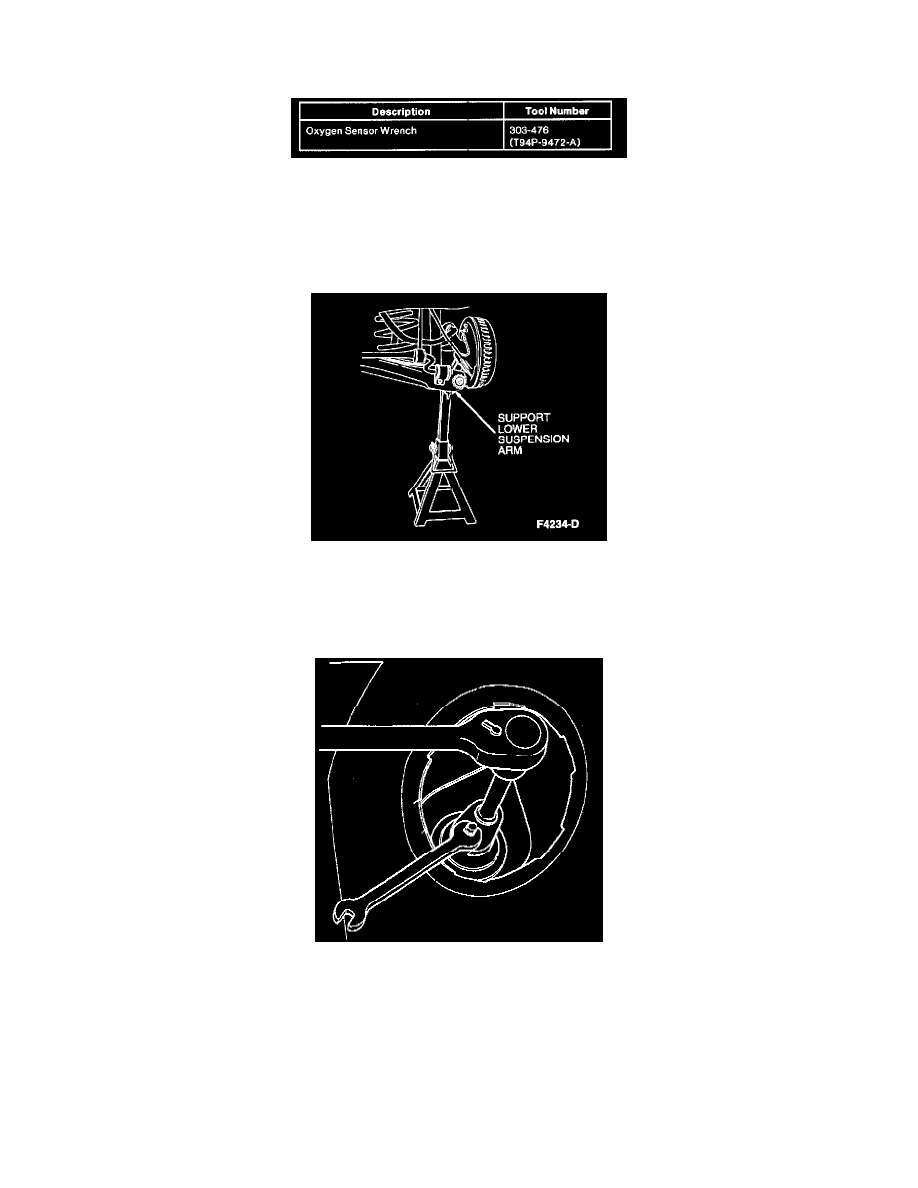
3. CAUTION: The lower rear suspension arm and bushing must be supported before removal of upper or lower shock absorber
attachments to prevent damage to attached components.
Position a jackstand under rear suspension arm and bushing. Lower hoist slightly to put suspension at normal position.
4. From inside of vehicle remove rear compartment access panels.
5. NOTE: If the shock absorber is to be reused, do not grip the shaft with pliers or vise grips as this will damage the shaft surface finish and result in
severe oil leakage.
Remove and discard top shock absorber retaining nut using Oxygen Sensor Wrench 303-476 (T94P-9472-A) and ratchet while holding the shock
absorber shaft with an open-end wrench.
6. Remove washer and rubber insulator from shock absorber.
7. NOTE: The shock absorbers are gas-filled. It will require an effort to collapse the shock absorber in order to remove the shock absorber from the
lower arm.
Remove lower shock absorber lower mounting bolt.
