
Sable AWD V6-3.5L (2008)
2. Remove the wheel bearing and wheel hub assembly.
3. Remove the brake dust shield bolts and remove the brake disc shield.
^
To install, tighten to 8 Nm (71 lb-inch).
4. Using a suitable jackstand, support the front of the vehicle.
5. Position a suitable jackstand under the lower control arm at the shock and spring assembly attachment point, then raise it enough to compress the
shock absorber and spring assembly.
6. Remove and discard the trailing arm-to-wheel knuckle bolt.
^
To install, tighten to 105 Nm (77 lb-ft).
7. Remove and discard the toe link-to-wheel knuckle nut and bolt.
^
To install, tighten to 100 Nm (74 lb-ft).
8. Loosen, but do not remove, the shock absorber and spring assembly lower bolt, then carefully lower the jackstand until the spring is near its full
extension.
9. Lower the jackstand and remove and discard the lower arm-to-wheel knuckle bolt.
^
To install, tighten to 110 Nm (81 lb-ft).
10. Remove and discard the wheel knuckle ball joint nut.
^
To install, tighten to 110 Nm (81 lb-ft).
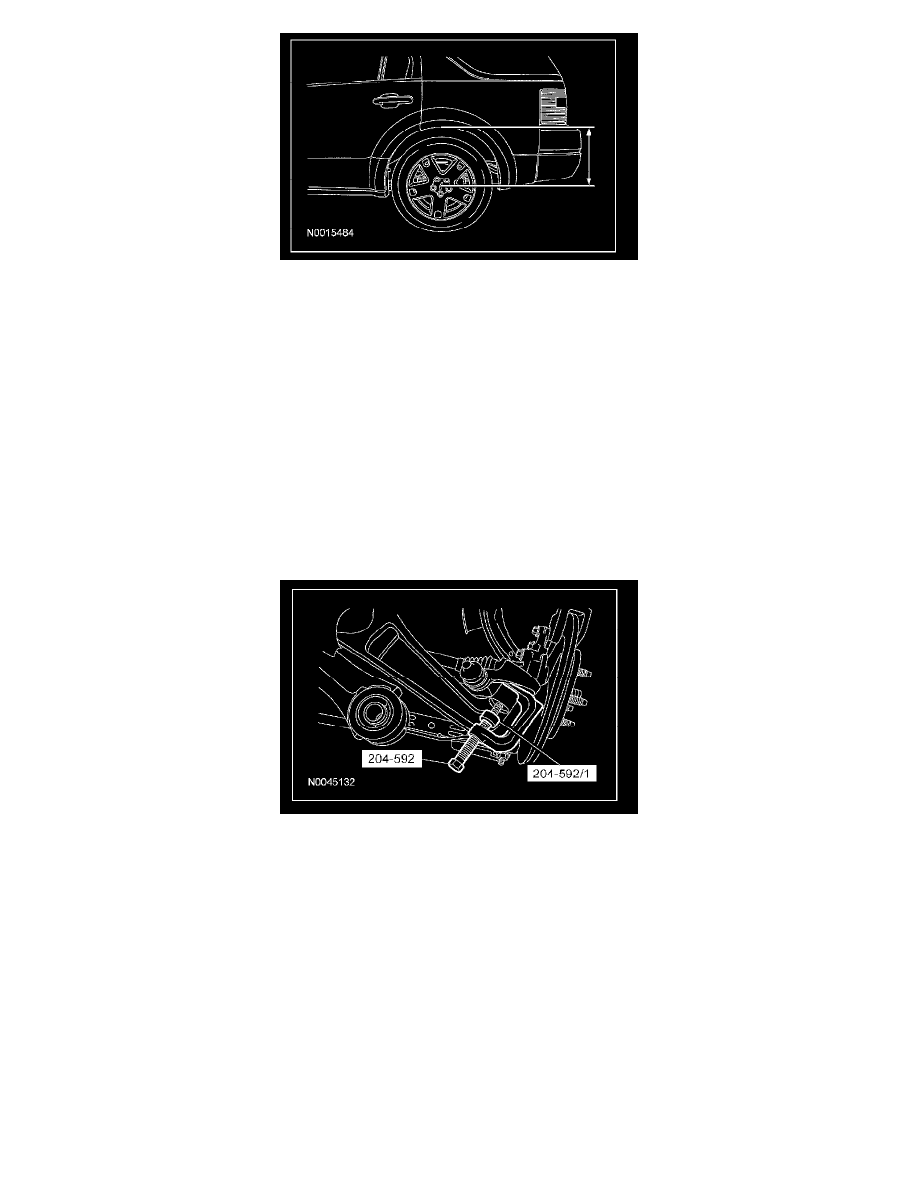
11. Using the special tool, disconnect and remove the wheel knuckle.
12. NOTE: Always install new suspension fasteners.
NOTE: Before tightening the upper arm and lower arm bolts, use a jackstand to raise the rear suspension until the distance between the center of
the hub and the lip of the fender is equal to the measurement taken in the removal procedure (curb height).
To install, reverse the removal procedure.