Topaz L4-140 2.3L CFI (1985)

3.
Slide both sprockets and timing chain onto the camshaft and crankshaft with timing marks aligned. Install camshaft bolt and washer. Tighten to
41-56 lb-ft (55-75 N-m).
4.
Install timing chain tensioner. Tighten to 8-12 N-m.
5.
Oil the timing chain, sprockets and tensioner after installation.
6.
Install new front cover gasket (F13Z-6020-A).
a.
Position gasket onto front cover, front oil seal removed.
b.
Position front cover on engine loosely.
c.
Install Front Cover Aligner (T84P-6019-C) onto crankshaft.
d.
Ensure that crank key is aligned with keyway in tool.
NOTE: THE ALIGNER TOOL IS REQUIRED BECAUSE THE FRONT COVER BOLTS ARE NOT DESIGNED TO ALIGN THE FRONT COVER
SEAL WITH RESPECT TO THE CRANKSHAFT.
7.
Use thread sealant (E2AZ-19562-B) on the front cover lower bolts only. Tighten to 6-9 lb-ft (8-12 N-m). Remove the front cover aligner.
8.
Replace the front cover seal with a new one (E83Z-6700-A). Install seal using a Pinion Oil Seal Replacer (T83T-4676-A).
9.
Lubricate the hub of the crankshaft damper with multi-purpose grease (D0AZ-19584-AA, ESR-M1C159-A) or equivalent to prevent damage to the
seal during installation and initial engine start. Install crankshaft damper and bolt.
10.
Remove and clean the oil pick-up tube and screen assembly. After cleaning, install the pick-up and screen assembly.
11.
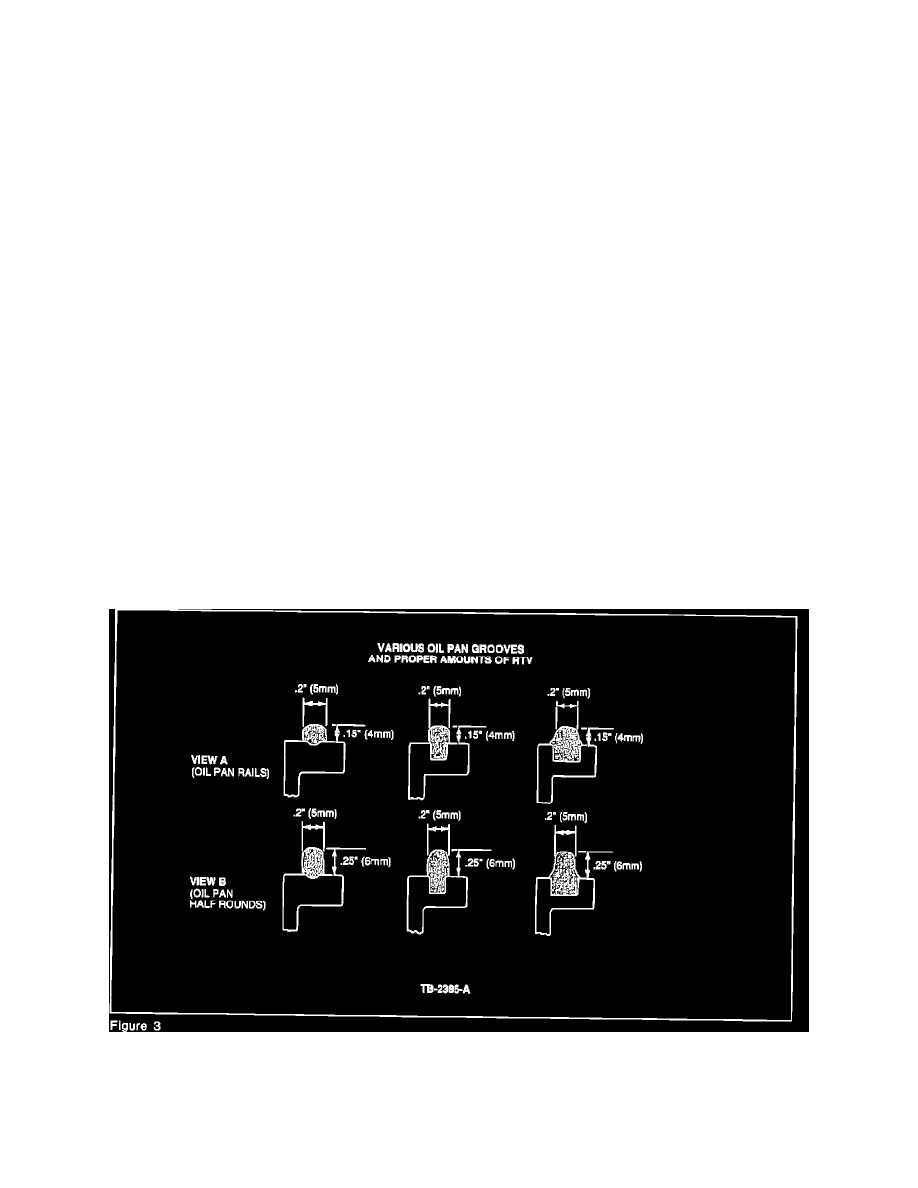
Obtain a tube of the new grade RTV (F1AZ-19562-A) and check the expiration date before using.
WARNING:
USE ADEOUATE VENTILATION WHEN APPLYING RTV SEALER.
Figure 3
