
Tracer L4-110 1.8L DOHC (1995)
Control Arm: Service and Repair
Installation
Installing Front Lower Control Arm
Front Lower Control Arm Installation
1. Position the lower control arm rear bushing onto the rear pivot bolt.
2. Install the washers and nut onto the lower control arm pivot bolt. Tighten the nut to 93-117 N.m (69-86 lb-ft).
3. Position the ball-joint into the steering knuckle.
4. Install the lower ball-joint-to-steering knuckle retaining bolt and nut. Tighten the nut to 43-59 N.m (32-43 lb-ft). Apply Loctite 290 or
equivalent thread locking compound to the nut and bolt threads.
5. Position the lower control arm rear bushing retaining strap to the lower frame and secure it with the bolts. Tighten the bolts to 93-117 N.m
(69-86 lb-ft).
6. Install the lower control arm front pivot bolt and washer. Tighten the nut to 93-127 N.m (69-93 lb-ft).
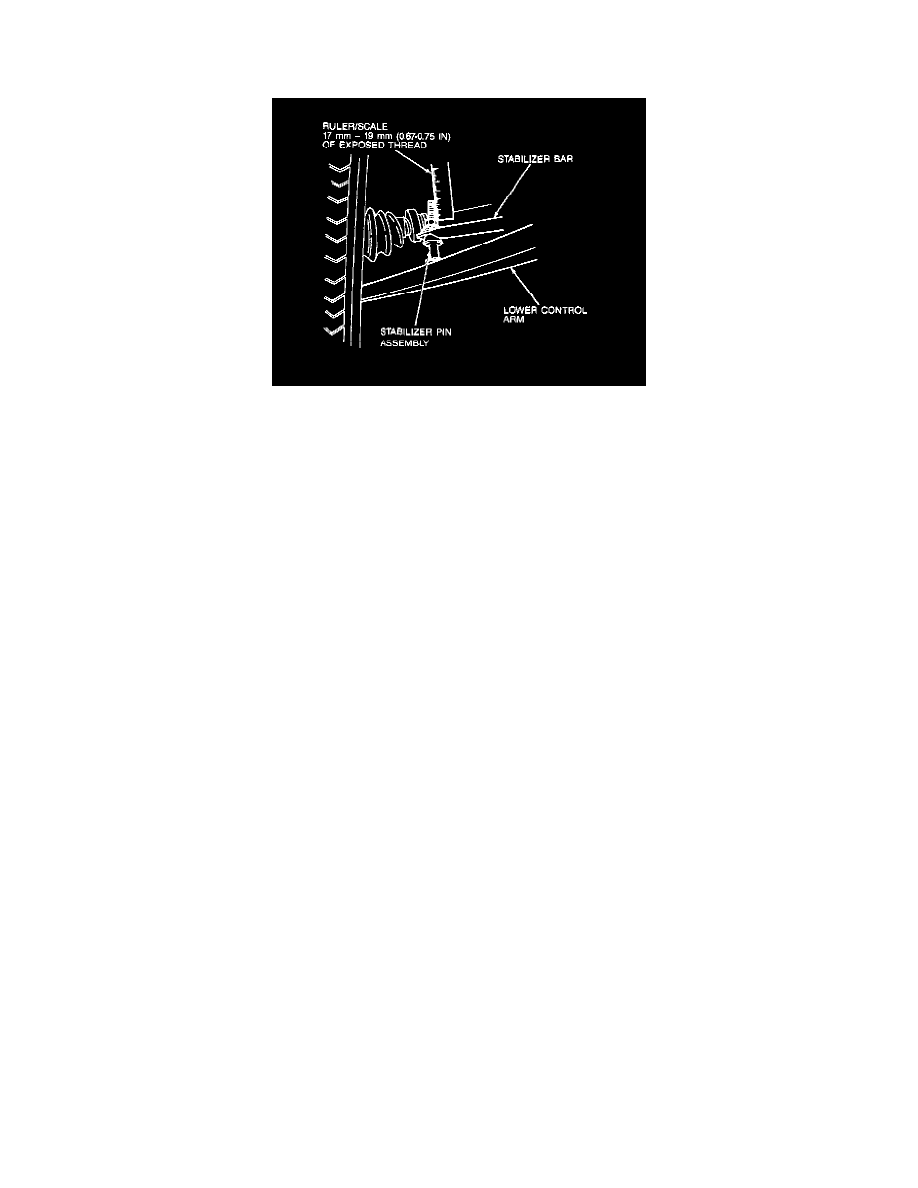
7. Install the stabilizer bolts, washers, bushings, sleeves and nuts. Tighten the stabilizer nuts so that 17-19mm (0.67-0.75 inch) of thread is
exposed at the end of the bolt.
8. Install the front wheel onto the vehicle. Tighten the lug nuts to 88-118 N.m (65-87 lb-ft).
9. Lower the vehicle.