
Tracer L4-116 1.9L SOHC (1991)
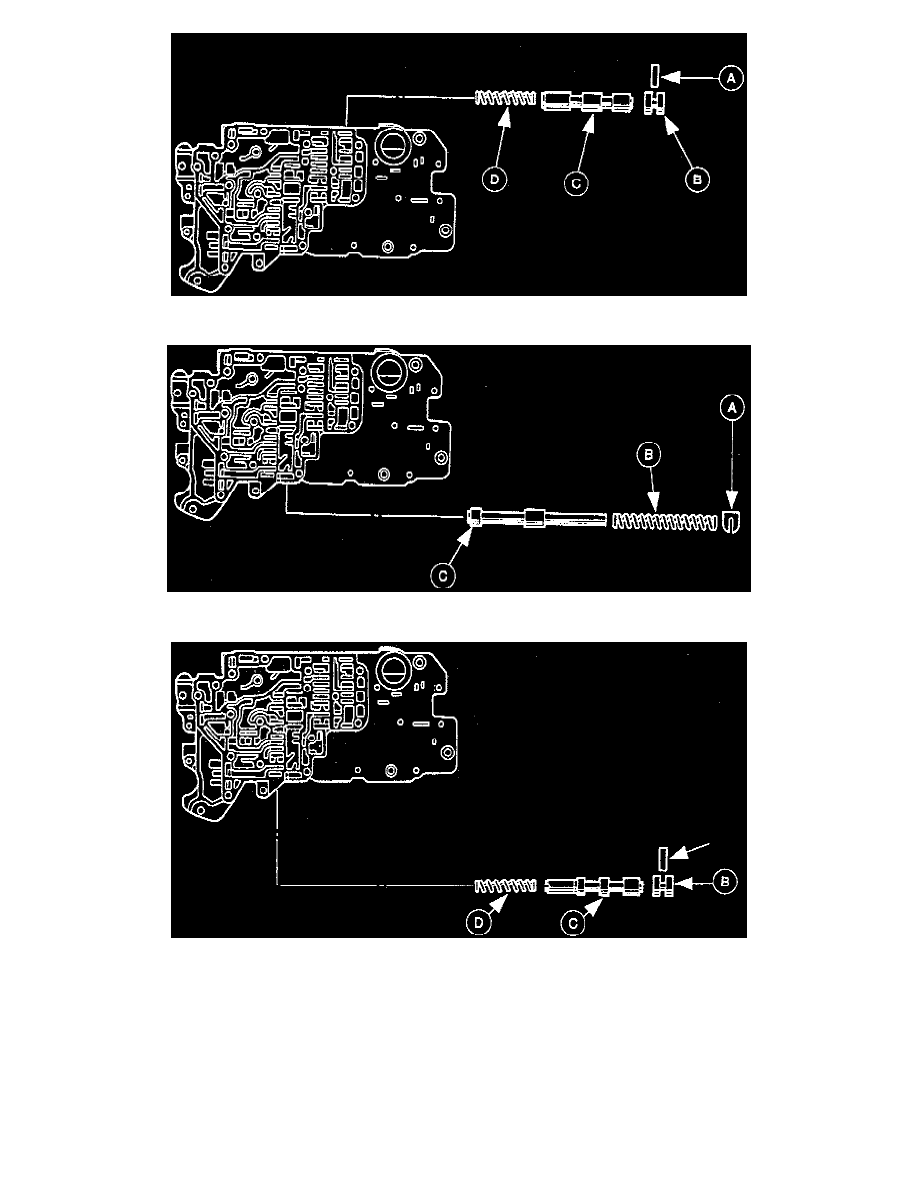
2. Remove the (A) stop pin, (B) stop plug, (C) 2-3 shift valve, and the (D) 2-3 shift valve spring.
3. Remove the (A) retainer, (B) converter relief valve spring, and the (C) converter relief valve.
4. Remove the (A) stop pin, (B) stop plug, (C) torque converter clutch valve, and the (D) torque converter clutch valve spring.
Assembly
1. Clean all components with a suitable solvent and use compressed air to dry all parts and clean the fluid passages. Perform the following before
assembling:
-
Inspect the valves for damage or wear.
-
Check for worn or broken springs.