
Villager V6-181 3.0L SOHC VIN 1 EFI (1997)
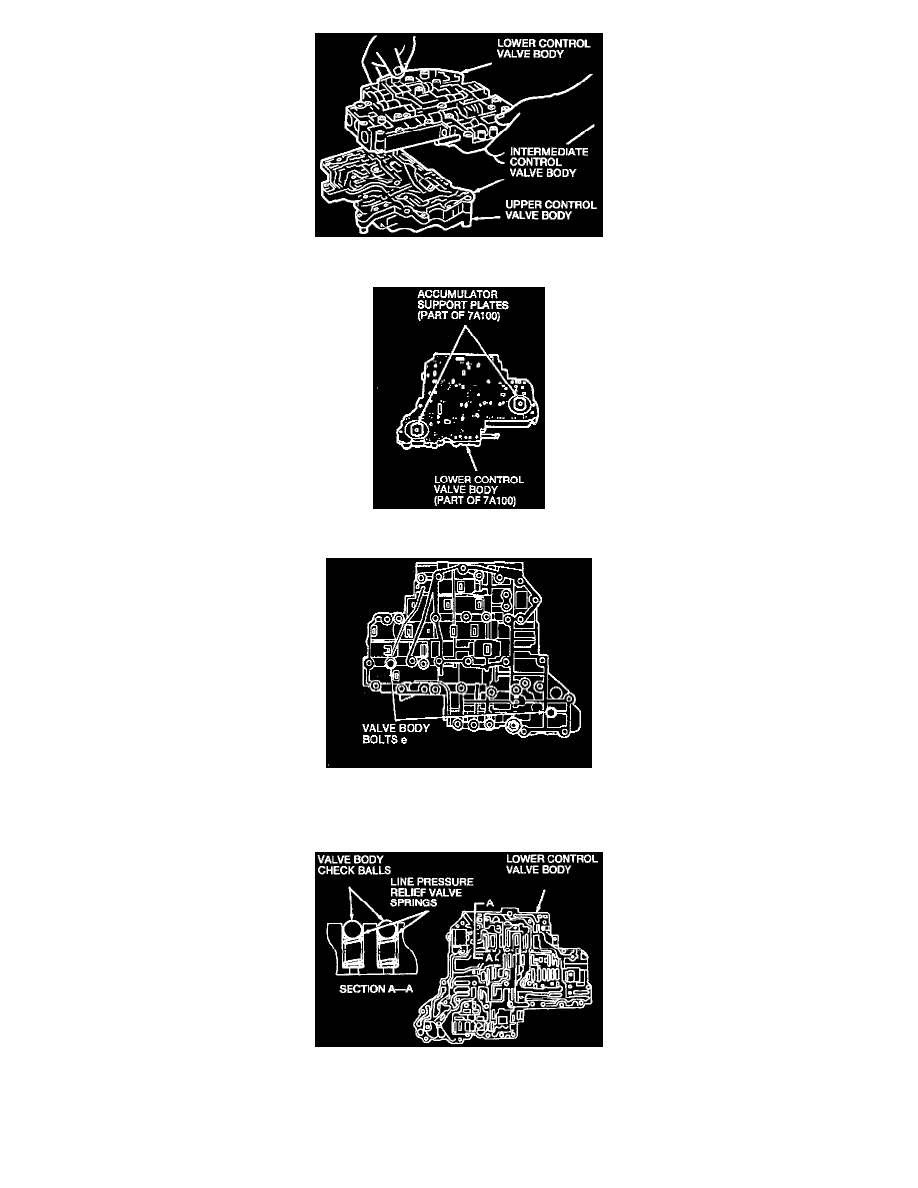
7. Remove the lower control valve body from the intermediate and upper control valve bodies.
8. Turn the lower control valve body over and remove the two accumulator support plates.
9. Remove the two valve body bolts e. Then remove the lower separating plate and the lower separating gasket from the lower control valve body.
CAUTION: Do not lose the valve body check balls or the relief valve springs.
10. Remove the valve body check balls and the line pressure relief valve springs from the lower control valve body.