
Zephyr L4-140 2.3L SOHC (1983)
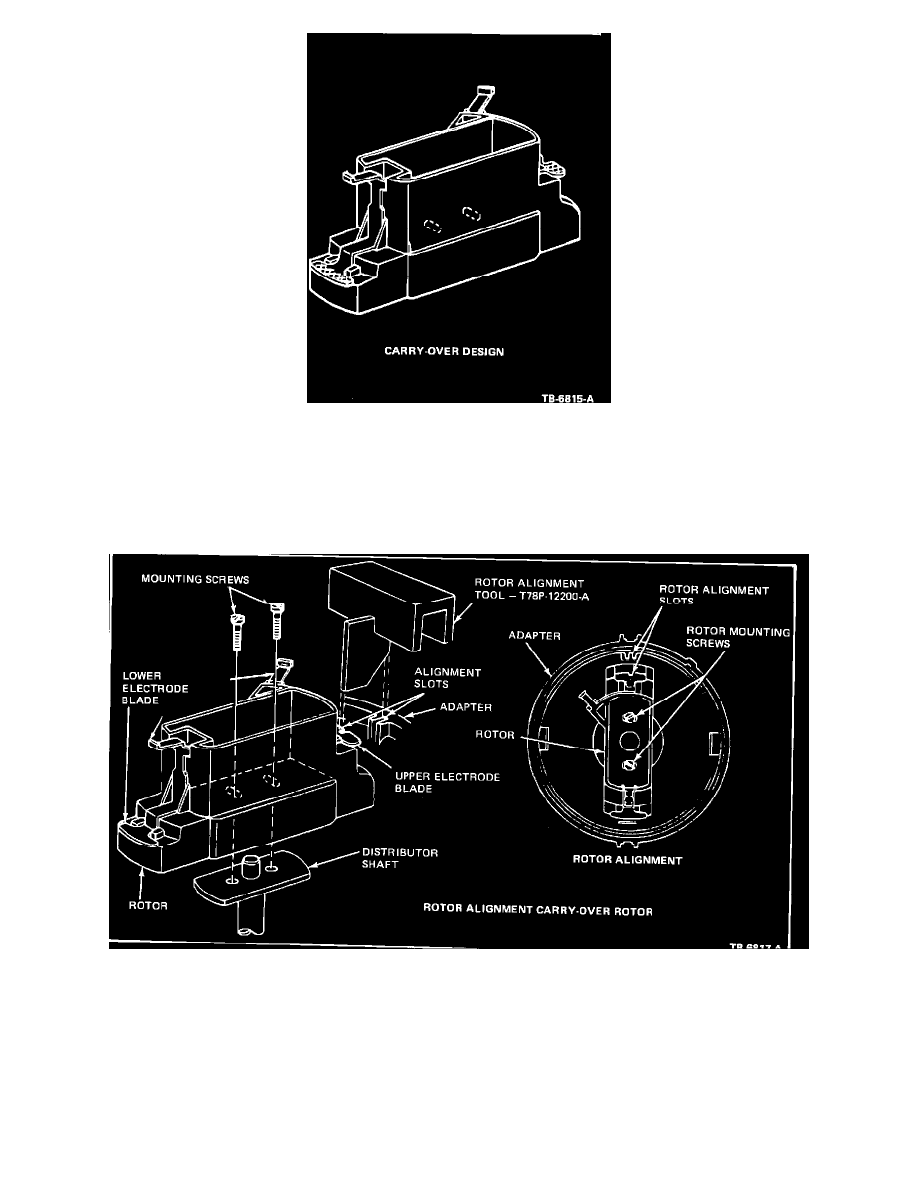
Figure 10
Carryover Design Rotor (Figure 10)
1.
Remove the distributor cap by loosening the two spring clips holding the cap to the distributor adaptor. Do not remove the rotor.
2.
Rotate the engine until the No. 1 piston is on the compression stroke.
3.
Slowly rotate the engine until the timing pointer is aligned with the specified timing mark. (Refer to the Specification Chart for the correct value).
Figure 12
4.
Loosen the two rotor mounting screws (Figure 12) and slightly rotate the rotor from side to side until the slot in the upper electrode blade aligns
with the slot in the adaptor allowing the mounting of T78P- 12200-A alignment tool.
5.
Tighten the two rotor mounting screws to 1.7 to 2.25 N-m (15-20 in.lbs.). Remove alignment tool.
6.
Reinstall distributor cap and wires making sure wires are firmly seated in the distributor cap terminal housings and on the spark plugs.
OTHER APPLICABLE ARTICLES: None
WARRANTY STATUS: "INFORMATION ONLY"