
3000GT Convertible AWD V6-2972cc 3.0L DOHC Turbo (1995)
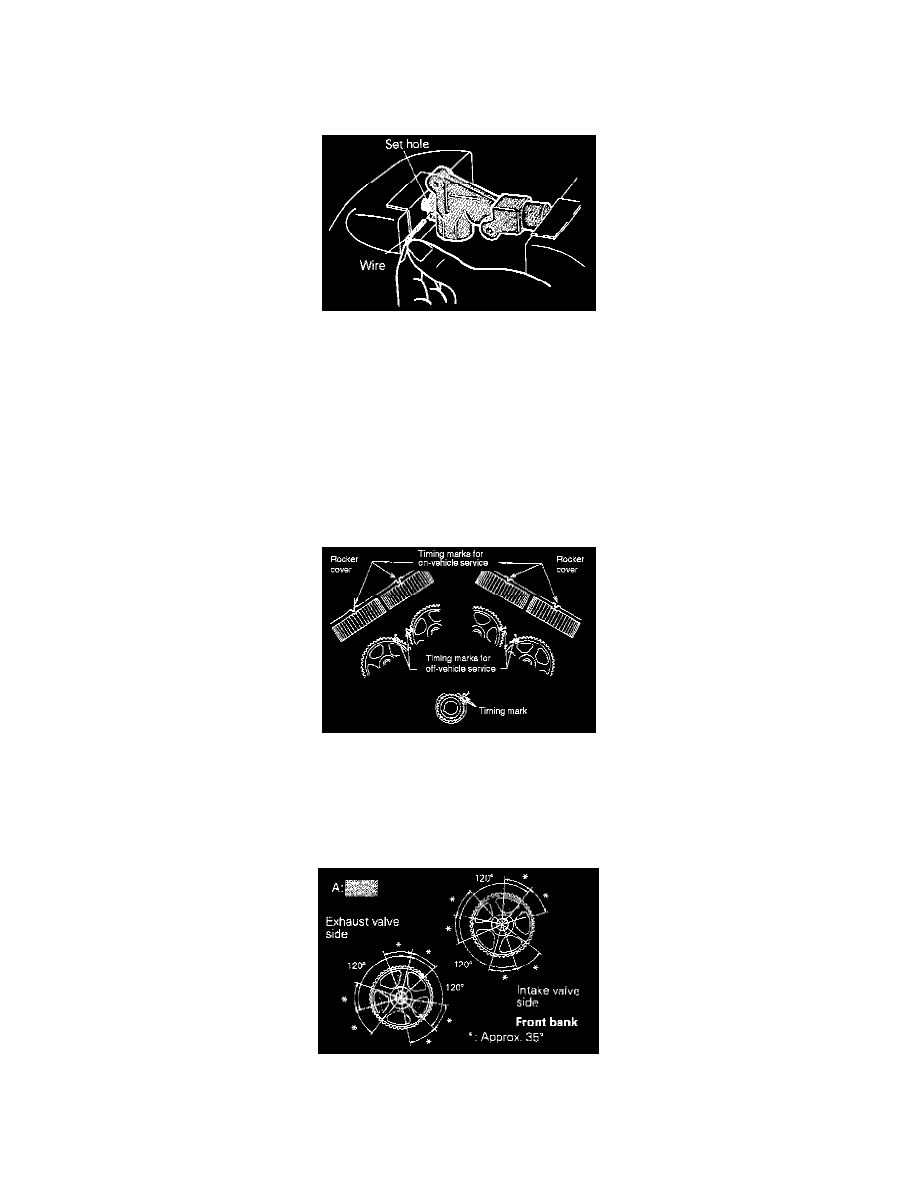
2) Push in the rod little by little with the vise until the set hole (A) in the rod is aligned with that (B) in the cylinder.
CAUTION:
-
Push in the rod slowly to prevent the push rod from being damaged.
3) Insert a wire [1.4 mm (0.055 in.) in diameter] into the set holes.
4) Unclamp the auto tensioner from the vise.
(b) Install the auto tensioner.
CAUTION:
-
Leave the wire installed in the auto tensioner.
12. Installation of timing belt.
(a) Align the timing marks on the respective sprockets. In case of the camshaft sprockets in the front bank, proceed as follows:
1) Install the crankshaft pulley. Shift the timing mark on the crankshaft sprocket by three teeth to lower the piston in No. 1 cylinder slightly from
the top dead center on compression stroke.
CAUTION:
-
Turning the camshaft sprocket with the piston in No.1 cylinder located at TDC on compression stroke may cause the valves to interfere with
the piston.
2) Make sure that the timing marks on the camshaft sprockets for intake and exhaust valves are not within the range A in the illustration.
If the timing mark is within range A, turn the camshaft sprocket to move the timing mark to the area closest to the range A.
CAUTION: