
3000GT Convertible AWD V6-2972cc 3.0L DOHC Turbo (1995)
Canister Purge Control Valve: Testing and Inspection
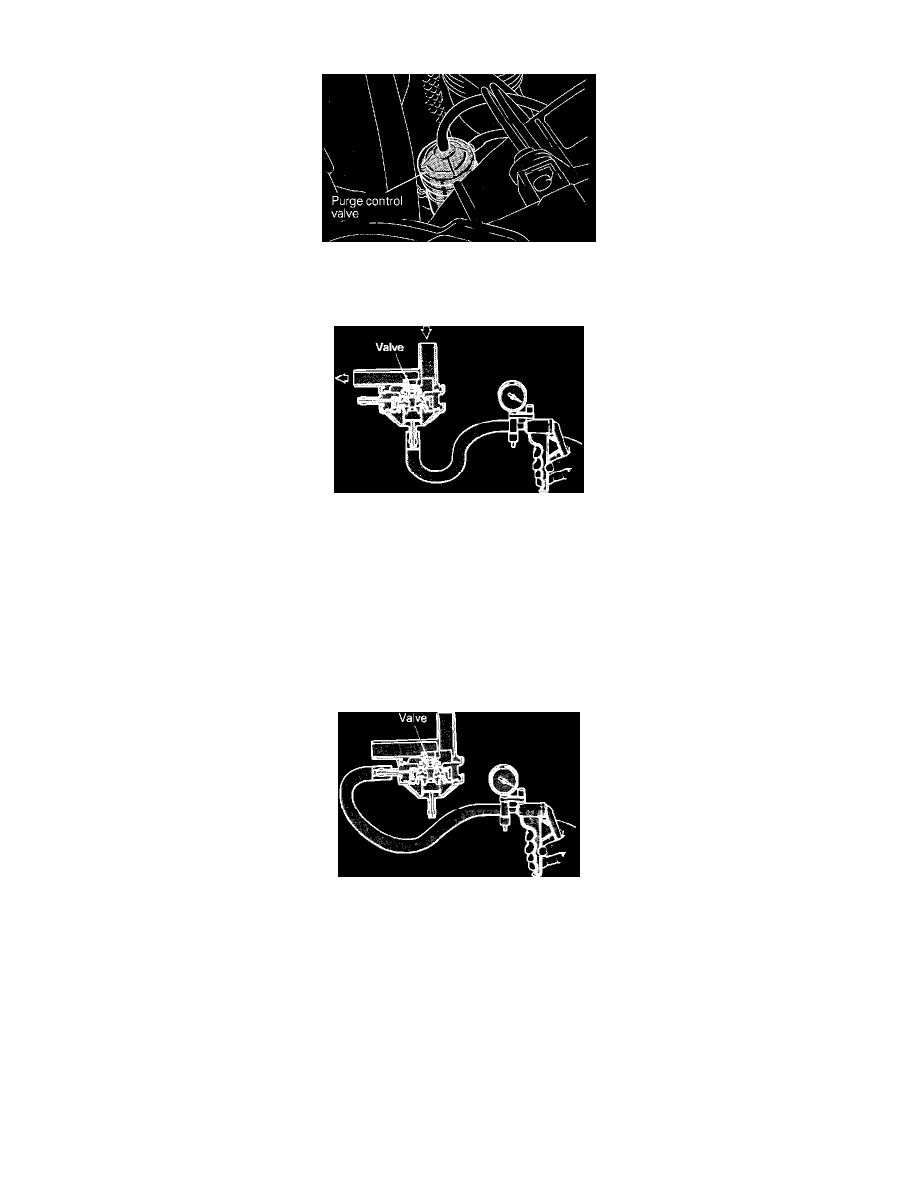
Purge Control Valve Location
1. Remove the Purge Control Valve.
Purge Control Valve Vacuum Test
2. Connect a hand vacuum pump to the vacuum fitting and apply 15.7 in. Hg (400 mmHg).
a. If vacuum holds, proceed to next step.
b. If vacuum does not hold, replace the purge control valve.
3. Attempt to blow air through the valve in the direction as indicated in the image.
a. If air passes through, proceed to the next step.
b. If air does not pass through, replace the valve.
4. Release the vacuum and attempt to blow air through the valve in the direction as indicated in the image.
a. If air does not pass through, proceed to the next step.
b. If air passes through, replace the valve.
Purge Control Valve Pressure Test
5. Connect a hand vacuum pump to the positive pressure fitting and apply 15.7 in. Hg (400 mmHg).
a. If vacuum is held, the valve is O.K..
b. If vacuum is not held, replace the valve.