
3000GT Convertible AWD V6-2972cc 3.0L DOHC Turbo (1995)
Fuel Pressure Regulator: Testing and Inspection
1. Reduce the internal pressure of the fuel pipes and hoses.
High Pressure Fuel Hose Connection
2. Disconnect the fuel high pressure hose at the fuel rail side.
CAUTION: Cover the hose connection with rags to prevent splash of fuel that could be caused by some residual pressure in the fuel pipe line.
Fuel Pressure Gauge Installed
3. Set a fuel pressure gauge on the special tool, placing an adequate 0-ring or gasket between the gauge and special tool prevent fuel leaks.
4. Attach the special tool set in step 3 to the Fuel Rail between high pressure hoses.
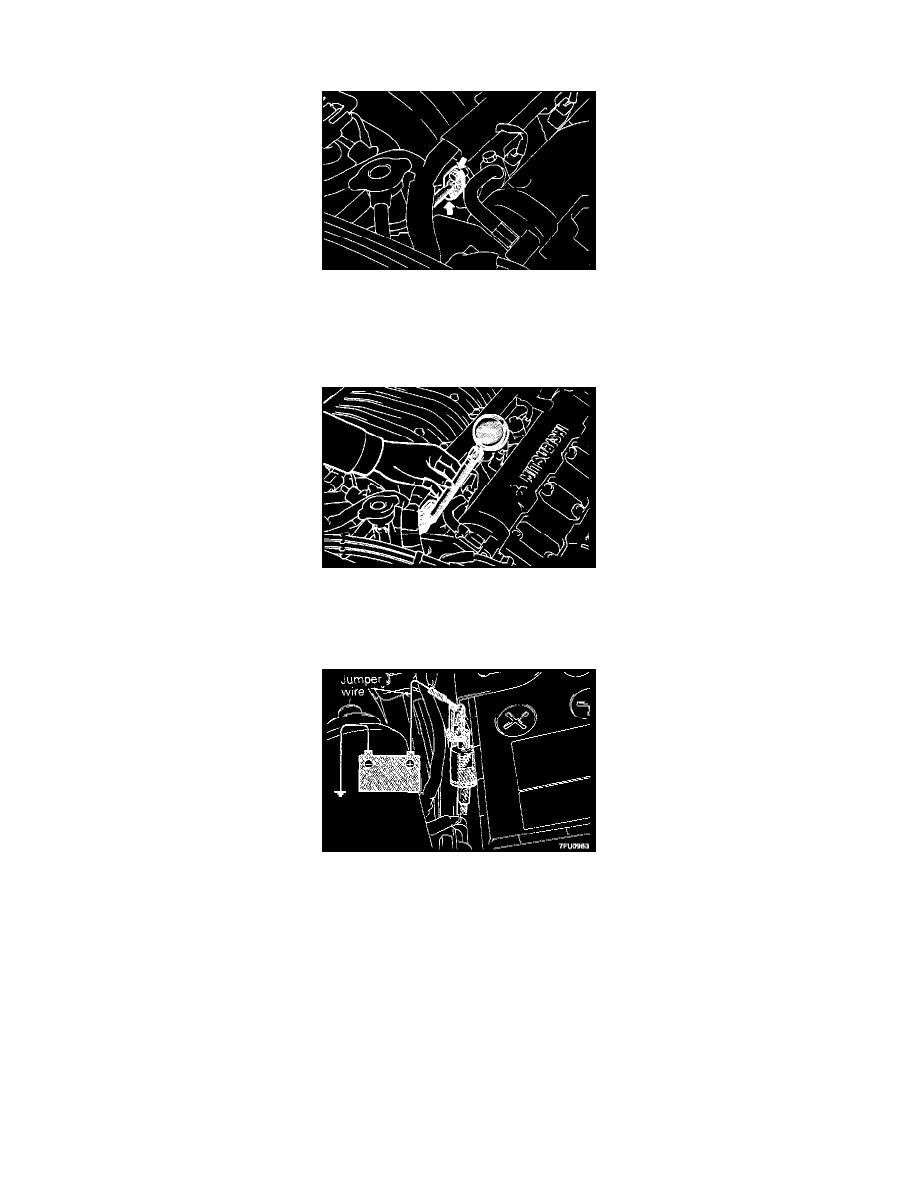
Fuel Pump Check Terminal
5. Connect a jumper wire to the Fuel Pump Check Connector and to the positive terminal of the battery to activate the Fuel Pump. With fuel pressure
applied, check to be sure that there is no fuel leakage from the fuel pressure gauge and the special tool connection part.
6. Disconnect the jumper wire (from the terminal for activation of the fuel pump) to stop the Fuel Pump.
7. Start the engine and let it idle.
8. Measure the fuel pressure during idling.
Standard value: Approx. 235 kPa (34 PSI) at curb idle