3000GT SL V6-2972cc 3.0L DOHC MFI (1997)

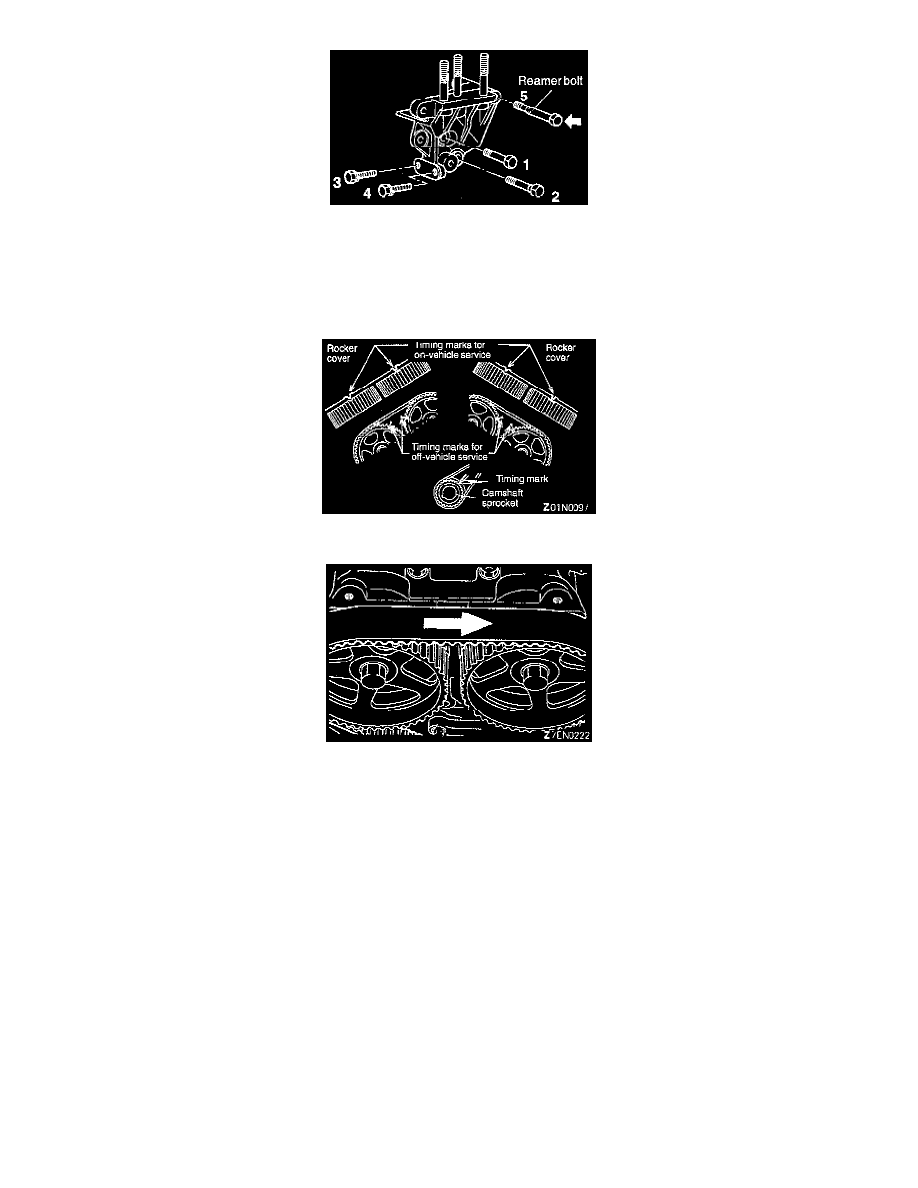
7. Remove the engine support bracket in the numbered sequence shown in the illustration.
NOTE: Spraying lubricant, slowly remove the bolt (reamer bolt) indicated by the arrow. Keep in mind that the reamer bolt is sometimes heat
seized on the engine support bracket.
8. Remove the timing belt.
a. Align the timing marks.
b. Make a mark on the back of the timing belt indicating the direction of rotation so it may be reassembled in the same direction if it is to be
reused.
c. Loosen the center bolt on the tensioner pulley to remove the timing belt.
CAUTION: Water or oil on the belt shortens its life drastically, so the removed timing belt, sprocket, and tensioner must be free from oil and
water. These parts should not be washed. Replace parts if seriously contaminated. If there is oil or water on each part check the front case oil
seals, camshaft oil seal and water pump for leaks.
INSTALLATION
1. Install the auto tensioner.
a. If the auto tensioner rod is in its fully extended position n reset it as follows.
b. Keep the auto tensioner level and, in that position, clamp it in the vise with soft jaws.
