
Diamante V6-3.5L SOHC (2003)
1. Pad & wear indicator assembly
2. Pad assembly
3. Clip
4. Outer shim
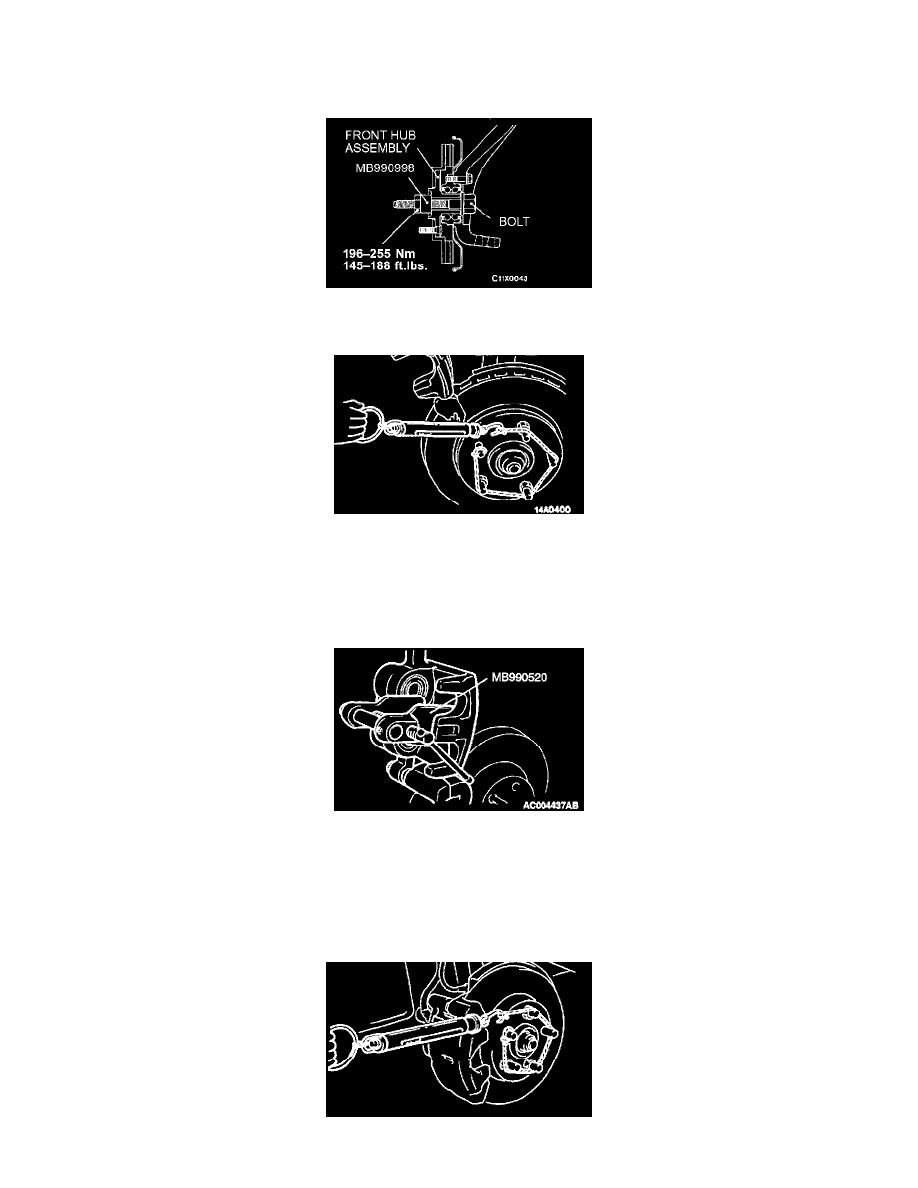
4. Take out the drive shaft.
5. Set the special tool to the front hub assembly as shown in the illustration.
6. Measure hub torque (A) with pads removed to measure brake drag torque. Torque value will be used later to calculate brake drag force with the
pads installed.
NOTE: Tighten the nuts in order to secure the disc to the hub.
7. Fit the pad clip and pads to the caliper support.
8. Clean pistons and push into cylinder (caliper) with special tool.
9. Be careful that the piston boot does not catch and tear as the caliper assembly and lock pin are installed.
10. Check brake drag torque as follows.
1) Start engine and hold brake pedal down for 5 seconds.
[Pedal depression force: approximately 196 N (44 lbs.)]
2) Stop engine.
3) Turn brake disc forward 10 times.
4) Check hub torque (B) with spring scale.