Diamante V6-3.5L SOHC (2003)

Rear stabilizer 13 ± 0.5 mm (0.51 ± 0.197 in.)
NOTE: If all dimensions are in specification, the customer concern is probably caused by a condition other than door glass settings.
DOOR GLASS ADJUSTMENTS
NOTE: Do not attempt door glass adjustment unless glass settings have been confirmed as being incorrect.
FRONT DOOR
1. Wind the glass fully up (engine running).
2. Remove the door trim, waterproof film and belt line moulding.
3. Loosen the two top regulator attaching nuts.
4. Check and adjust the door glass stabilizer settings ensuring the adjusting screw is held while tightening the lock nut. Tighten the regulator
attaching nuts and then re-install the belt line moulding.
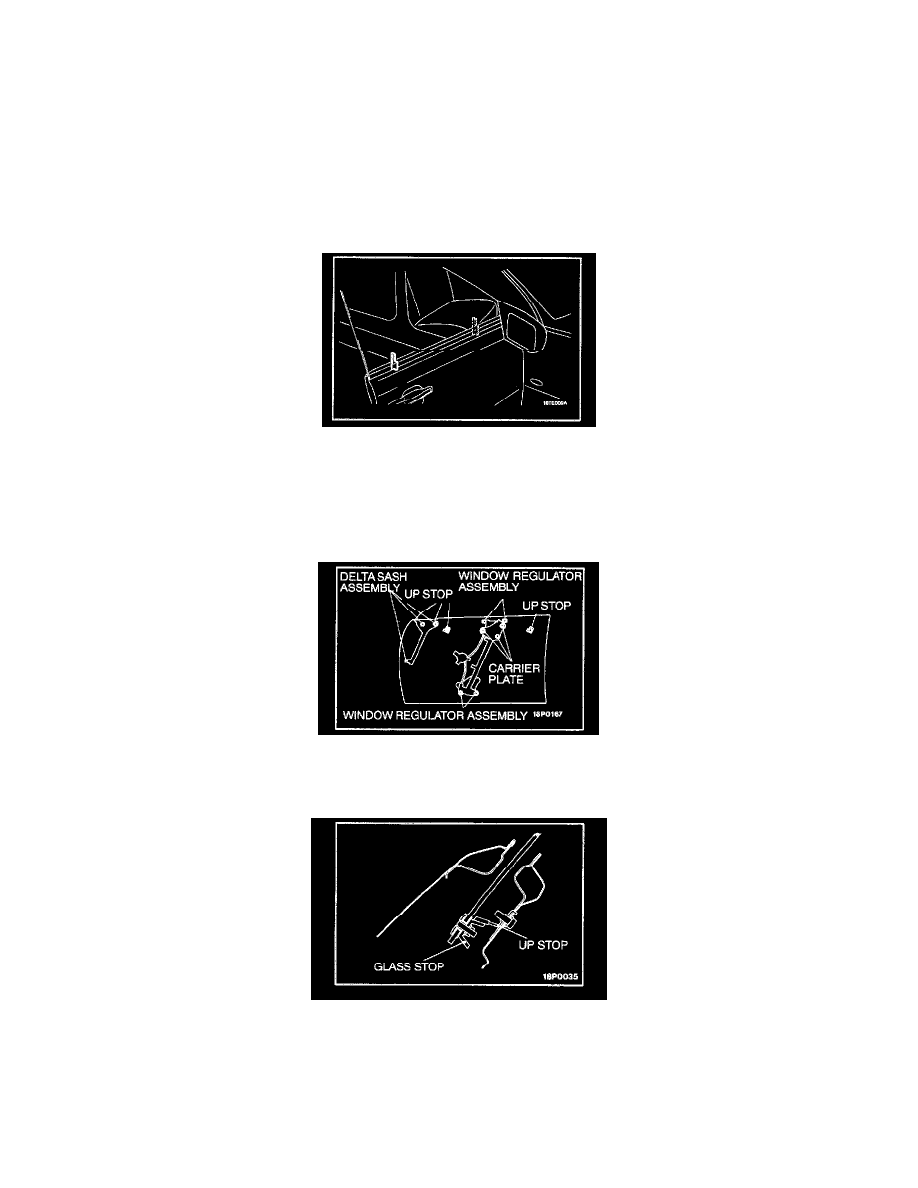
5. Loosen the mounting bolts and nuts for up stops, delta sash, carrier plate, and regulator (bottom).
NOTE: Mark the position of all bolts and nuts before loosening so that they can be returned to the original position if necessary. Conduct all
checks and adjustments with the engine running to ensure adequate voltage is maintained at the power window motors.
6. With the window up, close door carefully.
7. Hold the door glass with both hands, (one hand through the rear window) push the glass towards the glass catch to achieve the glass position
specification in the glass catch (glass intrusion) and the "B" pillar glass margin.
8. If the specification is achieved, keep the door closed and from the inside of the vehicle push the up stops to the glass stops and tighten. Tighten the
carrier plate bolts, open the door and tighten the regulator bottom bolts.
9. Check soft touch and if necessary adjust the lower regulator mounting studs and retighten.
