
Diamante Sedan V6-3.5L SOHC (1999)
10. Recheck the glass intrusion, "soft touch" and glass margin. Alter glass intrusion by moving the up stops. Alter "soft touch" by adjusting the lower
regulator mounting studs.
CAUTION: To avoid rattles and thread damage always ensure each adjustment stud/bolt has a minimum of one and a half threads of protrusion
and are equal at stabilizers and lower track attachments.
If margin is incorrect, repeat steps 5-10.
11. With the glass fully raised, press the delta onto the glass so that the delta setting is the standard value.
12. Confirm that door can be closed without glass hitting catch.
13. Confirm that the glass adjustment has not shifted by raising glass with door closed, any glass shift can be rectified by lowering the glass, loosening
the top two carrier plate bolts and rotating the glass towards the "B" pillar at the top.
14. Install the waterproof film and door trim.
15. Perform a leak test to confirm that water does not leak into the interior.
REAR DOOR
1. Remove the door trim, waterproof film, and belt line moulding.
2. Fully raise the door glass (engine running) and check the door glass stabilizer settings using a suitable gauge. If adjustment is required, loosen top
studs on guide tracks, adjust the settings and retighten studs. Reinstall belt line mouldings.
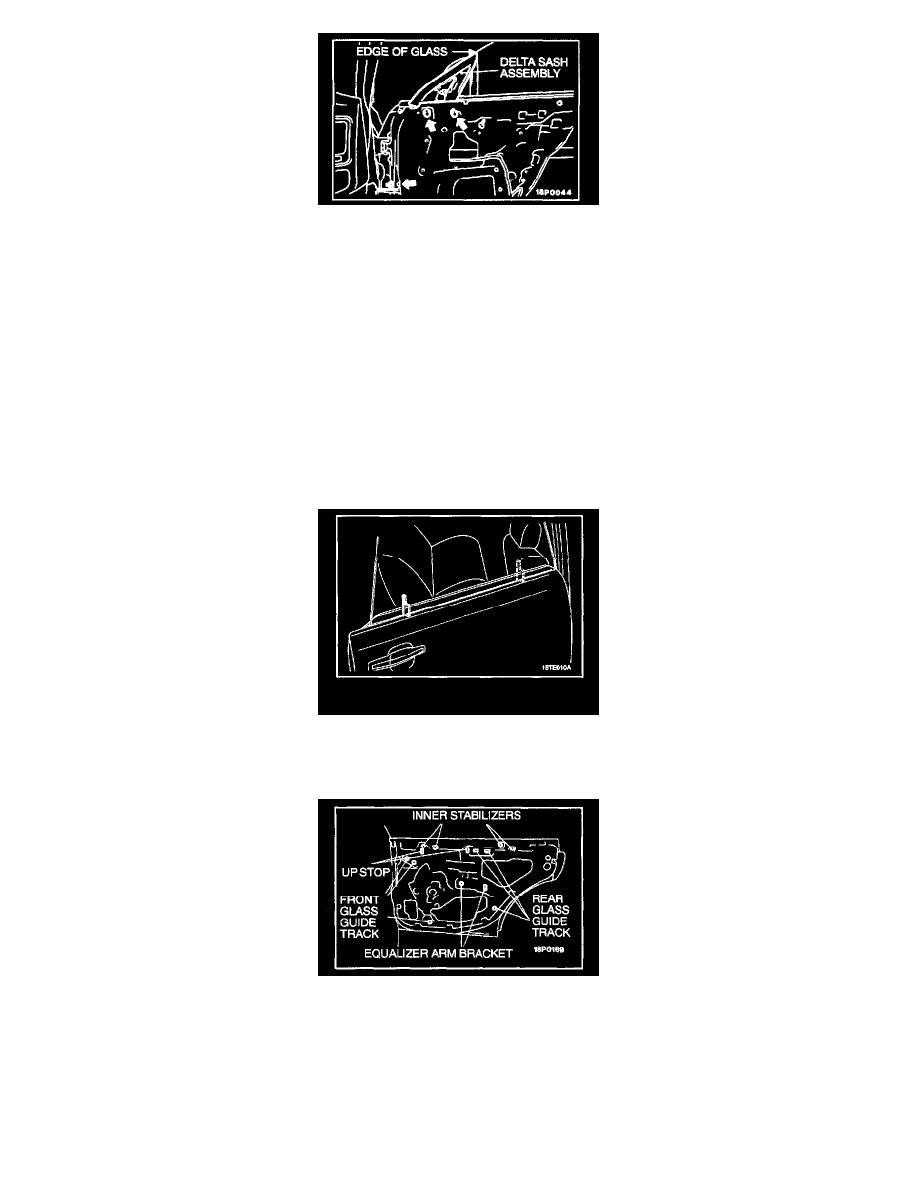
3. Loosen the upper mounting studs and nuts for the front glass guide track, rear glass guide track, up stops and equalizer arm bracket.
4. Move the door glass backwards and forwards by moving the rear glass guide track and at the same time tilt the glass by moving the equalizer arm
bracket to set the glass margin, "C" pillar gap and door glass intrusion then tighten the equalizer arm bracket and guide track upper studs.