
Diamante Sedan V6-3.5L SOHC (1999)
Marker Lamp: Description and Operation
Low-beam and high-beam
-
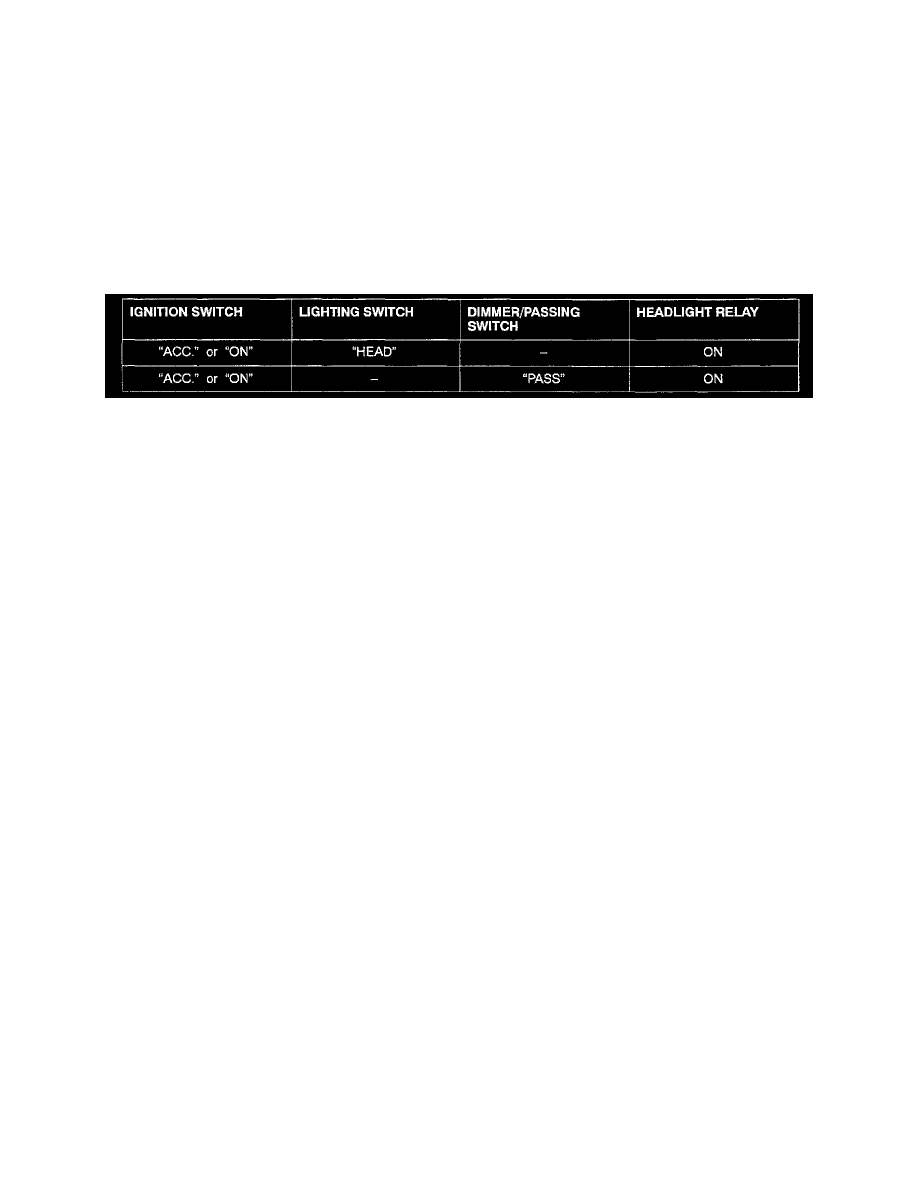
Turning the lighting switch to "HEAD" sends a headlights ON signal to the instrument panel ECU. The instrument panel ECU sends a signal to the
Assist-ECU via the SWS communication line and the Assist-ECU switches the headlight relay on.
-
Operating the dimmer switch sends a signal to the instrument panel ECU which determines whether LO or HIGH beam mode is selected and sends
a signal to the Assist-ECU which switches the LO or HI headlight relay on.
Passing
-
Operating the passing switch sends a signal to the instrument panel ECU which determines operating requirements and signals the Assist-ECU.
-
When the low beam is illuminated, the Assist-ECU switches the HI relay on so that the high beam will be lit as well.
-
When the lighting switch is at "OFF" or "TAIL", the LOand HI relays are switched ON simultaneously by the Assist-ECU.
High-beam indicator light
-
When the high beam is lit or when the passing switch is activated, the high-beam indicator light will be lit.
Conditions for switch-ON of headlight relay
HOW TO HANDLE HEADLIGHT, FRONT SIDE-MARKER LIGHT AND POSITION LIGHT ASSEMBLY
Plastic outer lenses are used for the headlight, front side-marker light and position light assembly, and
so pay attention to the following items.
-
Do not touch the outer lens surface with a sharp tool.
-
Use the specified genuine parts; bulbs.
-
Don't apply masking tape to the outer lens surface.