
Eclipse L4-1795cc 1.8L SOHC (1990)
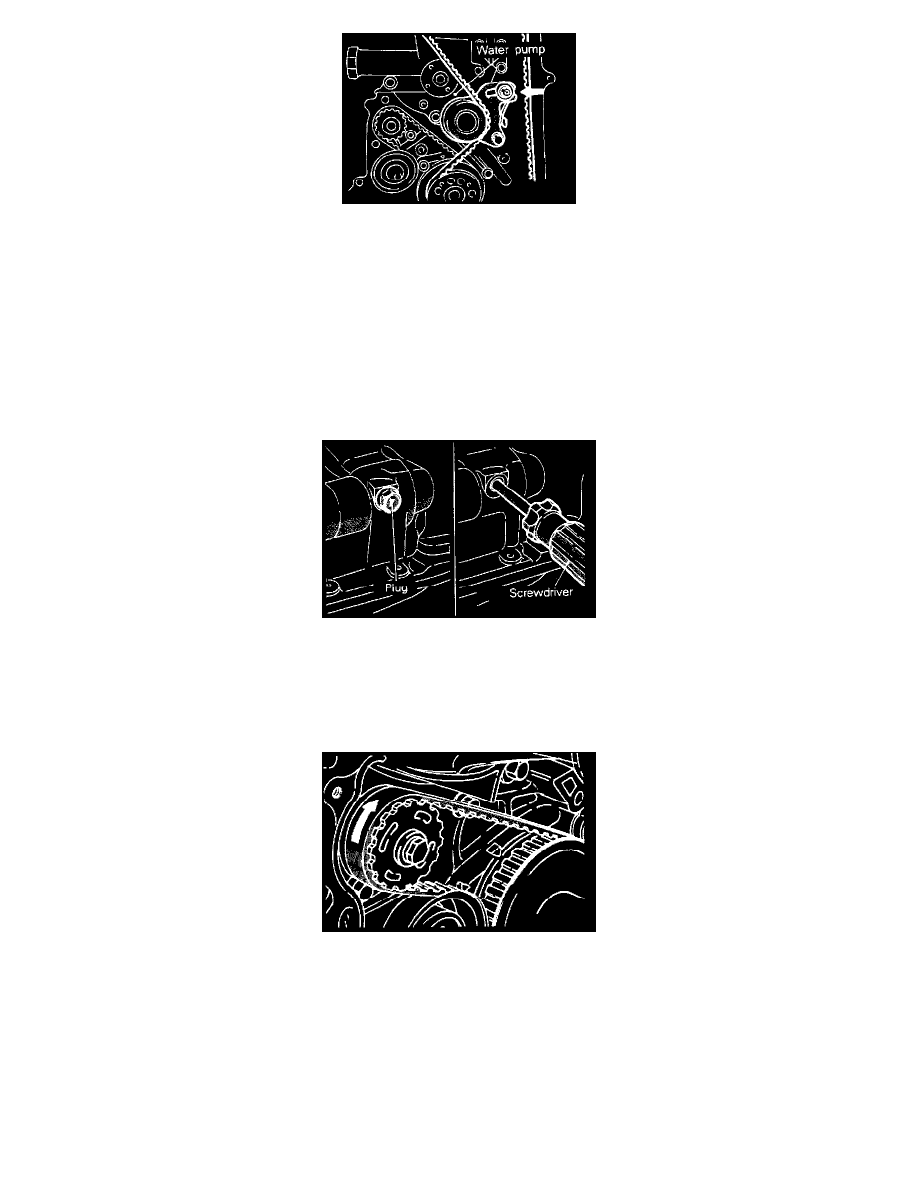
(4) Move the timing belt tensioner to the water pump side and loosely tighten the bolt so that the tensioner doesn't return; then remove the timing
belt.
NOTE: If the timing belt is to be re-used, use chalk to mark (on its flat side) an arrow indicating the clockwise direction.
Caution:
1. As water or oil on the belt can seriously reduce its usable life, ensure that the timing belt, sprocket, and tensioner stay clean and dry while
removed, and never wash them. Parts that have become too dirty should be replaced.
2. When any of the parts are oily, check to see whether there are any oil leaks in any of the oil seals or the camshaft oil seal on the front of the
engine.
24. Removal of oil pump sprocket.
(1) Remove the plug on the side of the cylinder block.
(2) insert a Phillips screwdriver [shank diameter 8 mm (0.31 in.)] to block the left silent shaft.
(3) Remove the oil pump sprocket nut.
(4) Remove the oil pump sprocket.
28. Removal of timing, belt "B."
Make a mark on the back of the timing belt indicating the direction of rotation so it may be reassembled in the same direction if it is to be reused.
Caution: Water or oil on the belt shortens its life drastically, so the removed timing belt, sprocket, and tensioner must be free from oil and water.
These parts should not be washed. Replace parts if seriously contaminated. If there is oil or water on each part check the front case oil seals,
camshaft oil seal and water pump for leaks.