
Eclipse L4-1795cc 1.8L SOHC (1990)
1.
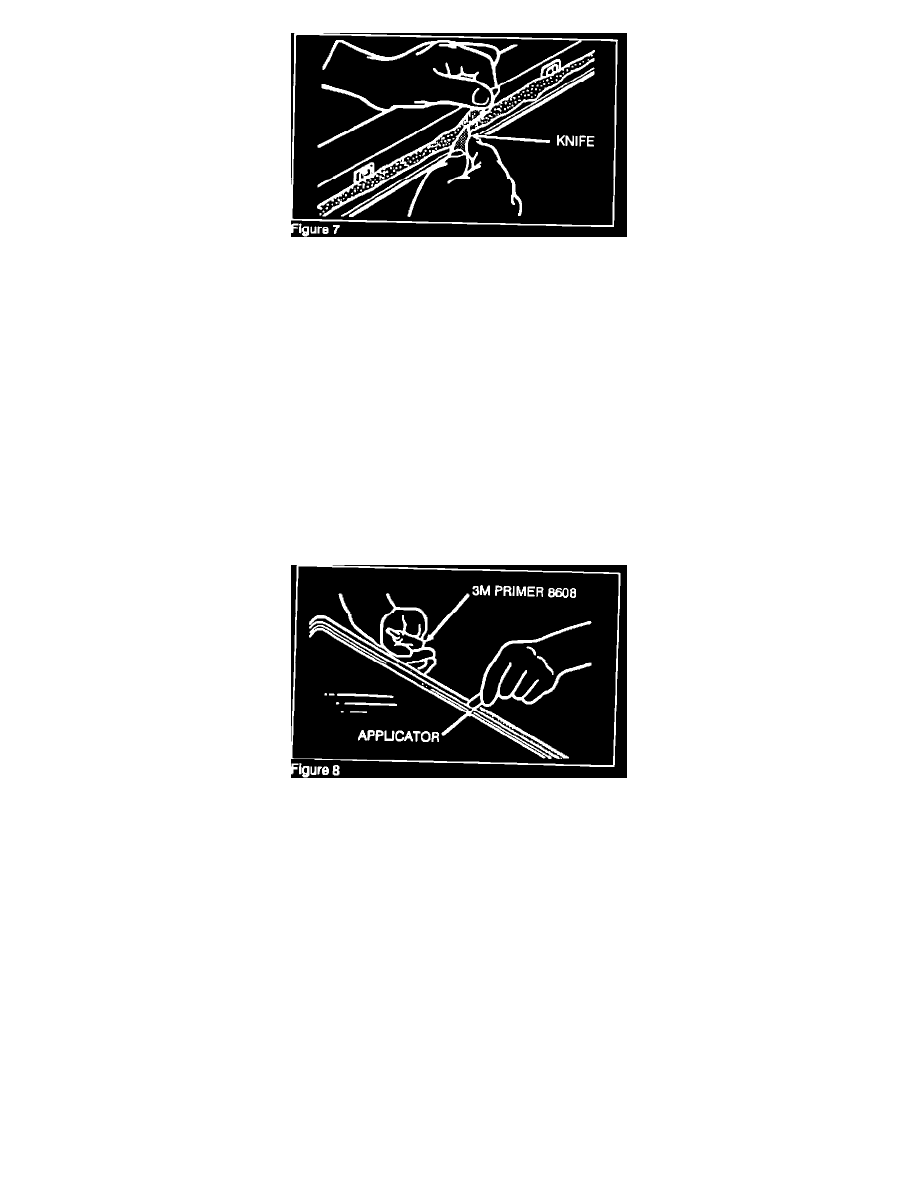
Using a sharp knife, cut the old adhesive from the body pinch weld as close to the body flange as possible without causing paint damage (Figure
7).
CAUTION:
If the paint is damaged, repair the damaged area with touch-up paint to prevent rust.
2.
Completely remove all traces of the remaining adhesive using 3M General Purpose Adhesive Cleaner 8984 or equivalent.
IMPORTANT NOTICE
All adhesive must be removed from the body windshield opening flange. Failure to remove all adhesive and properly prime the surfaces may cause the
windshield to come loose from the body.
Windshield/Moulding Reinstallation
1.
On surfaces where the adhesive will be applied, remove all dirt and grease from the glass and the body flange using isopropyl alcohol. After
cleaning, allow the parts to dry for more than three minutes.
2.
Apply 3M Super Fast Urethane Primer (#8608 or equivalent) to the entire bonding surface of the glass, both to the inside surface and to the edge
of the glass (Figure 8). Apply the primer to the entire length of the body flange.
NOTE:
Do not touch the surfaces that are coated with primer. If the surfaces become contaminated with any substance, clean the area thoroughly using isopropyl
alcohol and reapply the primer.