
Eclipse L4-1996cc 2.0L DOHC (1995)
8.
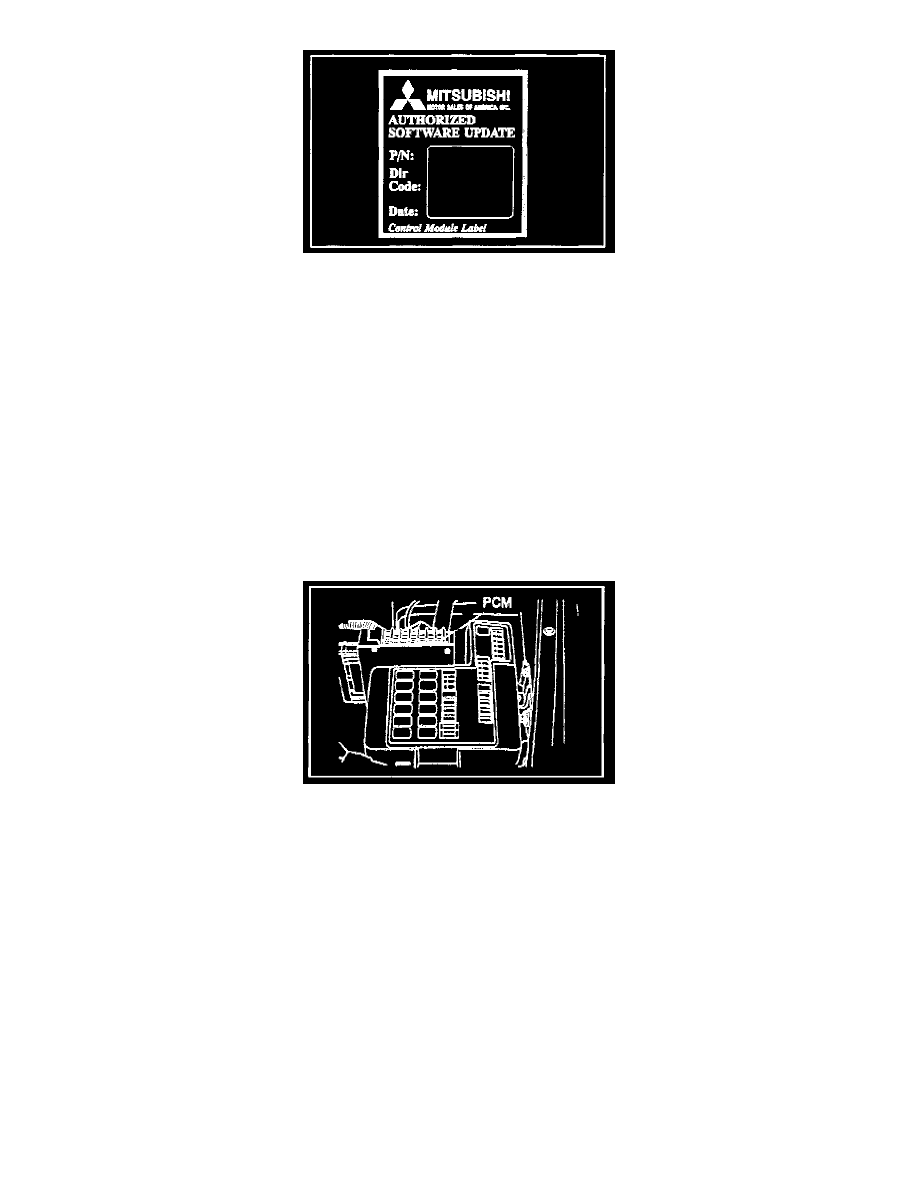
Fill out the control module label using a ball point pen. Enter the replacement PCM part number (identified in step 5), your dealer code, and the
current date on the control module label. Affix the label to the side of the PCM.
NOTE:
You should have a supply of these labels. The labels come on a sheet along with the Authorized Modifications engine compartment label. A
quantity of these labels were sent to each dealership along with the Reprogramming Unit Kit. If you need more, order part number
MSSF-023G-00A.
D. Replacing the PCM
NOTE:
ONLY vehicles equipped with a non-programmable PCM, as determined by the inspection procedures in Section C, require a PCM
replacement.
1.
Make sure the negative (-) battery cable is disconnected from the battery.
NOTE:
Remember to record all radio settings before disconnecting the battery and to reset the stations and the clock when servicing is finished.
2.
Disconnect the PCM electrical connector.
3.
Remove the bolts that attach the PCM mounting bracket to the inner fender and then remove the PCM and bracket assembly.
4.
Remove the PCM from the mounting bracket. Discard the PCM.
5.
Install the new PCM on the mounting bracket and tighten the bolts securely.
6.
Install the new PCM and bracket assembly on the inner fender and tighten the bolts securely.
7.
Connect the PCM electrical connector.
8.
Connect the negative battery cable. Reprogram the radio and the clock.
E. Labels