
Eclipse L4-1996cc 2.0L DOHC (1995)
Torque Converter: All Technical Service Bulletins
A/T - Shudder During EMCC Operation
NO.: TSB-96-23-022
DATE: October, 1996
MODEL: 1995-96 Eclipse
SUBJECT:
SHUDDER DURING EMCC OPERATION
PURPOSE
Some affected vehicles may experience a light-to-moderate transaxle shudder during torque converter Electronic Modulated Converter Clutch (EMCC)
operation. The condition may typically occur when driving on smooth roads or on long uphill grades at vehicle speeds between 28 - 42 mph. The
shudder is a result of leakage in the A/T front oil pump due to a worn bushing. A pump "whine" noise may also occur with the shudder.
If Diagnostic Trouble Code (DTC) 38 "Torque Converter Control Out of flange" is set, the A/T front oil pump assembly and the torque converter must
be replaced. An improved torque converter with bonded clutch friction material is listed in the PARTS INFORMATION section of this bulletin.
IMPORTANT:
If a 1995 model year vehicle experiences the shudder condition described above, but DTC 38 is not set, refer to TSB-95-23-002 "TCM
Reprogramming for Poor Shift Quality" for Transmission Control Module (TCM) reprogramming instructions using reprogramming cartridge
MIT992OO8.
AFFECTED VEHICLES
1995-96 Eclipse models equipped with 2.0L non-turbocharged engine and automatic transmission.
PROCEDURE
If the vehicle experiences A/T shudder during EMCC operation and DTC 38 is set:
1.
Follow the appropriate troubleshooting steps for DTC 38 and any other DTCs set by the TCM or powertrain control module (PCM). Refer to the
appropriate-Eclipse service manual for troubleshooting and repair information.
2.
Replace the torque converter and A/T front oil pump assembly, using new seals and gaskets. Use the part numbers listed in the PARTS
INFORMATION section of this bulletin.
3.
Reverse flush the A/T oil cooler and oil cooler lines as follows:
a.
Locate the ATF cooler lines at the top of the transaxle housing. The outlet (pressure) line is secured to the nipple closest to the radiator. The
inlet (return) line is secured to the nipple closest to the bulkhead.
b.
Remove the ATF cooler line closest to the radiator and place it into a container large enough to collect 2-3 quarts of ATF.
c.
Remove the other ATF cooler line and install it into the nipple closest to the radiator. This will back-flush the ATF oil cooler.
d.
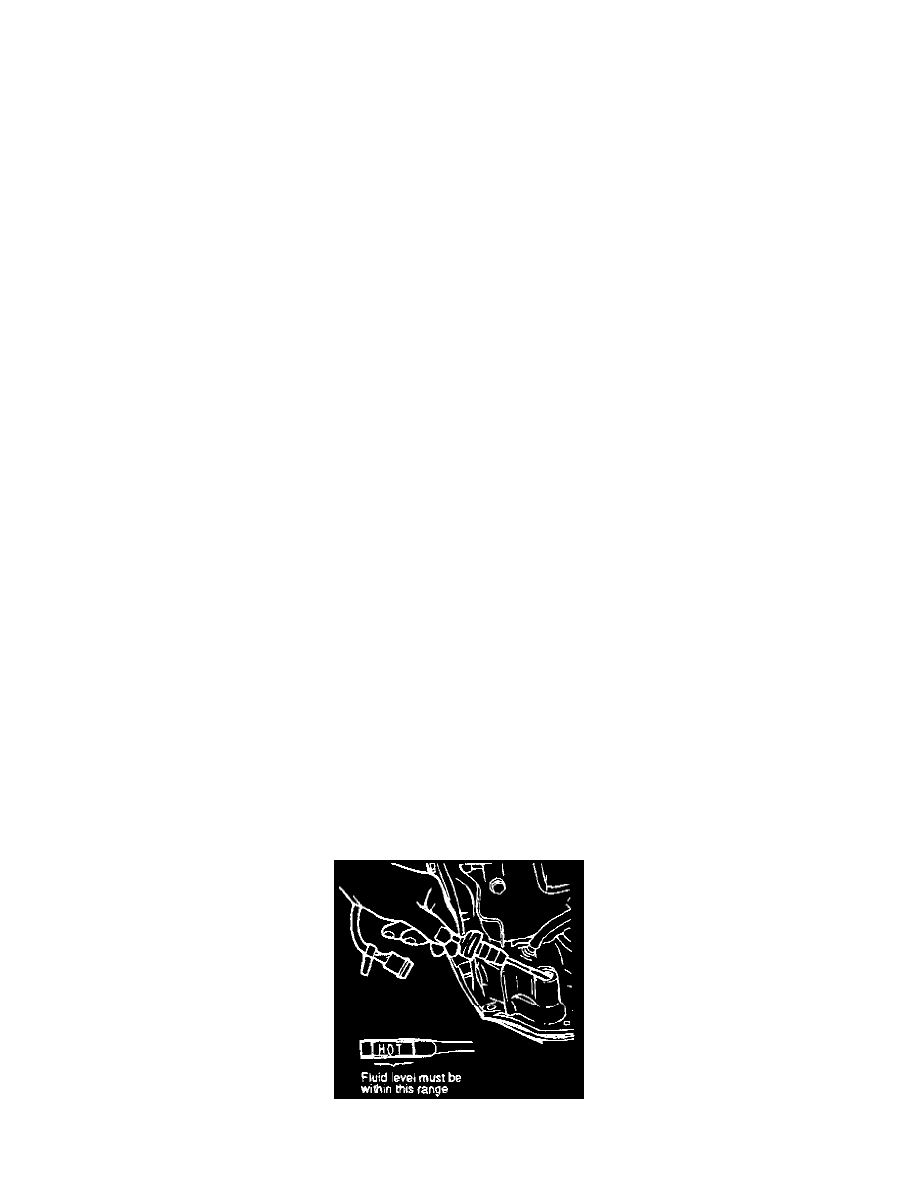
With the parking brake set, the engine off, and the gear selector in neutral, add ATF to bring the ATF level to the HOT mark on the A/T
dipstick.