Eclipse L4-1997cc 2.0L DOHC (1991)

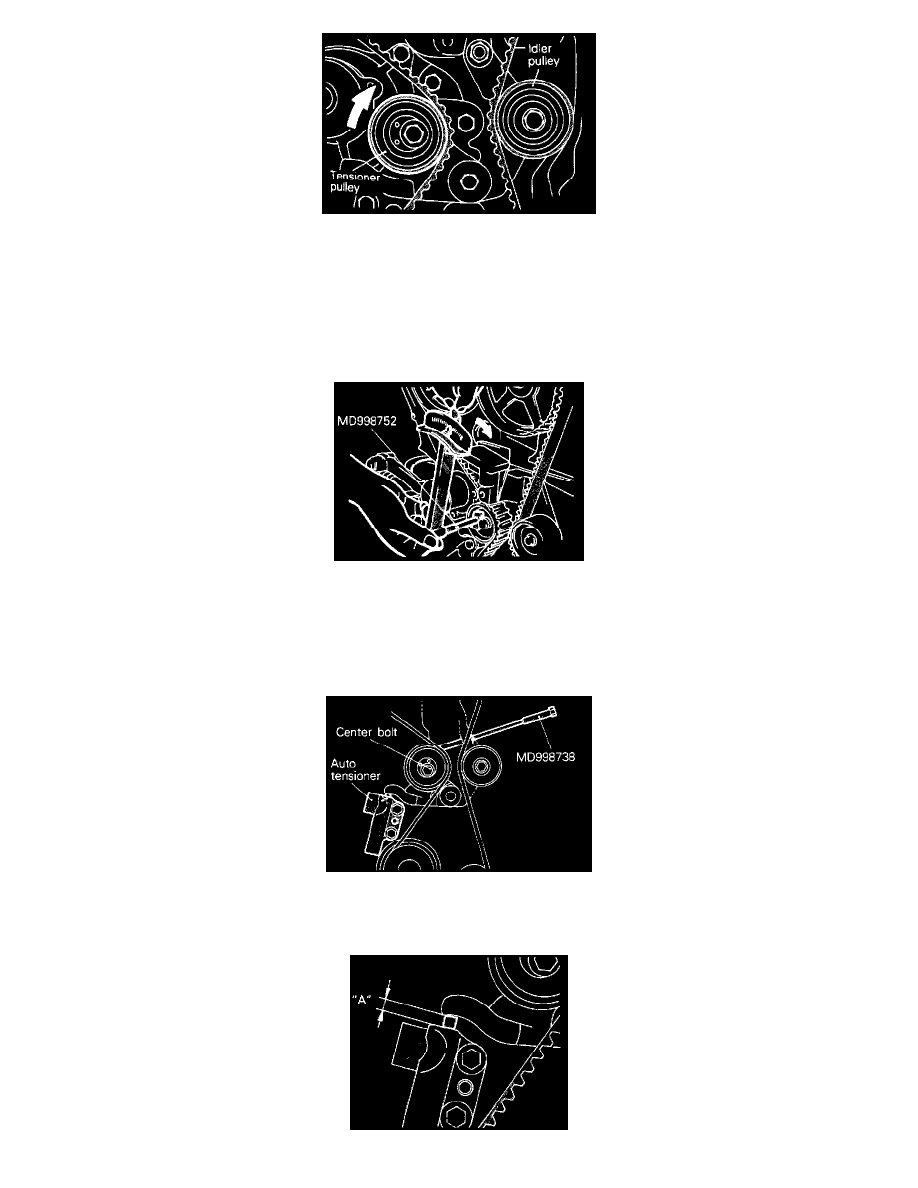
(10) Lift up the tensioner pulley in the direction of arrow and tighten the center bolt.
(11) Check to see that all timing marks are lined up.
(12) Remove the screwdriver inserted in step (4) and fit the plug.
(13) Give the crankshaft a quarter counterclockwise turn. Then, turn it clockwise until the timing marks are lined up again.
-
Adjustment of timing belt tension.
(1) After turning the crankshaft 1/4 turn counterclockwise, turn it clockwise to move the No.1 cylinder to top dead center.
(2) Loosen the center bolt, and then, as shown in the illustration, attach the special tool and a torque wrench and apply a torque of 2.6-2.8 Nm
(1.88-2.03 ft.lbs.). it the body interferes with the special tool and the torque wrench, use a jack to slightly raise the engine assembly.
NOTE: Use a torque wrench that is capable of measurement within a range of 0-3 Nm (0-2.2 ft.lbs.).
(3) Holding the tensioner pulley with the special tool and torque wrench, tighten the center bolt to specification.
(4) Screw the special tool into the engine left support bracket until its end makes contact with the tensioner arm. At that point, screw the special
tool in some more and then remove the set wire attached to the auto tensioner.
(5) Remove the special tool.
