
Eclipse L4-1997cc 2.0L DOHC (1991)
SERVICE POINTS OF REMOVAL
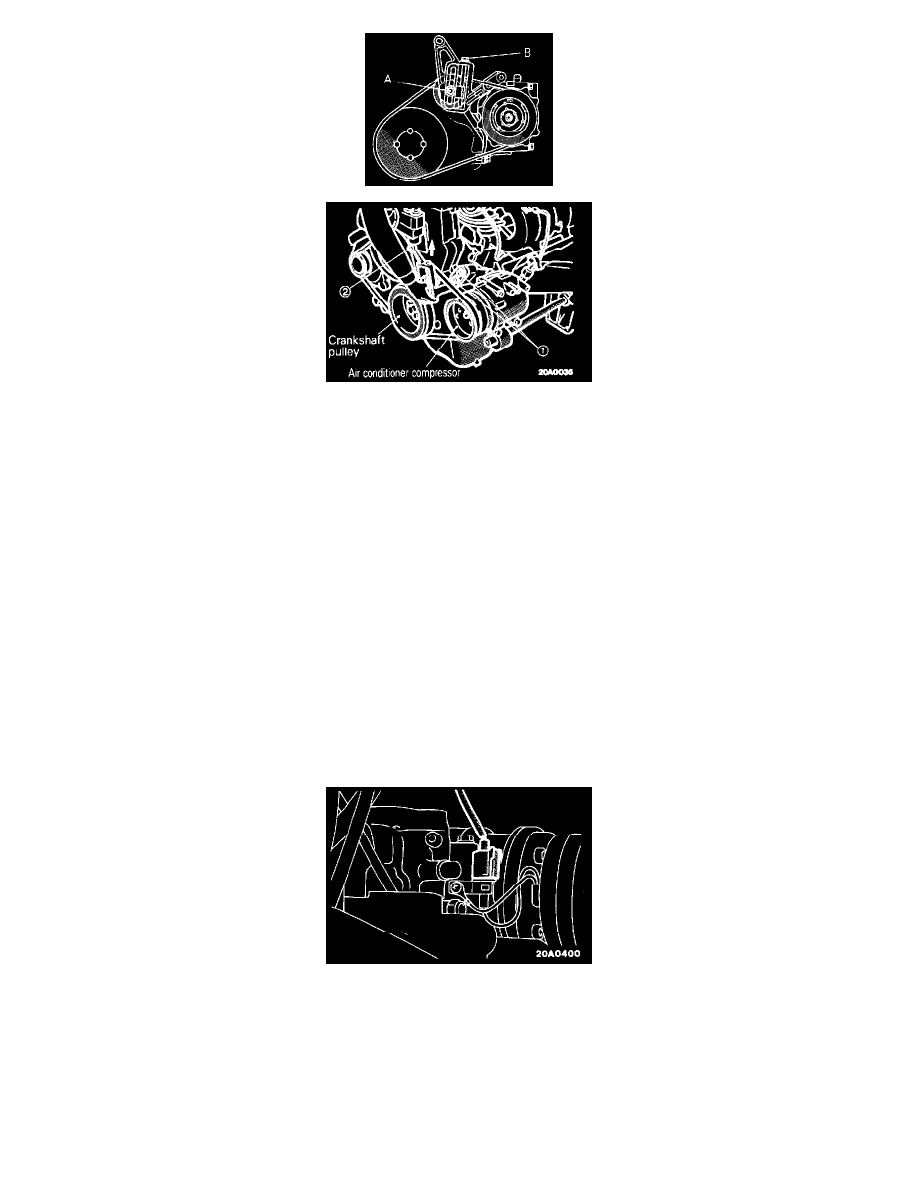
2. REMOVAL OF TENSION PULLEY ASSEMBLY INSTALLATION BOLTS
(1) After loosening nut A (for holding the tension pulley), loosen bolt B (for adjustment) and reduce the tension of the compressor drive belt to
zero.
(2) Remove the tension pulley assembly installation bolts, and then remove the tension pulley assembly together with the compressor drive belt.
11. DISCONNECTION OF SUCTION HOSE/12. DISCHARGE HOSE
If the hoses are disconnected, cap the hoses with a blank plug to prevent entry of dust, dirt, and water.
14. REMOVAL OF COMPRESSOR
CAUTION: Lay the towel on the brake tube to protect them. When install the compressor, do not damage the brake tubes. This work must be
done carefully so as not to spill the compressor oil.
INSPECTION
-
Checking for heat damage of the tension pulley.
-
Check for excessive play or deflection of the tension pulley.
-
Check for unusual wear of the tension pulley.
-
Check for hardening of the compressor drive belt.
-
Check for unusual wear or abrasion of the compressor drive belt.
CONTINUITY AND OPERATION CHECK OF THE COMPRESSOR'S MAGNETIC CLUTCH
(1) Disconnect the compressor's connector.