
Eclipse L4-1997cc 2.0L DOHC (1991)
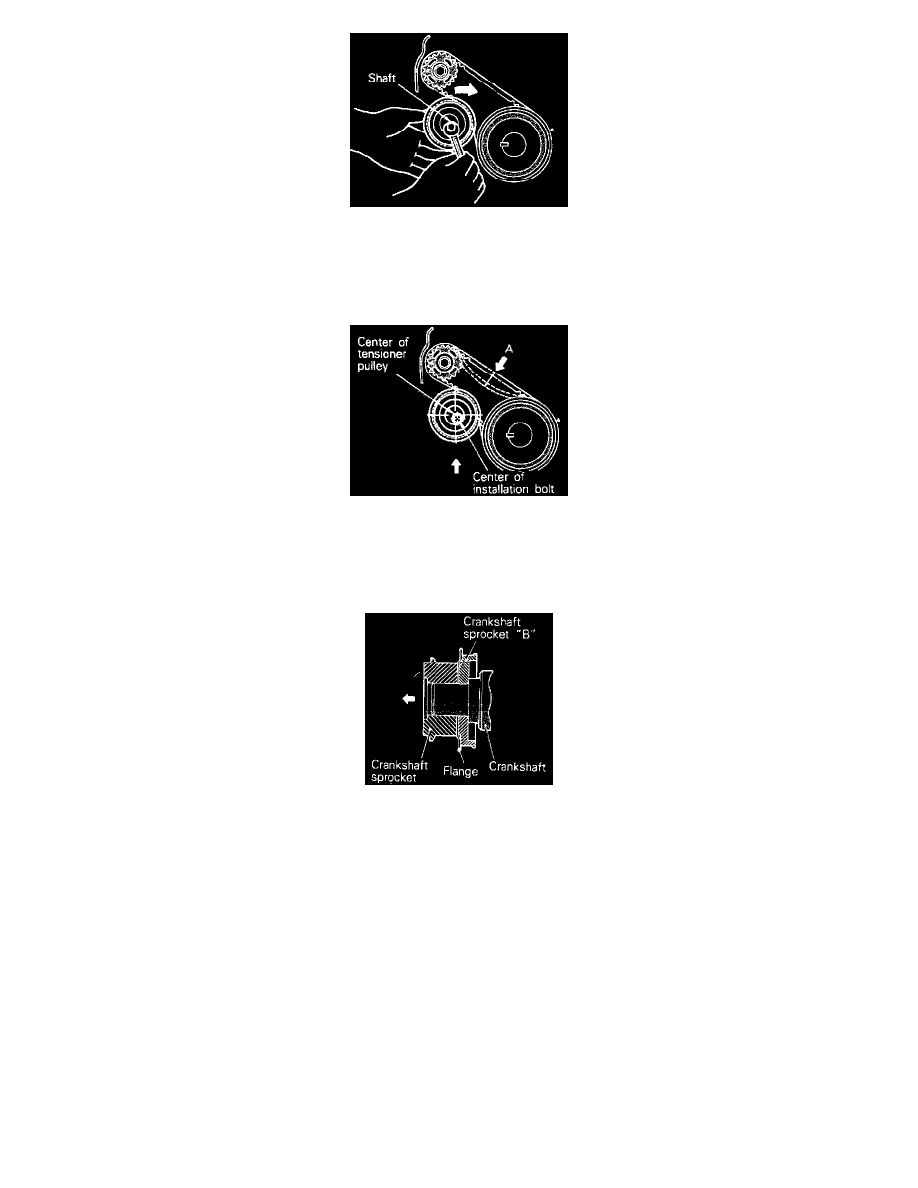
(2) Holding the timing belt "B" tensioner up with your finger in the direction of the arrow, place pressure on the timing belt so that the tension side
of the belt is taut. Now tighten the bolt to fix the tensioner.
Caution: When tightening the bolt, ensure that the tensioner pulley shaft does not rotate with the bolt. Allowing it to rotate with the bolt can cause
excessive tension on the belt.
(3) To ensure that the tension is correct, depress the belt (point A) with a finger. If not, adjust.
Standard value: 5-7 mm (0.20-0.28 in.).
31. Installation of flange.
Install the flange in correct direction as shown.
Caution: Pay special attention to the direction of the flange. If it is installed in the wrong direction, a broken timing belt could result.
30. Installation of crankshaft sprocket.
Install the crankshaft sprocket in the correct direction as shown.
Caution: Pay special attention to the direction of the flange. If it is installed in the wrong direction a broken timing belt could result.
27. Installation of oil pump sprocket.