
Eclipse L4-1997cc 2.0L DOHC Turbo 16 Valve (1996)
^
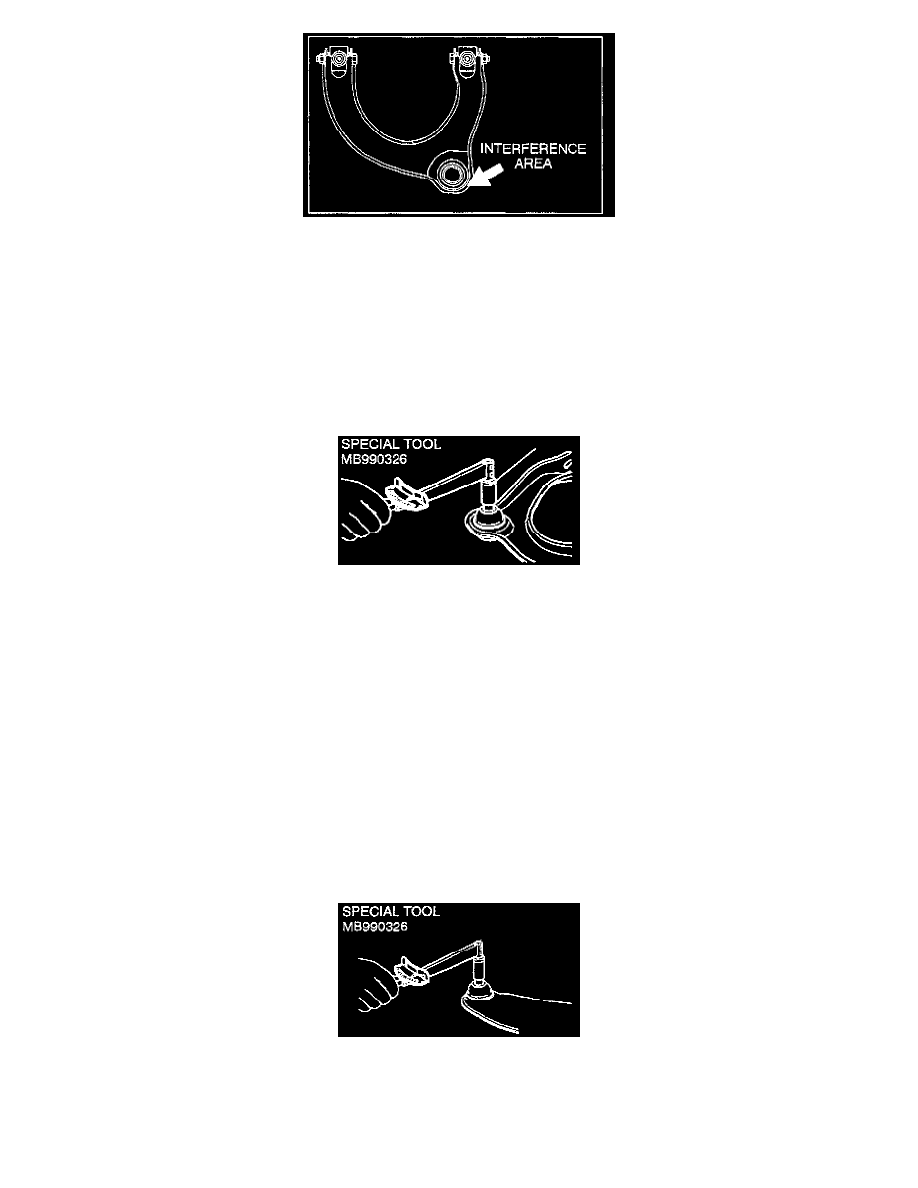
Inspect the upper arm for any sign of interference with the inner fender well at the area shown.
^
Using a mallet, slightly modify the area of the inner fender well where it interferes with the upper arm. Only 3 - 5 mm (1/8 - 3/16 in.)
modification should be needed. If extensive damage (such as bending) to the upper arm or upper arm ball joint occurs, replace the
upper arm assembly with the new, improved part listed in the PARTS INFORMATION section of this bulletin.
d.
Check the upper arm ball joint breakaway torque as follows:
(1)
Shake the ball joint stud several times.
(2)
Install the nut to the stud.
(3)
Use special tool MB990326 preload socket to measure the ball joint breakaway torque.
Torque specification: 0.3 - 1.5 Nm (3-13 in-lbs)
e.
If the breakaway torque is out of the specified range, replace the upper arm assembly. The new upper arm assembly has sealer on the top of
the ball joint to protect against water intrusion.
f.
Verify that there is no damage to the dust cover. If the dust cover is damaged, replace only the dust cover.
g.
Test drive the vehicle. If the abnormal front suspension noise still exists, continue with Step 6.
6.
Lower Compression Arm Inspection
a.
Using a hoist, lift the vehicle enough to remove all spring tension from ("unload") the suspension.
b.
Check the lower compression arm ball joint breakaway torque as follows:
(1)
Shake the ball joint stud several times.
(2)
Use special tool MB990326 preload socket to measure the ball joint breakaway torque.
Torque specification: 0.5 - 2.5 Nm (4-22 in-lbs)
c.
If the ball joint breakaway torque is out of the specified range, replace the lower compression arm assembly.