
Eclipse L4-2.4L SOHC (2004)
g.
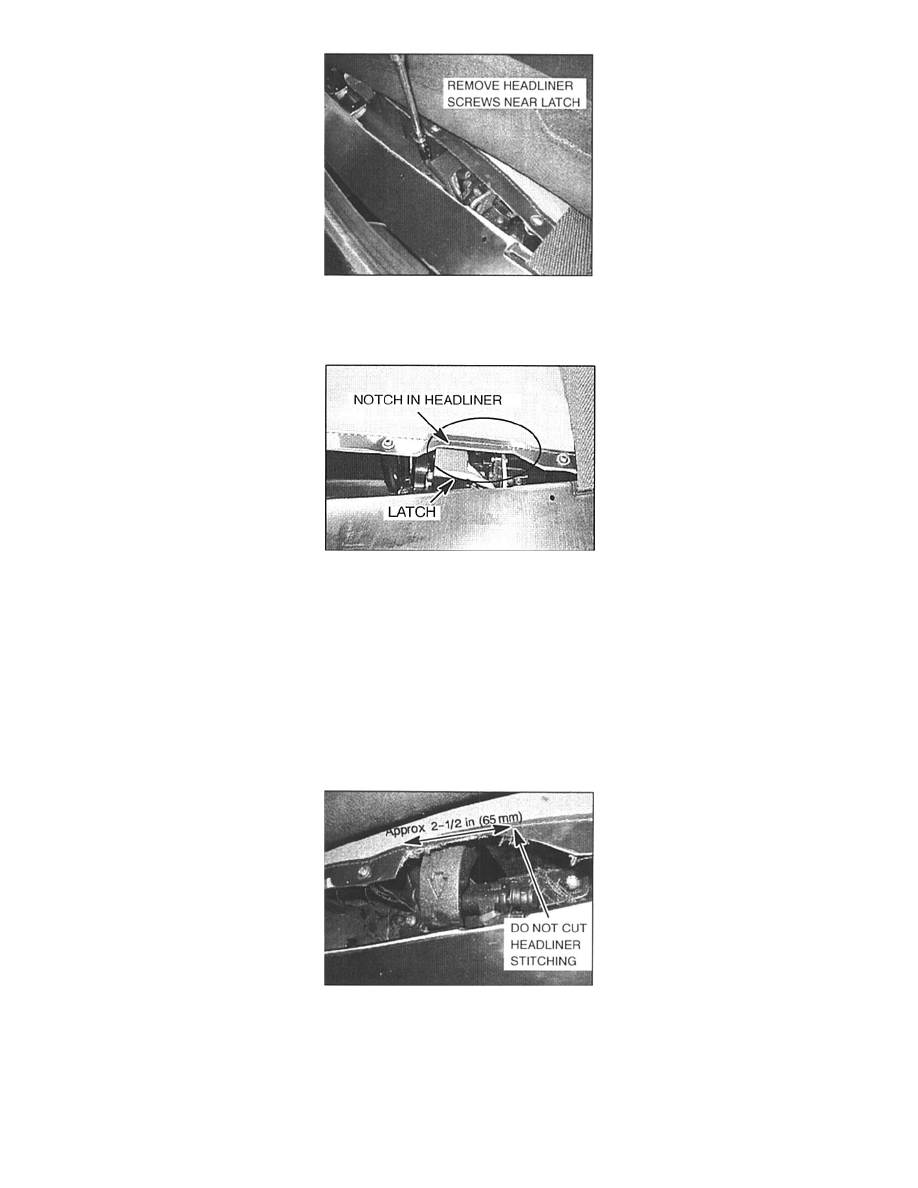
To access the latch, remove the headliner attaching screws (Torx 15) that are near the latch.
h.
Remove the two screws securing the latch (Torx 20). Then remove the latch from the vehicle. keep the latch screws for re-use.
i.
Inspect the headliner area where the latch was removed:
^
If the headliner already has a notch in the latch area as shown, skip Step 2. Replace the latch with the appropriate part listed in the
PARTS INFORMATION section of this bulletin. Then continue with Step 3.
IMPORTANT
If the original latch is the same style as the replacement latch, replace only the damaged latch.
^
If the headliner does NOT have a notch as shown, continue with Step 2 to make a notch in the headliner before installing new latches on
both sides.
2.
Headliner Modification (if needed):
a.
Use tin snips or a knife to cut a notch in the headliner of approximately 2-1/2" (65 mm) length as shown. Cut through two layers (the
headliner material layer and a plastic layer).
CAUTION:
Do not cut the headliner stitching.
b.
Snip off any loose threads.