
Eclipse L4-2.4L SOHC (2004)
YES: Go to Step 5.
NO: Repair or replace the connector. Refer to Harness Connector Inspection. Check that the headlights (low-beam) illuminate normally.
STEP 5. Check the wiring harness between front-ECU connector A-10X (terminal 3) and the battery.
Q: Is the wiring harness between front-ECU connector A-10X (terminal 3) and the battery in good condition?
YES: No action to be taken.
NO: Repair the wiring harness. Check that the headlights (low-beam) illuminate normally.
Inspection Procedure J-3
Headlight, Tail Light: Headlights (High-beam) do not Illuminate Normally.
NOTE: This troubleshooting requires use of scan tool MB991958 and SWS monitor kit MB991862. For details of how to use the SWS monitor, refer
to "How to use SWS monitor." See: Reading and Clearing Diagnostic Trouble Codes/How To Use SWS Monitor
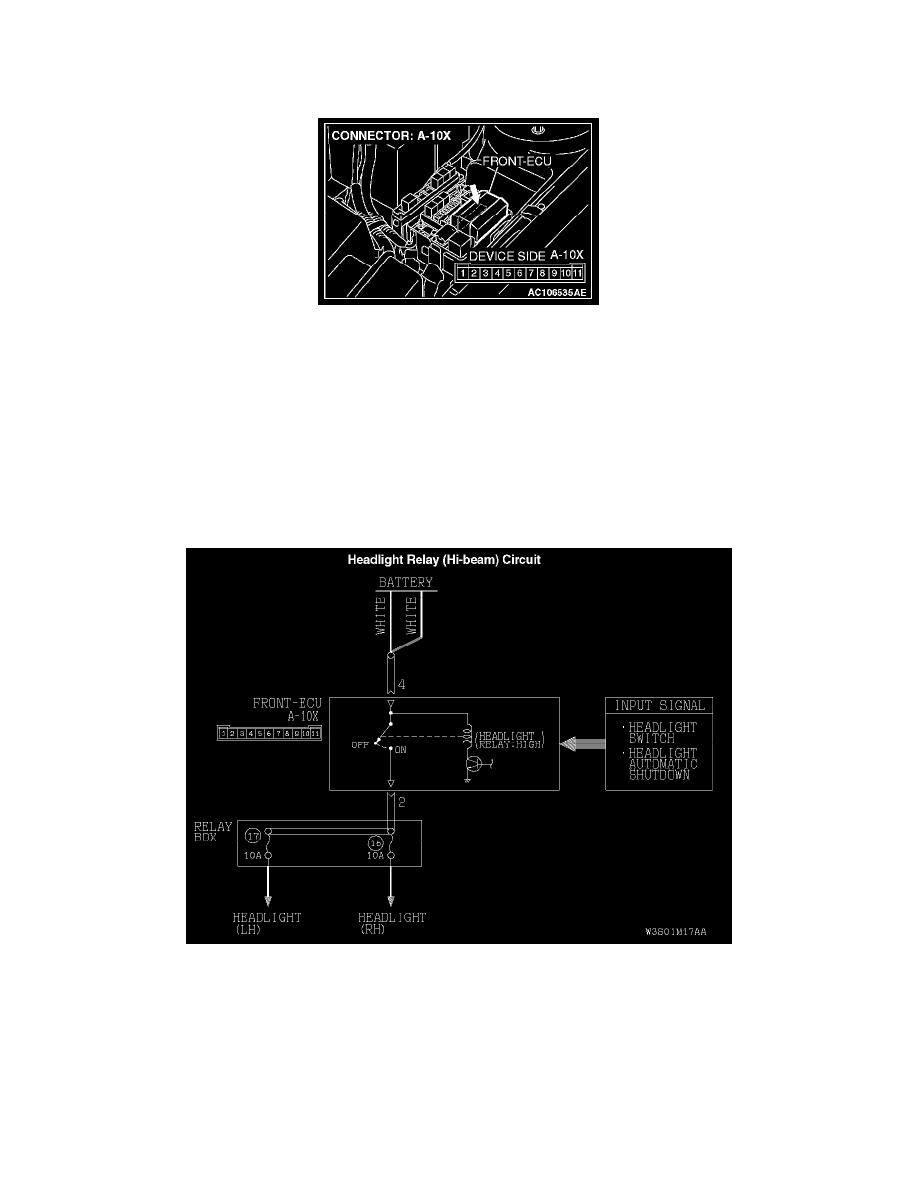
Headlight Relay (Hi-beam) Circuit
CIRCUIT OPERATION
When the dimmer switch is turned on, the column switch sends a signal to the front-ECU.Then the front-ECU switches the headlights from low-beam to
high beam or vice versa.
TECHNICAL DESCRIPTION (COMMENT)
If the headlights (high beam) do not illuminate normally, the column switch or the front-ECU may be defective.