Eclipse L4-2.4L SOHC (2004)

Part 2 Of 2
TRANSAXLE CONTROL
REMOVAL AND INSTALLATION
CAUTION: When removing and installing the transaxle control cable, be careful not to hit the SRS-ECU.
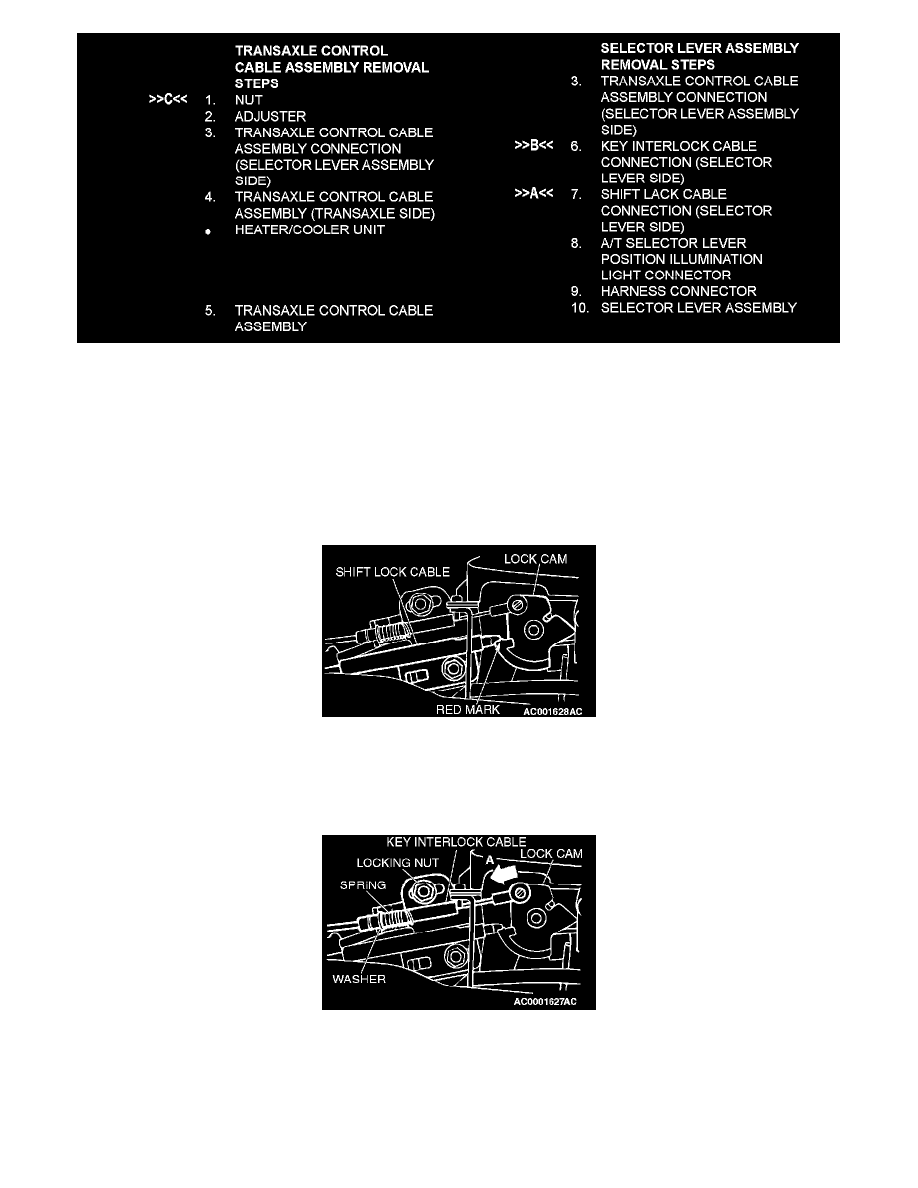
INSTALLATION SERVICE POINTS
>>A<< SHIFT LOCK CABLE (SELECTOR LEVER SIDE) INSTALLATION
1. Shift the selector lever to the "P" position.
2. Fasten the shift lock cable at the position where the end of the shift lock cable is above the red line on the lock cam.
>>B<< KEY INTERLOCK CABLE (SELECTOR LEVER SIDE) INSTALLATION
1. Shift the selector lever to the "P" position.
2. Turn the ignition key to the "LOCK" (OFF) position.
3. Slide the washer and spring toward the lock cam, insert the cable into the stand off bracket and release the spring.
4. Lightly push the key interlock cable into the key interlock cable housing toward the arrow (A) direction until the cable movement stops and the
cable end eye is aligned with the shaft on the lock cam. Tighten the lock nut. Snap the cable end eye onto the shaft of the lock cam.
Tightening torque: 12 ± 2 Nm (102 ± 22 inch lbs.)
>>C<< NUT INSTALLATION
1. Place the transaxle manual control lever in the "N" position.
