
Eclipse V6-3.0L SOHC (2003)
3.
Install the new latch using the appropriate pant listed in the PARTS INFORMATION section of this bulletin.
a.
Use the original latch screws to secure the new latch. Tighten to 3.6 - 5.2 ft/lb (5 - 7 Nm)
b.
Open and close the new latch to confirm thai it operates without interference.
c.
If headliner modification is needed, perform Step 2 for the other latch.
d.
Reassemble the conventible top, installing components in reverse order of removal. To ensure smooth cover installation, align the screw
holes in the edge of the lop cover to the screw holes in the number one bow. If additional adhesive is required, use a small amount of
weatherstrip adhesive p/n A990ZC1X03.
4.
Confirm proper latch operation.
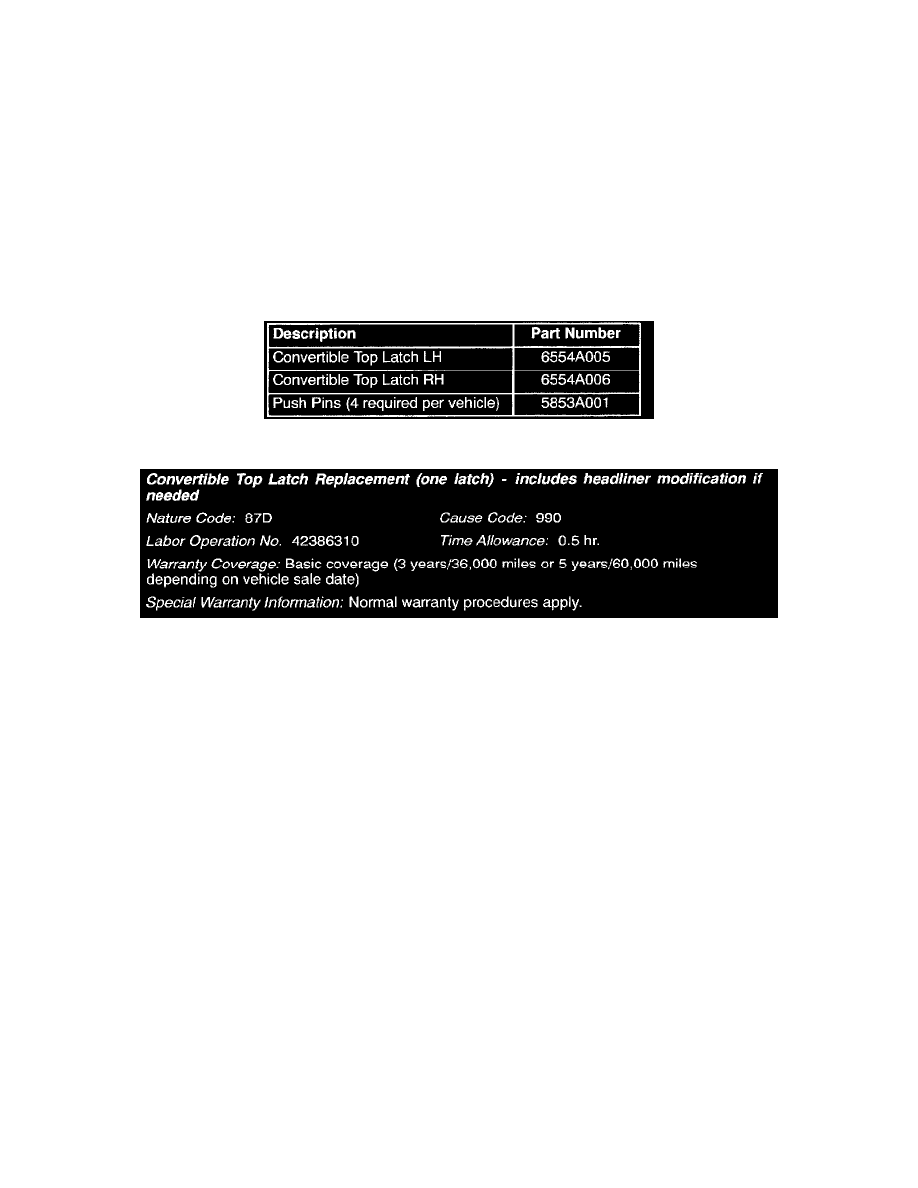
PARTS INFORMATION
Use the Genuine Mitsubishi Parts shown.
WARRANTY INFORMATION