
Eclipse V6-3.0L SOHC (2003)
Expand the clip at the shift cable end toward the arrow direction, and remove the cable from the shift lever by pushing the shift cable down.
INSTALLATION SERVICE POINTS
>>A<< SHIFT CABLE CONNECTION (SHIFT LEVER SIDE) INSTALLATION
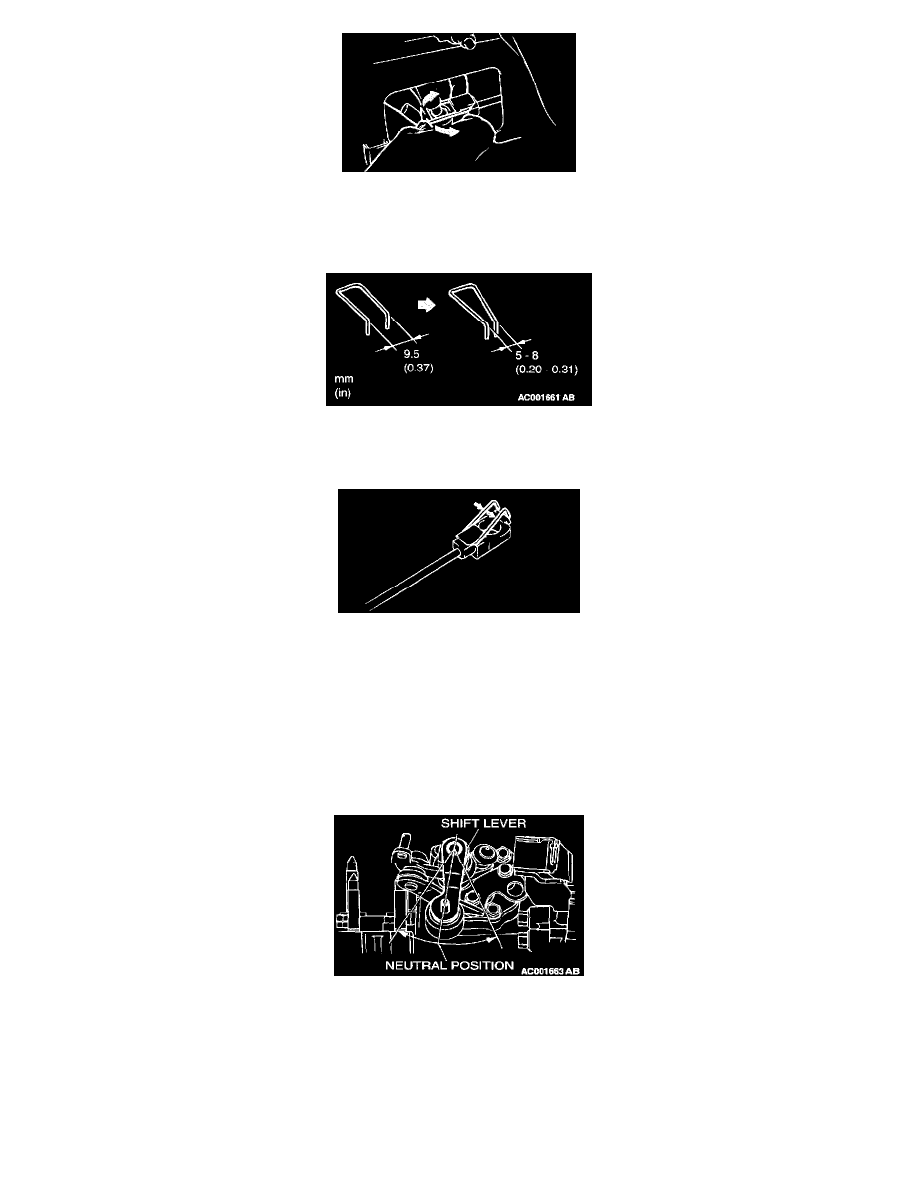
1. Make sure that there is no excessive play at the shift cable end clip. If there is excessive play or the clip is disengaged from the shift cable end,
check the clip opening gap. If the gap is more than 9.5 mm (0.37 inch), squeeze the clip until the relaxed gap reaches 5 to 8 mm (0.20 to 0.31
inch).
2. Engage the clip with the shift cable hook securely, and push the clip with your thumbs until it clicks in place.
3. Install the shift cable to the shift lever.
>>B<< SLEEVE/SHIFT KNOB INSTALLATION
1. Place the sleeve over the shift lever end.
2. Place the shift knob over the sleeve.
3. Screw in the shift knob. When the shift knob is hard to turn (approximately seven turns), screw in the shift knob four additional turns until its
shift pattern faces forward.
>>C<< SHIFT CABLE AND SELECT CABLE ASSEMBLY/ SHIFT CABLE CONNECTION/SELECT CABLE CONNECTION
1. Set the transaxle side shift lever and the passenger compartment side shift lever to the neutral position.
2. For the transaxle side, the white and yellow paint marks on the shift and select cable ends should face the snap pins.
3. Move the shift lever to all positions and check that the operation is smooth.