
Eclipse FWD L4-1997cc 2.0L DOHC MFI (1997)
2. Lubricate with clean oil and install cam follower assemblies in their original position on the hydraulic adjuster and valve stem.
CAUTION: Piston should not be at top dead center when installing the camshaft.
420A Engine
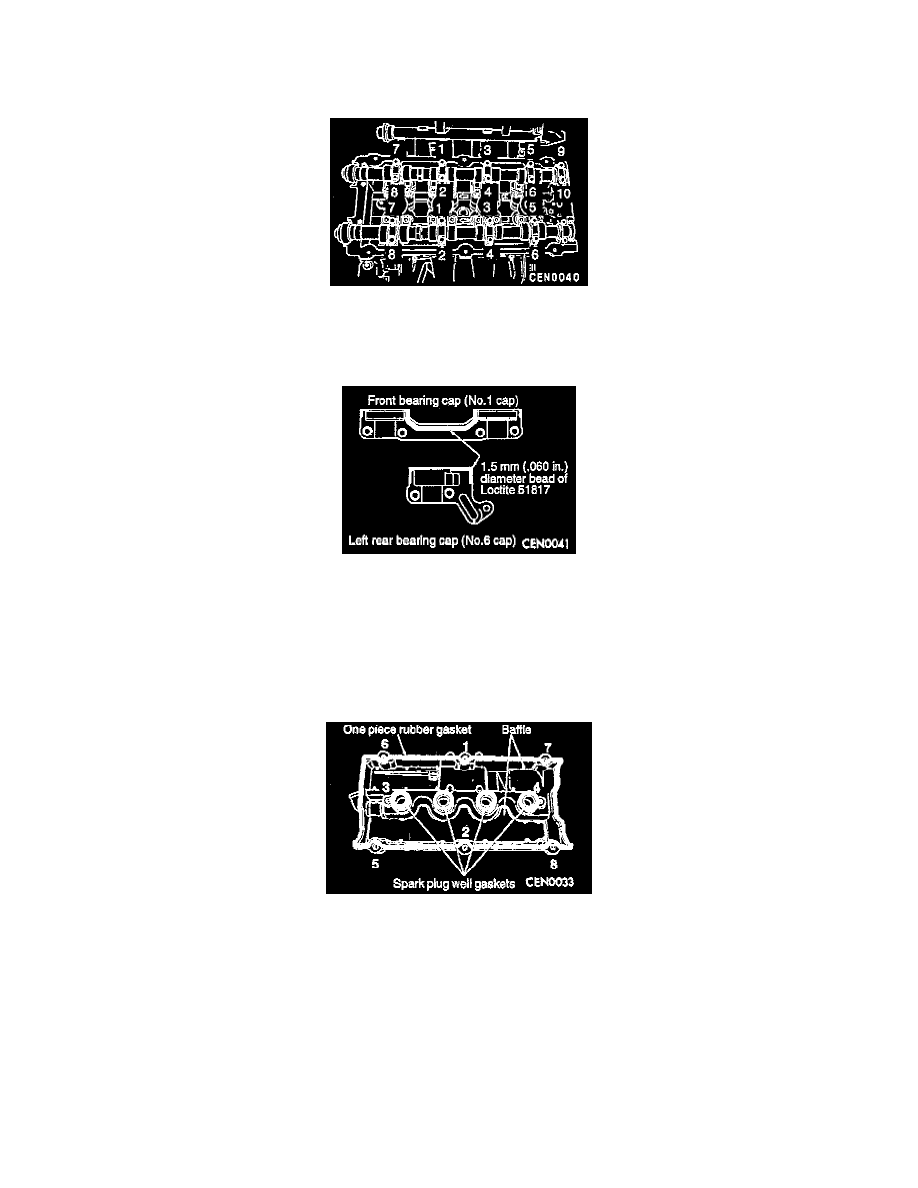
3. Lubricate bearing journals and cams with clean oil and install the camshafts. Install right and left camshaft bearing caps No. 2 thru No. 5 and right
No.6. Tighten M6 fasteners to 12 Nm (9 ft. lbs.) in sequence shown.
4. Apply Loctite 51817, or equivalent, to No. 1 and No. 6 bearing caps. Install bearing caps and tighten M8 fasteners to 28 Nm (21 ft. lbs.).
5. Bearing end caps must be installed before seals can be installed.
6. Install timing belt, sprockets and timing covers.
CAUTION: Do not allow oil or solvents to contact the timing belt as they can deteriorate the rubber and cause tooth skipping.
7. Install new cylinder head cover gaskets.
8. Apply Loctite 18718, or equivalent, at the camshaft cap corners and at the top edge of the 1/2 round seal.
9. Install cylinder head cover assembly to head and tighten fasteners in sequence shown in the figure. Using the step torque method:
Step 1 Tighten all fasteners to 4.5 Nm (3.3 ft. lbs.).
Step 2 Tighten all fasteners to 9.0 Nm (6.5 ft. lbs.).
Step 3 Tighten all fasteners to 12 Nm (9 ft. lbs.).