
Eclipse FWD L4-1997cc 2.0L DOHC MFI (1997)
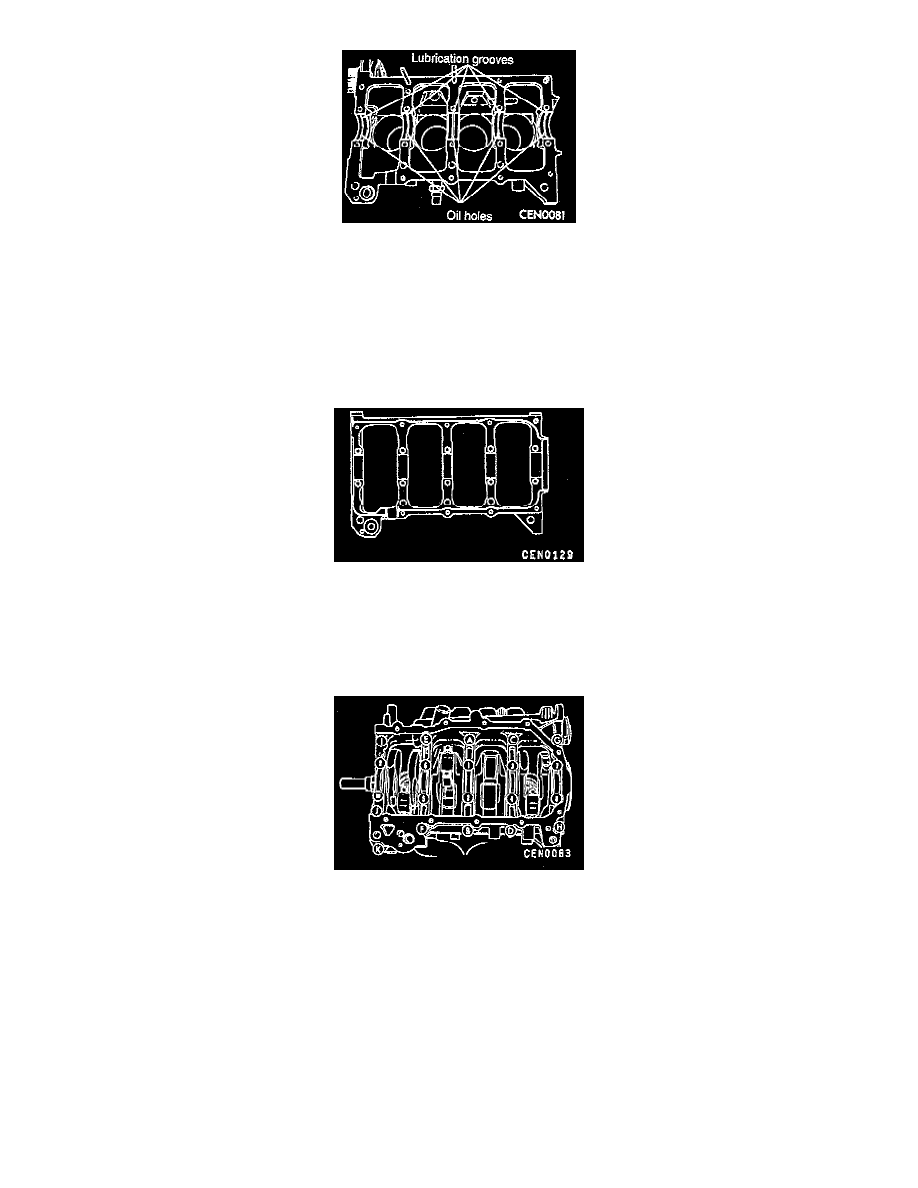
5. Install the main bearing shells with the lubrication groove in the cylinder block.
NOTE: All upper bearing shells in the crankcase have oil grooves. All lower bearing shells installed in the (bedplate) main bearing caps are plain.
Crankshaft end play is controlled by a flanged bearing on the number three main bearing journal.
6. Make certain oil holes in block line up with oil hole in bearings and bearing tabs seat in the block tab slots.
7. Oil the bearings and journals and install crankshaft.
CAUTION: Do not get oil on bedplate mating surface. It may effect the sealer ability to seal the bedplate to cylinder block.
8. Apply 1.5 - 2.0 mm (0.059 - 0.078 inch) bead of Loctite 19614 to cylinder block as shown.
9. Install main bearing cap bedplate together with lower bearing shells.
CAUTION: Use only Loctite 19614, or equivalent, anaerobic sealer on the bedplate to cylinder block, or damage may occur to the engine.
10. Before installing the bolts, the threads should be oiled with engine oil.
11. Install main bearing bedplate to engine block bolts (1 thru 10) finger tight, then torque main bearing bolts to 75 Nm (55 ft. lbs.) in the sequence
shown.
12. Install main bearing bedplate to engine block bolts (A thru K) finger tight, then torque each bolt to 28 Nm (20 ft. lbs.) in the sequence shown.