
Eclipse FWD L4-1997cc 2.0L DOHC MFI (1997)
Case: Service and Repair
Assembly
BEARING ADJUSTMENT PROCEDURE
General Rules On Servicing Bearings
1. Take extreme care when removing and installing bearing cups and cones. Use only an arbor press for installation, as a hammer may not properly
align the bearing cup or cone.
Burrs or nicks on the bearing seat will give a false end play reading while gauging for proper shims. Improperly seated bearing cups and cones are
subject to low mileage failure.
2. Bearing cups and cones should be replaced if they show signs of pitting or heat distress. If distress is seen on either the cup or bearing rollers, both
cup and cone must be replaced.
3. Bearing preload and drag torque specifications must be maintained to avoid premature bearing failures. Used (original) bearing may lose up to
50% of the original drag torque offer break in. All bearing adjustments must be made with no other component interference or gear intermesh.
4. Replace bearings as a pair. For example, if one differential bearing is defective, replace both differential bearings. If one input shaft bearing is
defective, replace both input shaft bearings.
5. Bearing cones must not be reused if removed.
6. Turning torque readings should be obtained while smoothly rotating in either direction.
ASSEMBLY
NOTE:
-
The sealant used to seal the transaxle case halves is Loctite 51817 or equivalent.
-
The sealant used for the bearing end plate cover is Loctite 18718 or equivalent.
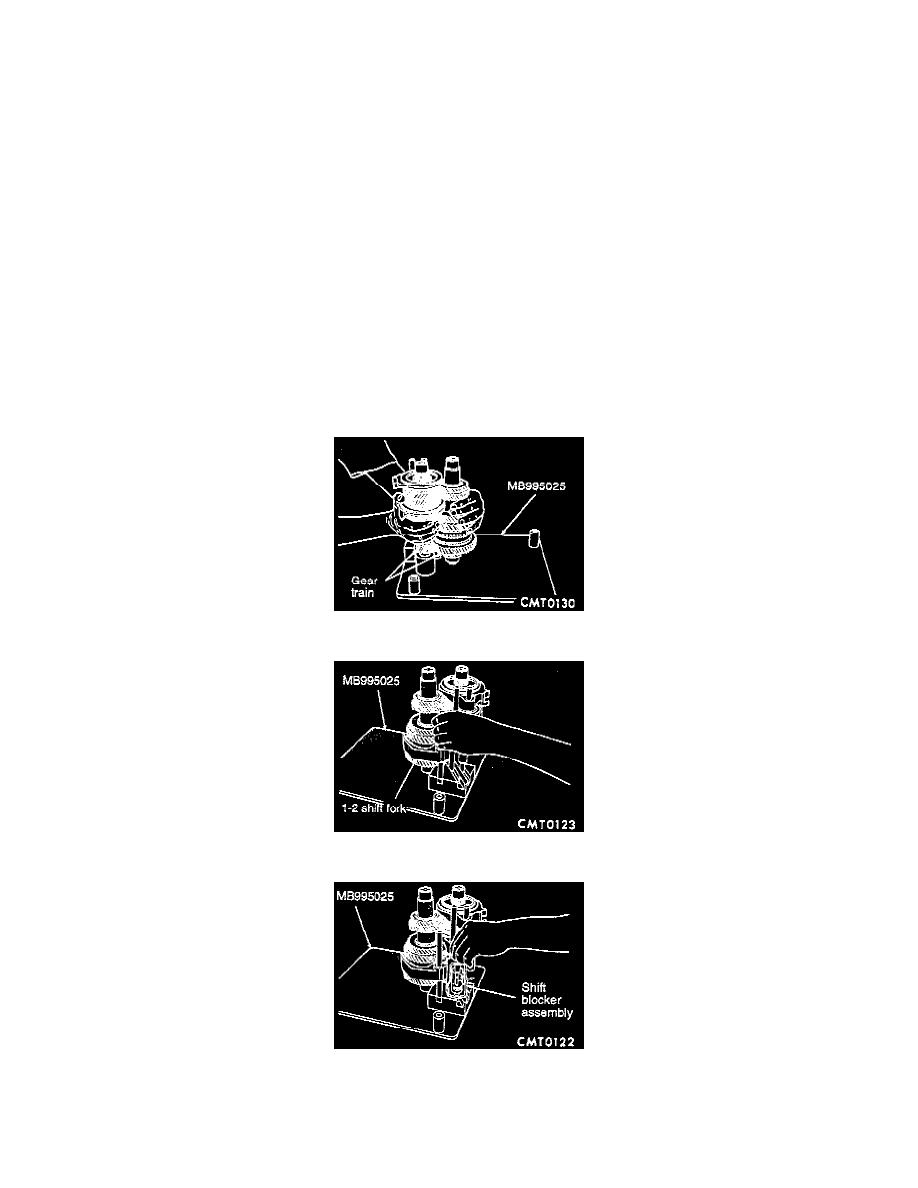
1. Verify bench fixture shims are removed from bench fixture. Install output and input gear into pallet fixture (MB995025 or equivalent).
2. Install shift rails and forks into bench fixture.
3. Install shift blocker assembly into bench fixture.