Eclipse Spyder FWD L4-2350cc 2.4L SOHC 16 Valve (1996)

Fuel Gauge Sender: Technical Service Bulletins
Fuel Guage Tank Unit - Installation Procedure
NO.: TSB-97-13-001
DATE: February, 1997
MODEL: 1995-96 Eclipse GSX
SUBJECT:
FUEL GAUGE TANK UNIT INSTALLATION PROCEDURE-SERVICE MANUAL REVISION
[TSB Revision TSB-97-13-001]
PURPOSE
This bulletin is issued to revise fuel system pages in the 1995 and 1996 Eclipse Service Manuals, Vol.1.
Write the TSB revision number of this bulletin in the "TSB Revision" box at the bottom of the affected service manual page.
AFFECTED MODELS
The only models affected are the 1995 and 1996 Eclipse GSX AWD vehicles.
AFFECTED SERVICE MANUALS
1995 Eclipse Service Manual, Volume 1, Page 13F-6
1996 Eclipse Service Manual, Volume 1, Pages 13F-6, 13F-7
INSTALLATION SERVICE POINTS
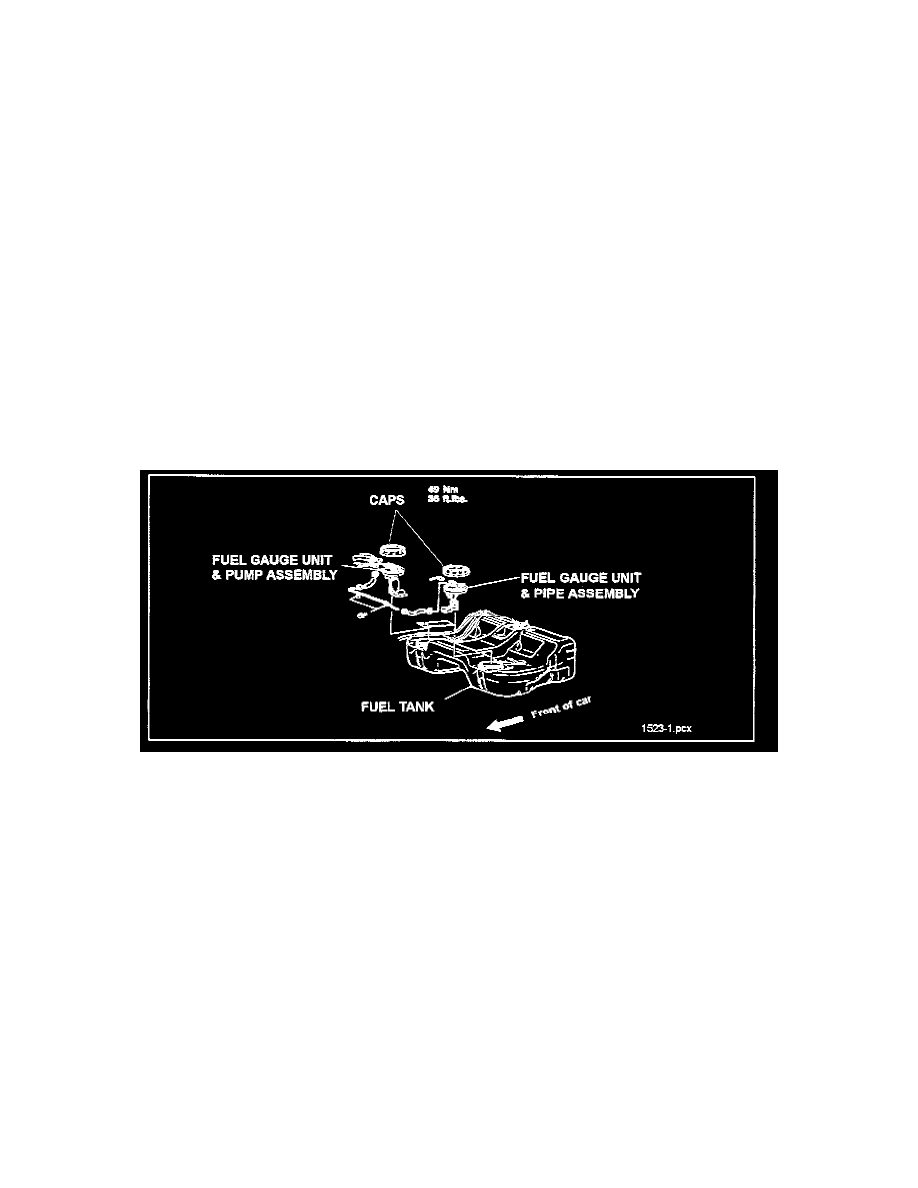
Installation of the fuel gauge unit & pump assembly and the fuel gauge unit & pipe assembly requires great care to prevent the units from being
misaligned. Misalignment will cause the float arm to contact the cup reservoir or other interior surface of the tank, hampering its movement and resulting
in inaccurate fuel gauge reading or improper operation of the low fuel warning light.
Four major points should be observed when installing the fuel gauge units into the fuel tank.
1.
Ensure that the fuel gauge unit & pump assembly and the fuel gauge unit & pipe assembly are aligned properly before installing them in the tank.
These assemblies must not and cannot be rotated after they are in the tank.
2.
Ensure that the two assemblies are aligned properly after installation.
3.
After installing the two assemblies in the tank and before torquing the nuts, look to see that the rubber gasket did not roll under when the unit was
pushed into position. The edge of the gasket must be flush with the pump mounting flange, evenly all the way around. If it is not even, pull out the
unit, reinsert it more carefully, and again check to insure that the gasket seals properly.
4.
Do not allow either assembly to rotate out of position, and watch that the special tool does not damage any of the piping.
ALIGNMENT MARKS
