
Eclipse Spyder FWD L4-2350cc 2.4L SOHC 16 Valve (1996)
5. Install the auto tensioner to the engine.
>B< Timing Belt Installation.
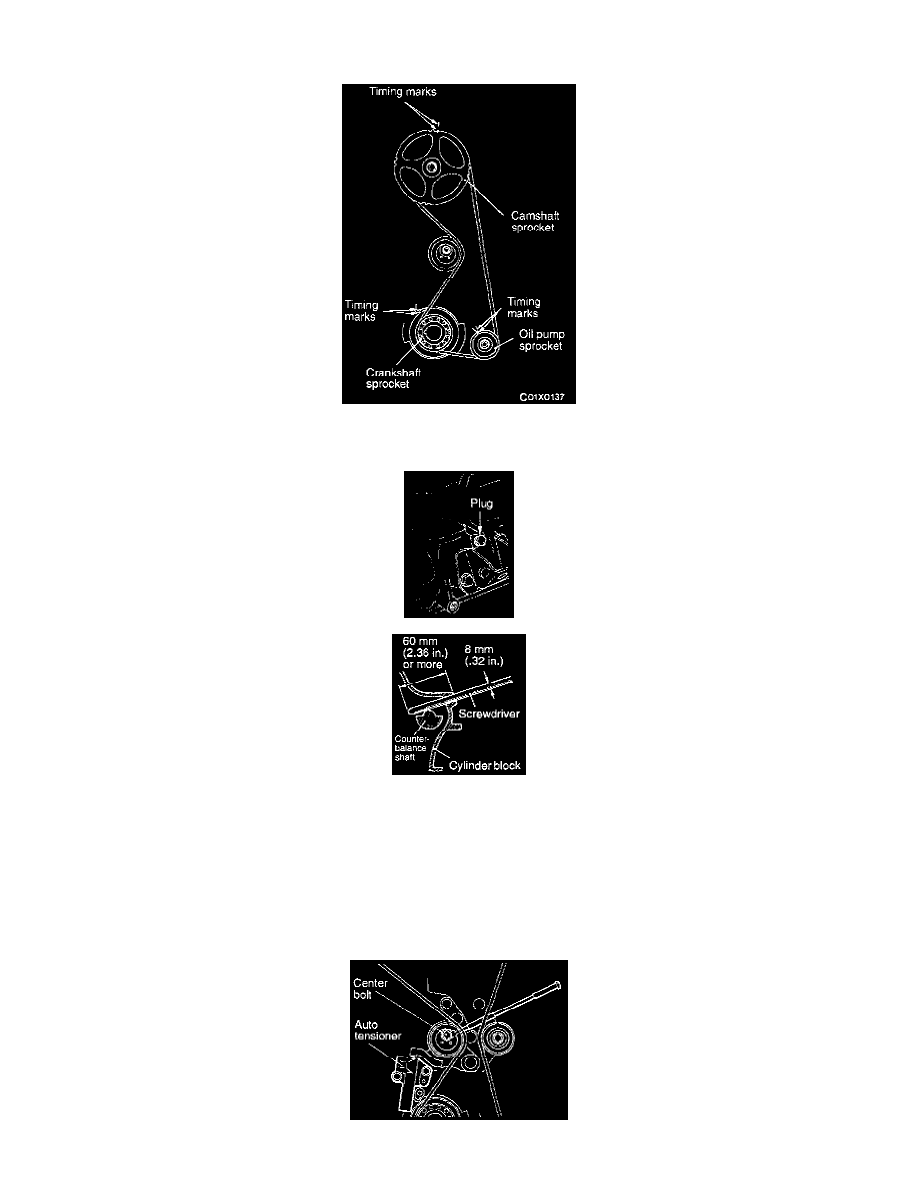
1. Align the timing marks on the camshaft sprocket, crankshaft sprocket and oil pump sprocket.
2. After aligning the timing mark on the oil pump sprocket, remove the cylinder block plug and insert a Phillips screwdriver with a diameter of 8
mm (0.32 inch) , and check to be sure that the screwdriver goes in 60 mm (2.36 inch) or more. If the screwdriver will only go in 20 - 25 mm
(0.79 - 0.98 inch) before striking the counterbalance shaft, turn the sprocket once, realign the timing mark and check that the screwdriver goes
in 60 mm (2.36 inch) or more. Do not take out the screwdriver until the timing belt is installed.
3. Install the timing belt so as not to be loosened among the sprockets, by the following procedure.
CAUTION: If the timing belt is to be reused, install it so that the mark indicates the clockwise direction.
4. Set the tension pulley so that the pin holes are at the bottom, press the tension pulley lightly against the timing belt.