
Eclipse Spyder GS L4-2350cc 2.4L SOHC MFI (2001)
STEP 2. Check the door switch installation state.
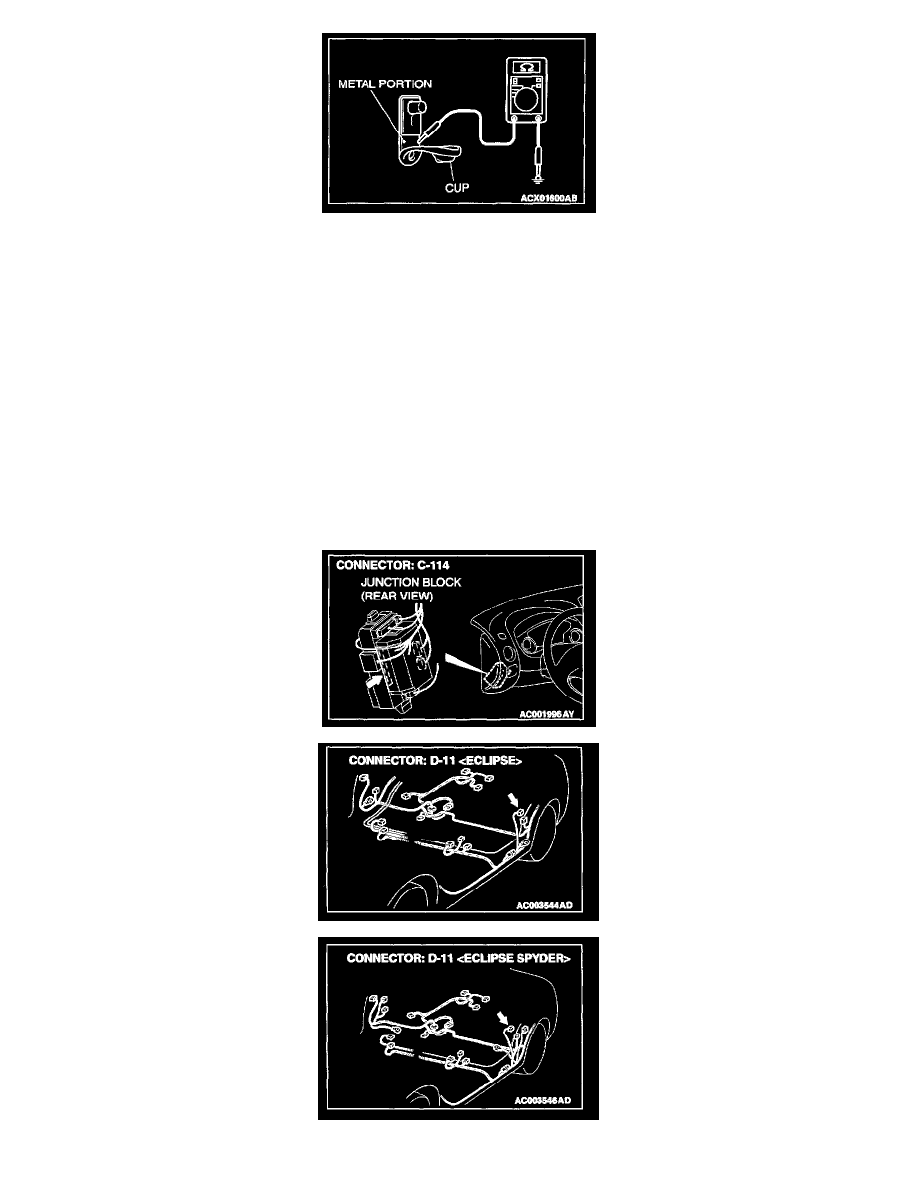
NOTE: The door switch is grounded to the body through the mounting screws.
Remove the cap and measure the resistance between the lower metal part and the ground.
Q: Is the resistance less than 2 ohms?
YES: Go to Step 3.
NO: Check the installation state and repair. The driver's and passenger's door switch and door switches input signal should be able to be checked and
the functions, which are described in the "Technical Description (comment)," should work normally.
STEP 3. Check the location of malfunction
Q: Which door switch signal is not input?
Driver's door: Go to Step 4.
Passenger's door: Go to Step 6.