
Eclipse Spyder GS L4-2350cc 2.4L SOHC MFI (2001)
1. To protect the body (paint surface), apply cloth tape to all body areas around the installed
2. Using piano wire
1. Using a sharp-point drill, make a hole in the windshield adhesive.
2. Pass the piano wire from the inside of the vehicle through the hole.
3. Using a sharp-point drill, make a hole in the windshield adhesive.
4. Pass the piano wire from the inside of the vehicle through the hole.
CAUTION: Do not let the piano wire touch the edge of the windshield.
5. Pull the piano wire alternately from the inside and outside along the windshield to cut the adhesive.
CAUTION: Putting glass adhesive knife too deeply into windshield adhesive may damage windshield.
3. Using glass adhesive knife
Keep glass adhesive knife at right angles with the windshield edge, and put the blade at windshield edge and surface. Then cut away adhesive
along the windshield edge.
4. Make mating marks on the windshield and body.
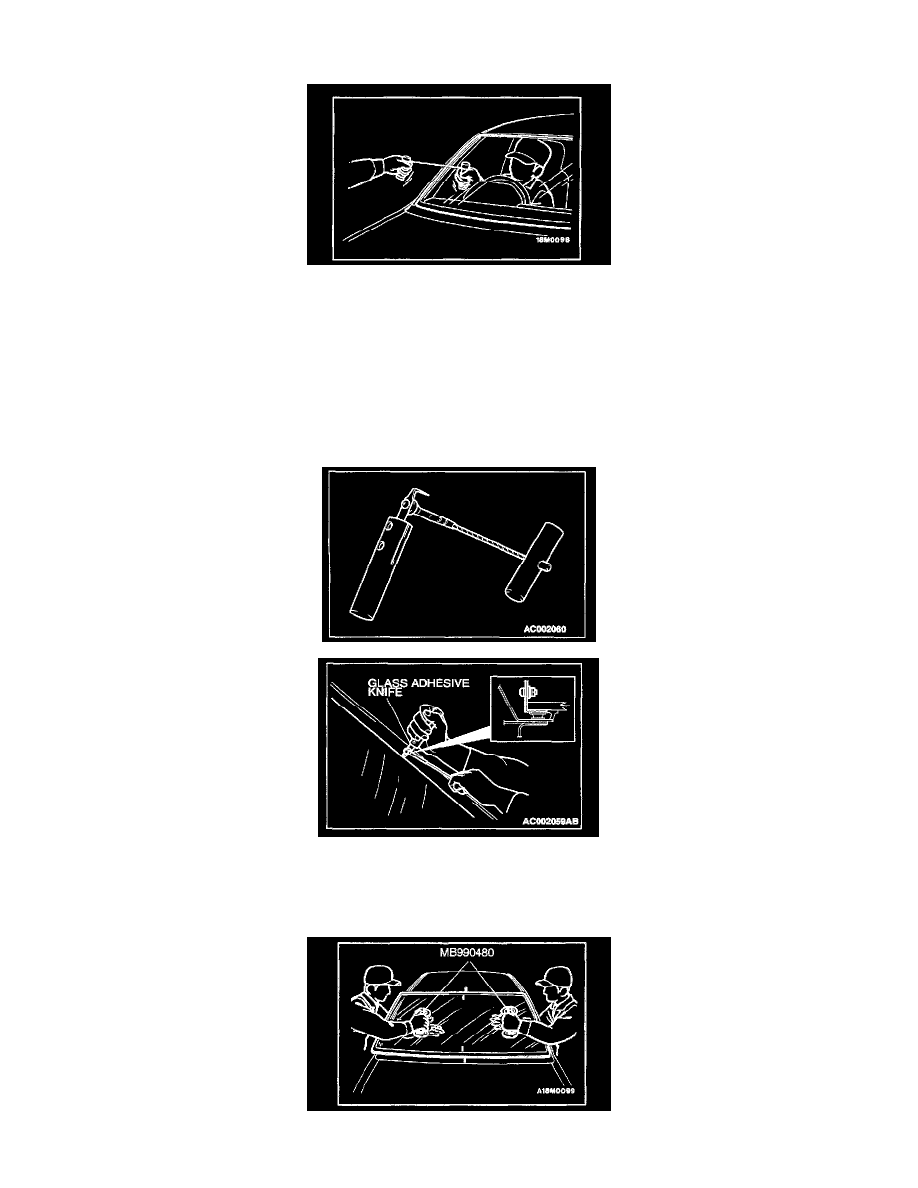
5. Use special tool MB990480 to remove the windshield,