
Endeavor V6-3.8L SOHC (2004)
1. Connect scan tool MB991958 to the data link connector.
2. Turn the ignition switch to "ON" position.
3. Select "Interactive Diagnosis" from the start-up screen.
4. Select "System select."
5. Choose "Display" from the "BODY" tab.
6. Select "Diagnostic Trouble Code."
7. If a DTC is set, it is shown.
8. Choose "Erase DTCs" to erase the DTC.
Clearing Diagnostic Trouble Codes
NOTE: Manufacturer does not provide a procedure for reading trouble codes without using a scan tool.
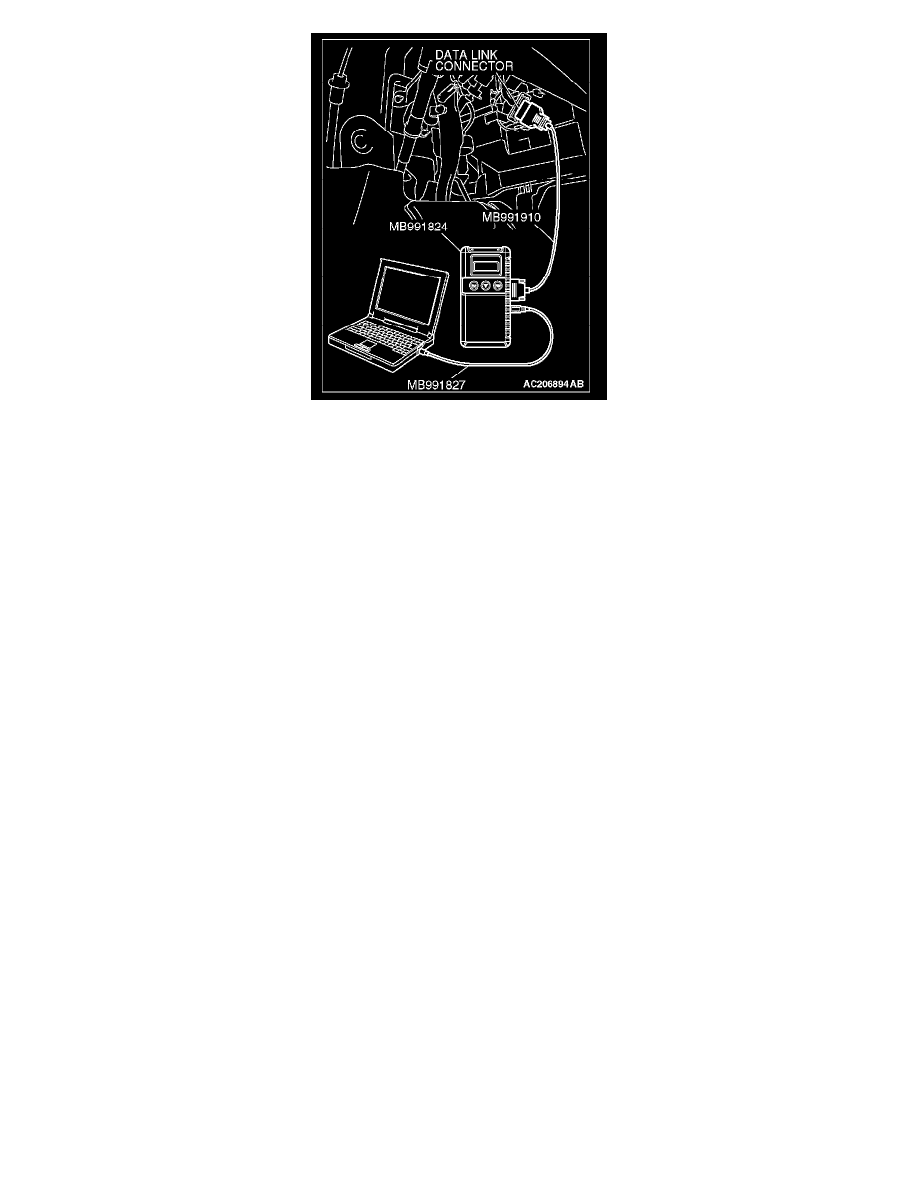
HOW TO READ AND ERASE DIAGNOSTIC TROUBLE CODES
Required Special Tools:
-
MB991958: Scan Tool (MUT-III Sub Assembly)
-
MB991824: Vehicle Communication Interface (V.C.I.)
-
MB991827: MUT-III USB Cable
-
MB991910: MUT-III Main Harness A (Vehicles with CAN communication system)
CAUTION: To prevent damage to scan tool MB991958, always turn the ignition switch to the "LOCK" (OFF) position before connecting or
disconnecting scan tool MB991958.
NOTE:
-
If a sensor is disconnected when the ignition switch is in the "ON" position, a diagnostic trouble code is stored in memory. In this case, erase the
DTC using the scan tool.
-
If the battery voltage is low, diagnostic trouble codes will not be set. Check the battery if scan tool MB991958 does not display.