
Endeavor V6-3.8L SOHC (2004)
3. Loosen the center bolt of the tensioner pulley, then remove the timing belt.
INSTALLATION SERVICE POINTS
>>A<< AUTO-TENSIONER INSTALLATION
1. If the auto-tensioner rod remains fully extended, set according to the procedure.
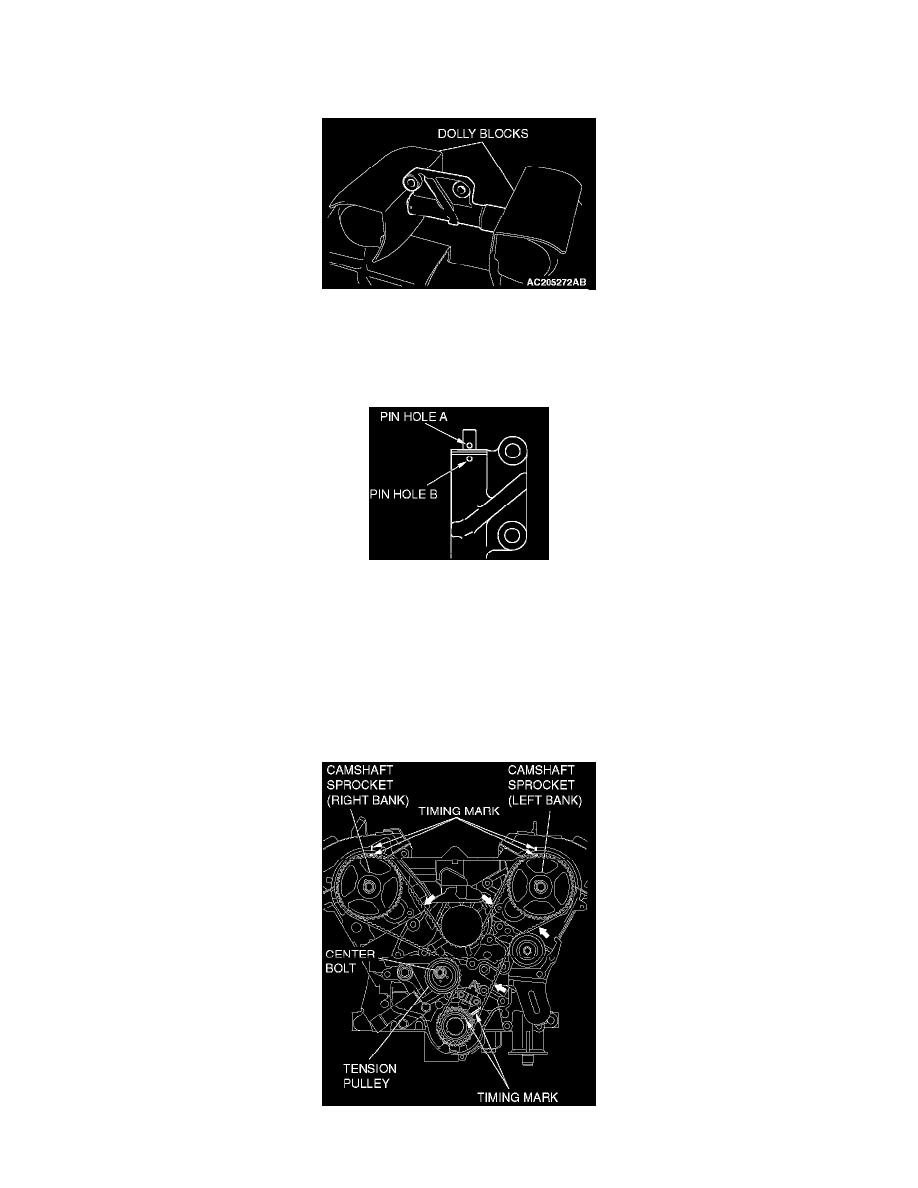
CAUTION: Place the auto-tensioner perpendicular to the jaws of the vice.
1. Place two dolly blocks in a vice as shown in the illustration, and then place the auto-tensioner in the vice.
CAUTION: Never compress the pushrod too fast, or it may be damaged.
2. Slowly compress the pushrod of the auto-tensioner until pin hole A in the pushrod is aligned with pin hole B in the cylinder.
3. Insert the setting pin into the pin holes once they are aligned.
NOTE: If replacing the auto-tensioner, the pin will already be inserted into the pin holes of the new path.
CAUTION: Do not remove the setting pin from the auto-tensioner. (4) Install the auto-tensioner to the engine.
>>B<< TIMING BELT INSTALLATION
1. Align the timing marks on the camshaft sprockets with those on the rocker cover and the timing mark on the crankshaft sprocket with that on