
Endeavor V6-3.8L SOHC (2004)
d. Insert the trim stick under the lower edge of the HMSL to locate the first retaining clip (see photo above left for clip location). Release the clip by
pushing the trim stick in as shown in the drawing.
e. Repeat for the second clip.
f. Rotate the bottom of the HMSL up and away from the liftgate (you may have to push on the retaining studs for them to clear the mounting hole).
Once the bottom of the lamp and the studs are free, pull the lamp downward to release the top clips.
2. Clean excess foam from the HMSL mounting surface of the liftgate.<
3. Transfer the rear washer nozzle from the old lamp assembly to the new part.
4. Install the new lamp to the liftgate.
a. Align the mounting studs to their holes and insert the top clips first. Then snap the bottom of the lamp into place.
b. Install new mounting nuts supplied with the kit and torque them to 2-3 Nm (20-24 in/lb).
IMPORTANT:
Do not over torque the nuts. Over torquing can prevent thermal expansion of the lamp, causing a repeat failure.
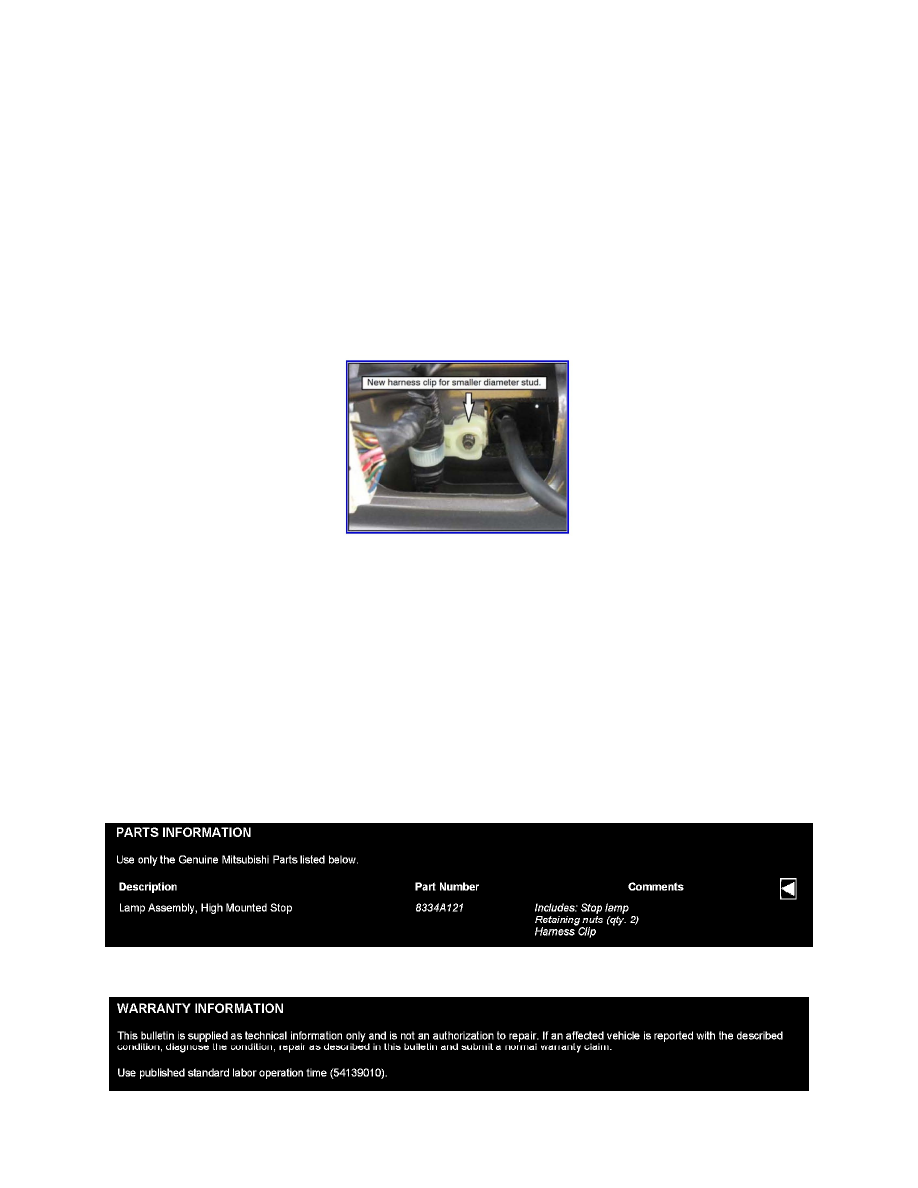
5. Attach the new retaining clip to the harness in the original location. Cutoff the excess retaining band flush to the clip.
6. Attach the harness clip to the retaining stud.
7. Connect the new HMSL to the wiring harness.
a. Reinstall the washer hose.
9. Confirm normal rear washer and HMSL function.
10. Reinstall the upper liftgate interior trim.
PARTS INFORMATION
WARRANTY INFORMATION