
Endeavor V6-3.8L SOHC (2004)
10. If any of fuel pressure measured in steps 8 to 9 is out of specification, troubleshoot and repair according to the table given.
11. Stop the engine and observe fuel pressure gauge reading. It is normal if the reading does not drop within two minutes. If it does, observe the rate of
drop and troubleshoot and repair according to the table given. Start, then stop the engine.
1. Squeeze the fuel supply line closed to confirm leak-down occurs from defective fuel pump check valve.
2. If pressure continues to drop with both fuel lines squeezed closed, injector(s) are leaking.
12. Release residual pressure from the fuel pipe line.
WARNING: Cover the hose connection with shop towels to prevent splash of fuel that could be caused by some residual pressure in the
fuel pipe line.
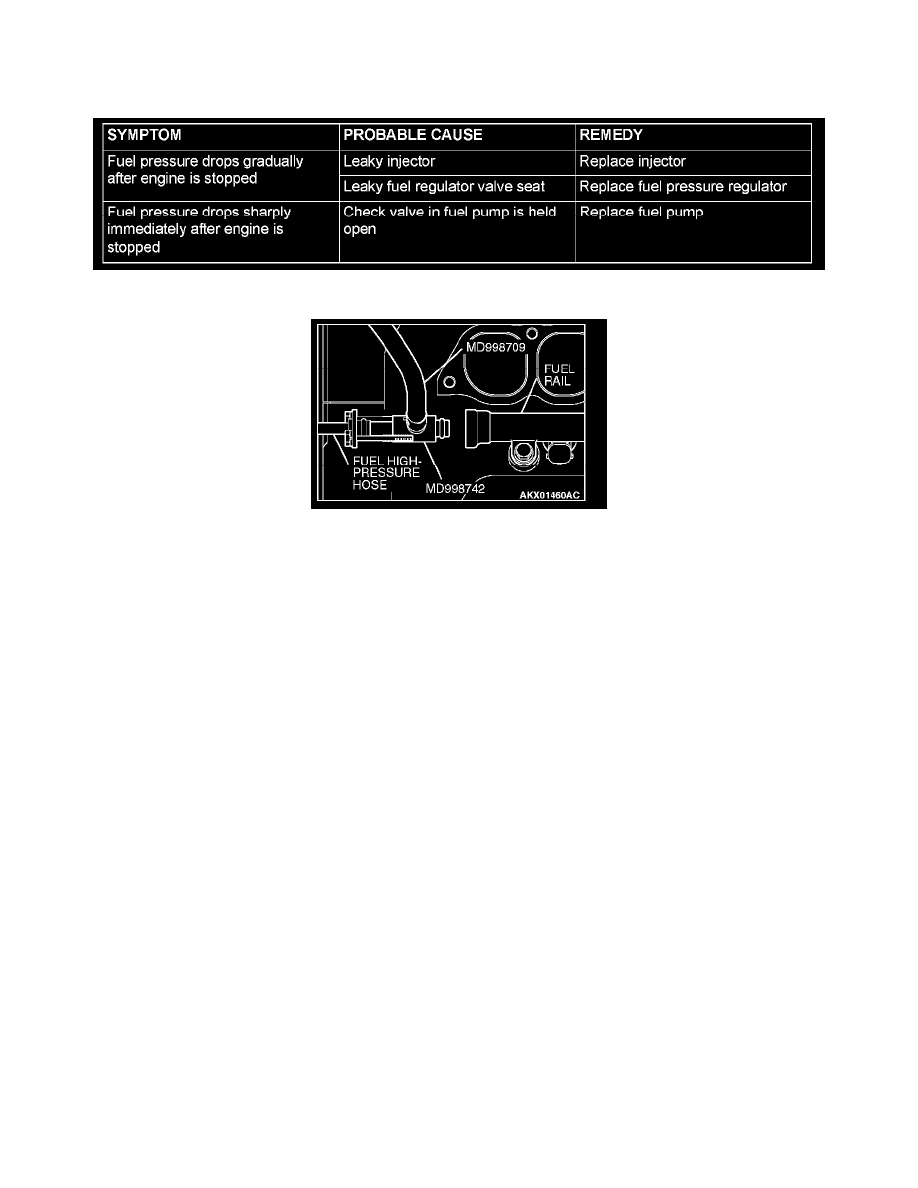
13. Remove the fuel pressure gauge, and special tools MD998709, MD998742 and MB991637 from the fuel rail.
14. Replace the O-ring at the end of the fuel high-pressure hose with a new one.
15. Fit the fuel high-pressure hose into the fuel rail and tighten the bolts to specified torque.
Tightening torque: 5.0 ± 1.0 Nm (44 ± 8 in-lb)
16. Check for fuel leaks.
1. Use scan tool MB991958 to operate the fuel pump.
2. Check the fuel line for leaks and repair as needed.
17. Disconnect scan tool MB991958