
Endeavor V6-3.8L SOHC (2004)
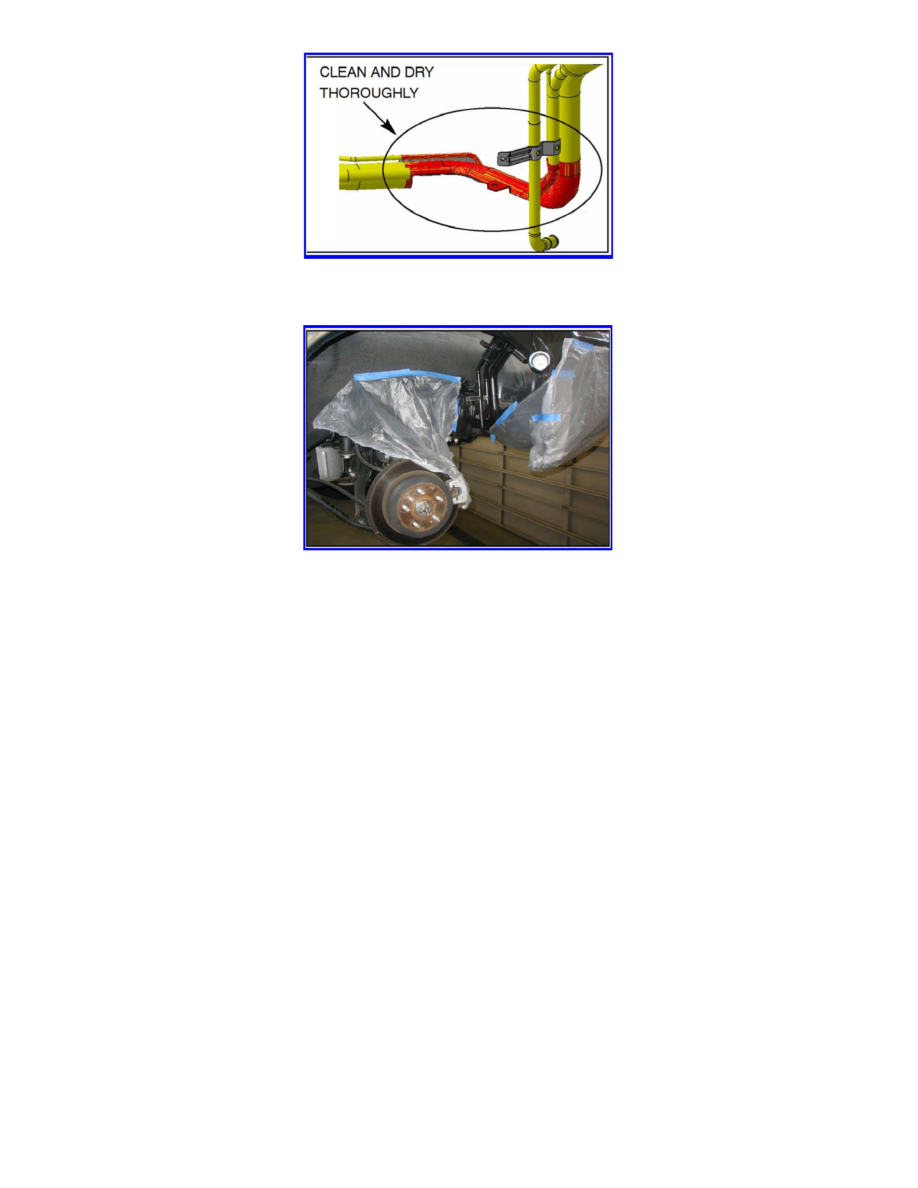
1. Be sure that all mud and debris have been thoroughly cleaned from the fuel filler pipe assembly. If necessary, repeat the cleaning procedure and dry
with clean shop towels and compressed air.
2. Use masking tape and plastic or cardboard to cover the canister, all hoses, solenoid valve, and all other plastic and rubber parts in the area.
!!CAUTION!!
WEAR SAFETY GLASSES AND GLOVES WHEN APPLYING THREEBOND 6153C. REFER TO THE MATERIAL SAFETY DATA SHEET
SHOWN IN THIS BULLETIN. USE THREEBOND 6153C ONLY IN A WELL VENTILATED AREA. DO NOT APPLY THREEBOND 6153C TO
ANY RUBBER OR PLASTIC PARTS. THIS COULD REDUCE THE DURABILITY OF THE PARTS.
3. Verify that the can of ThreeBond 6153C is at room temperature. Apply it to the fuel filler pipe assembly as follows:
IMPORTANT:
ONE CAN OF THREEBOND 6153C WILL SERVICE FOUR VEHICLES. APPLY ENOUGH TO THOROUGHLY COVER THE AFFECTED
AREA IN ONE THICK LAYER.
a. To start its contents flowing, spray a few short bursts onto a piece of scrap cardboard. Be sure you are wearing safety gasses and gloves.
b. Apply the agent to the top of the pipe and bracket until the coating can be visible as wet. Gently pull down the fuel filler pipe to access the top of
the pipe.
c. Loosely reinstall the two bolts securing the pipe to the under body.
d. Remove the rag and masking tape, and reinstall bolts to the fuel filler opening.
e. Apply the agent to the underside of the fuel filler pipe and bracket. Be sure the coating is visibly wet.
f. Spray a thicker coating on the welded area of the bracket, the pipes around the bracket, and between the bracket and pipe.
g. Ensure the entire fuel filler pipe and bracket area is covered.