
Endeavor V6-3.8L SOHC (2004)
Be sure the new canister vapor hose is installed properly:
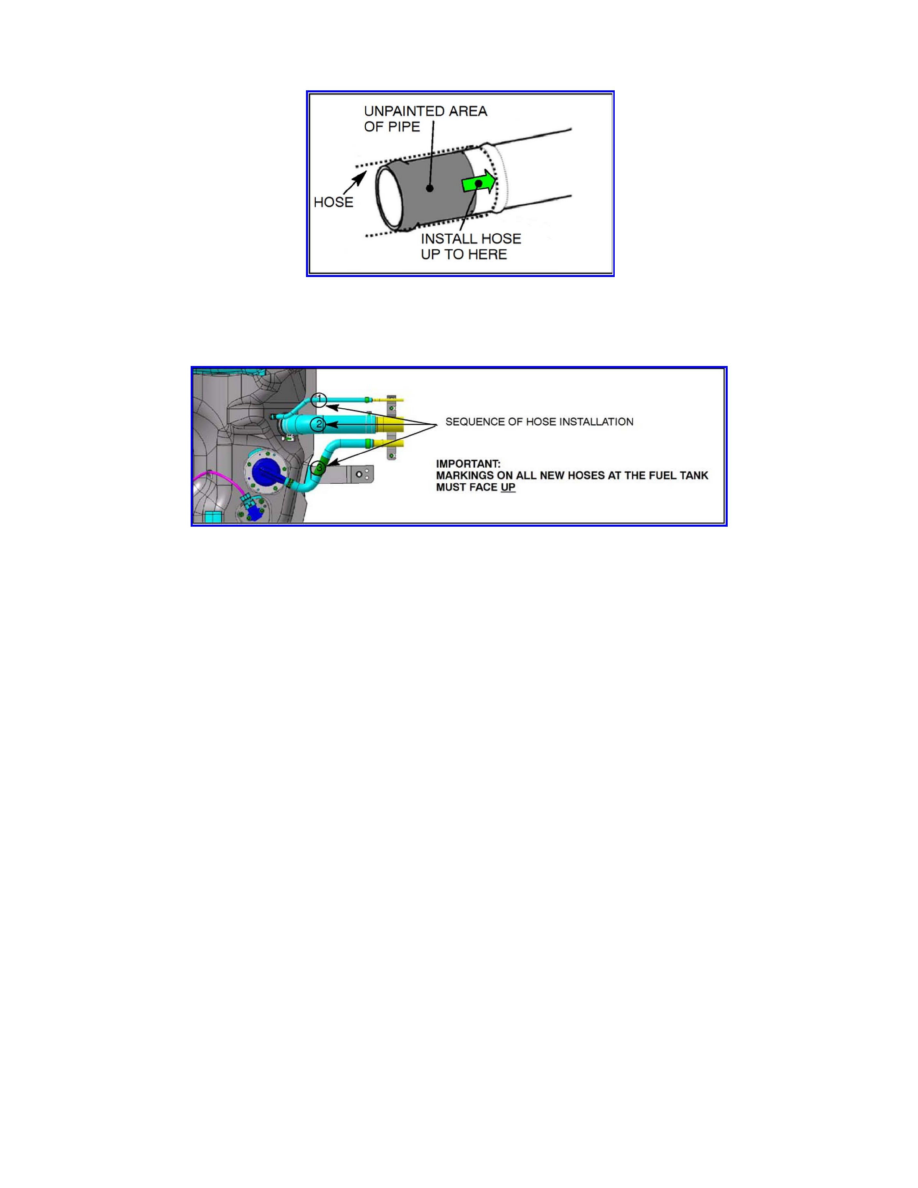
^ The painted dot on the hose should be positioned toward the canister.
^ Be sure the hose completely covers the unpainted area of the pipe as shown.
NOTE:
The fuel tank vapor hose provided in the pipe replacement kit does not have a protective sheath like the original hose and does not need to be secured to
the fuel filler hose.
CAUTION
To prevent damage, use care to avoid catching the pipe assembly bracket on any underbody components.
9. Install the new fuel filler pipe assembly and the metal fuel filler pipe protector.
IMPORTANT:
Be sure the new rubber gasket is installed on the fuel filler end of the pipe.
a. To prevent possible entry of foreign material, insert a clean shop rag into the filler opening of the new pipe.
b. Reverse the pipe removal process to align the pipe into position.
IMPORTANT:
The fuel filler pipe must be positioned ABOVE the wheels speed sensor harness.
c. Loosely install the 2 bolts to secure the lower end of the pipe to the vehicle body.
d. Loosely install the 3 bolts to secure the metal fuel filler pipe protector.
e. Loosely install the 3 fuel filler pipe flange bolts. Then remove the shop rag from the pipe and remove the masking tape from the filler opening.
Install the gas cap.
f. When the pipe assembly is properly aligned, torque all bolts.