
Endeavor V6-3.8L SOHC (2004)
CAUTION
Be careful to not break the TPMS sensor when dismounting and remounting tires.
1. Loosen (do not remove) the TPMS sensor retaining nut.
2. Push on the valve stem to unseat the TPMS sensor seal to relieve air pressure.
3. When completely deflated, rotate the tire so that the tire valve stem is in the 6 o'clock position.
4. Remove the sensor retaining nut and allow the sensor to fall into the deflated tire.
5. Carefully break both beads of the tire.
6. Lubricate and remove the outer bead from the wheel.
7. Reach into the tire and remove the sensor.
8. If replacing the tire, complete tire removal.
NOTE
When replacing or servicing TPMS sensors, handle them carefully.
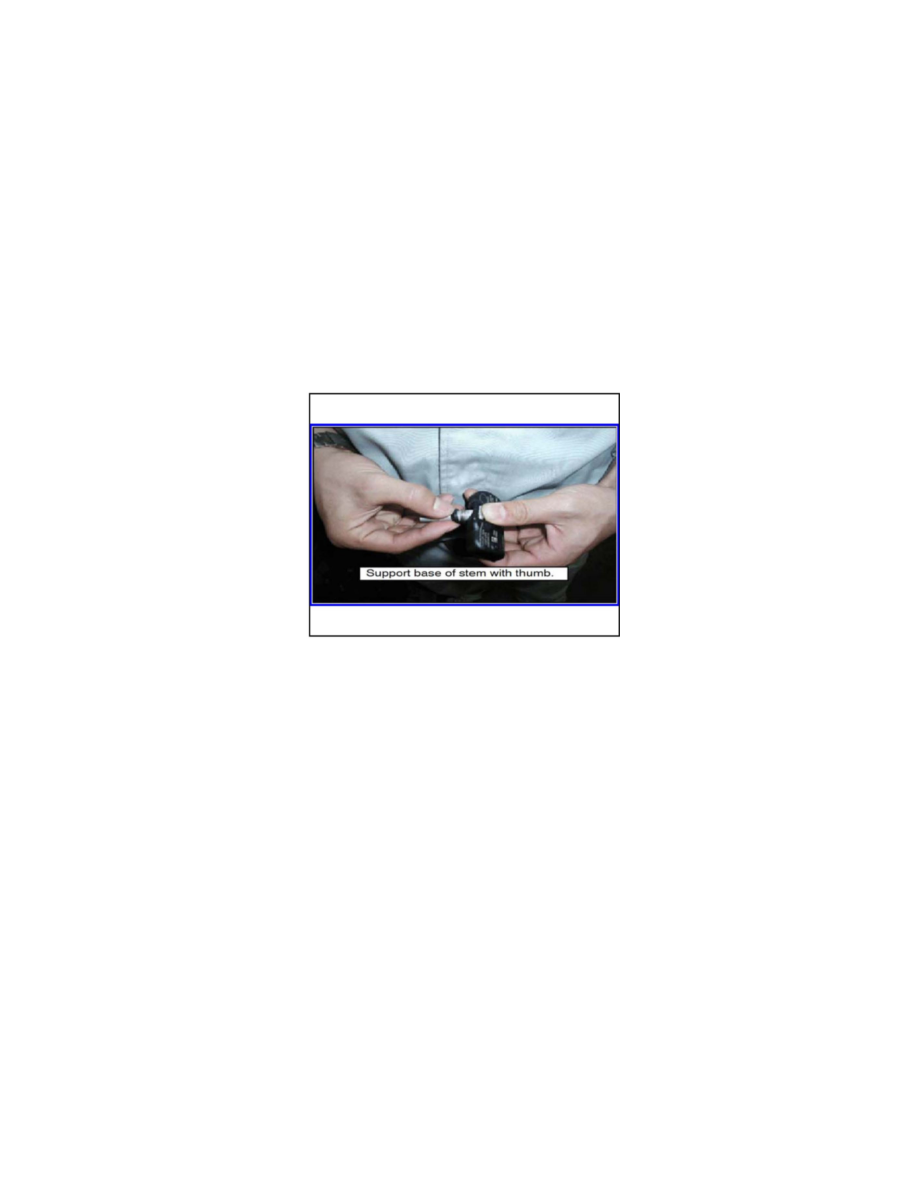
For Outlander and all Lancer models, when installing the TPMS seal and washer, be sure to support the base of the valve stem with your thumb.
Applying lateral pressure to an unsupported valve stem can break the antenna base.
IMPORTANTT
ALWAYS replace the TPMS seal when reinstalling a sensor. see Parts Information section later in this TSB or refer to CAPS for part numbers.
Installation is the reverse of removal:
1. If the tire was removed, install the inner tire bead to the wheel.
2. Install the TPMS sensor. Torque the retaining nut as follows:
- Eclipse, Galant and Endeavor: 5.5Nm +/- 0.5 Nm (49 +/- 4 in/lb).
- Outlander and all Lancers: 8.0 +/- 0.5 Nm (71 +/- 4 in/lb).
3. Carefully finish installing the tire. Inflate it to the correct pressure displayed on the "Tire Pressure and Loading Label" located at the driver's door
opening.
4. Retorque the TPMS sensor retaining nut to spec (see step #2, above).
Valve Core Replacement