
Expo AWD L4-2350cc 2.4L SOHC 16 Valve (1993)
Horn: All Technical Service Bulletins
Horn - Sounds Too Low, Too High or No Sound
NO.: TSB-93-54-003
DATE: February, 1993
MODEL: All, Except Precis
SUBJECT:
HORN ADJUSTMENT
BACKGROUND INFORMATION
Recent warranty claims show a high incidence of unnecessary replacement of the horn assembly on some vehicles. Most of the time, a simple horn
adjustment is all that is needed to correct many sound deficiencies, including:
-
A sound volume that is too low.
-
A sound volume that is too high.
-
A horn producing no sound.
Before replacing the horn(s) on a vehicle, remember to perform the horn adjustment shown in this bulletin. Warranty information for removal and
adjustment of the horn assembly can be found in this bulletin.
VEHICLES AFFECTED
All, except Precis. For horn adjustment on Precis, refer to Group 54 of the Precis Service Manual.
HORN REMOVAL AND ADJUSTMENT
1.
Locate the horn(s). They can be found near the front of the vehicle, generally behind each headlight. All vehicles except Trucks have two horns,
producing a dual pitch sound. Trucks have only one horn, producing a single pitch sound.
2.
Use an assistant to press the horn button inside the vehicle. Determine which of the horns is not producing a satisfactory sound.
3.
Remove the horn assembly from the vehicle. On most vehicles, it will be necessary to remove the front grill or other related body components to
reach the horn.
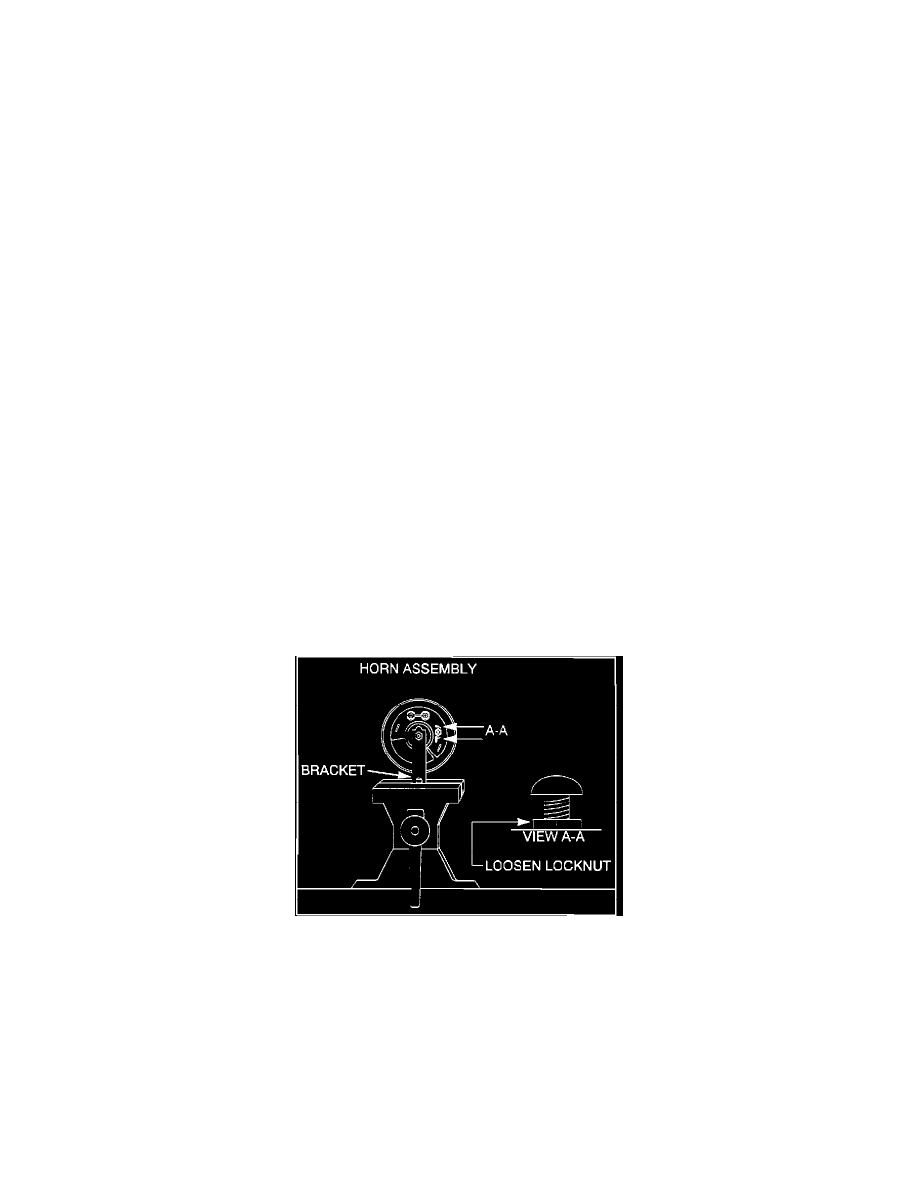
4.
Place the horn bracket in a table vise and loosen the locknut on the adjustment screw.